Showing posts with label Gypsy Wanderings. Show all posts

Monday, May 30, 2011

Spring Plate - Circle Blog Monthly Challenge Entry

I am pushing it here folks.  I have about 2 hours left to get my project entered into the Cricut Circle May Monthly Blog Challenge.  I just might make it!
This month's challenge was a Tic-Tac-Toe board where the crafter chose 3 squares in a tic-tac-toe formation.  Here is the 3T board and the red arrow shows what I chose to use in my project.

And here is my project!  It's a Spring Plate for my home.

Here is how I put this project together.

Carts
  • Base Camp - rectangle (welded to the grass)
  • Cindy Loo - font
  • Doodlecharms - sun
  • Gypsy Wanderings - grass, flower stem, butterfly
  • Nifty Fifties - daisy flower
  • Sugar and Spice - inside of rose
  • Tags, Bags, Boxes and More - rose
I got the plate from Wal-mart at Christmas time (there was a post on the blog using it).  It is about the size of a charger.


I used vinyl for the wording on this plate.


I used Juliana's directions and video to make the flowers.  I used different cuts but the results were still beautiful!


I love this sun cut!  It is my favorite and the one I go to when I need a sun for my project.

Side view so you can see the dimension on the flowers and all the buttons in the grass posing as flower buds!  I also used 2 layers on the butterflies that allowed me to pop up the wings. 


I hope you enjoyed this project.  Now I need to make one for Summer!  Until next time...


Smooches,


Monday, May 2, 2011

Mom U Rock Card

Who is always there for you through the ups and the downs? MOM!!!  Moms rock through life with the good and the bad, taking it all in stride.  This card celebrates mom's spirit and strength as well as her fragility and grace.  Let's dig in!

Carts Used
  • Gypsy Wanderings - music note (shadow)
  • Indie Art - guitar
  • Plantin Schoolbook - sentiment
  • Cuttlebug Folder - Allegro
I used the pink Gemstones paper from Coredinations.  I really like the shimmer it gives off.  I cut a piece at 4.25" x 5.5" and embossed it with the "Allegro" Cuttlebug folder.  I attach it to the white card base.  I welded the sentiment together on my Gypsy, cut it out in silver and adhered it to the card as well.

 I cut the music note from basic black cardstock and adhere it to the card.  I cut all the pieces to the guitar and assemble it.  I add a little dimension to it by using black and white twine for the guitar strings.  Adds a nice touch, don't you think?! (You will have to cut a slit in the guitar base to feed the strings through.  Use an exacto knife.)

I put some pop dots behind the guitar to give it some lift and a shadow.  Doing this makes all the difference.  I added a few white dots here and there with my gel pen and it was complete.

I hope you like it because I love it!  Check back on Friday for my Mother's Day Blog Hop project.  It's super cute and useful.  Until then....

Smooches!


    Thursday, February 3, 2011

    Valentine's Day Cards!

    Some of you know that I own an invitation, stationery and gifts business called The Chic Paperie. I really love working in my business with my mom and helping keep the beauty of paper alive in this technological world (not to mention that I can mix in my hobby with my business!).

    And I did just that for Valentine's Day. I created these limited edition cards to sell in my suite. I used a couple of carts on the cards, made some embellishments myself and used some punches too. I really love the way they all came out!

    Here are the details on each card!

    The Gamble - on this card, I layered a piece of paper from the Love collection by American Crafts. I cut the pink heart with the Freshly Picked cart and glued some red seam binding I got on Etsy to the back. I created the Bingo card on my computer using Microsoft Excel. I also printed the sentiment, cut them out, rounded the corner and inked the edges.


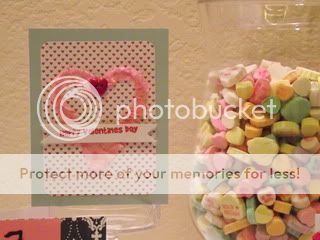
    Happy Valentines Day - for this card, I started with a piece of paper from the Love collection by American Crafts. This paper is double sided and I used the plain side instead of the decorated side. I then layered a smaller piece of tiny heart paper and then a heart I cut from the Gypsy Wandering cart. I covered that heart with some pink seam binding and put a heart button in the middle. I stamped the sentiment with a $1 stamp, cut it out and put some pop dots on it to give it a little lift. Simple and adorable!


    Rosette Love - these papers are from the Love collection by American Crafts, too, but to me they have a little more masculine feel. I layered a piece on the card and rounded the corners. I used a new valetine punch set from Martha Stewart called Heart Chain on a thin piece of red card stock. I attached that to a complimentary piece of paper from the collection that I cut in an 1 1/2" side strip. I then cut another strip 1 1/2" x 12" to make the rosette. I scored it every 1/2 inch for the folds and glued the ends together. One of the papers in the collection was full of valentine icons so we cut some out and glued them in the middle of the rosette. We added a heart pin for a special touch.


    Amore - These papers are from the Be Mine collection by Echo Park. I glued a piece to the card base and then added a strip of pink cardstock for accent. I cut the Eifel Tower from the Summer in Paris Cart and layered it on 2 Prima flowers that I sprayed with Perfect Pearls Mists in Perfect Pearl. I attached them all together with a bling brad and glued them to the card. I then glued the sentiment on and it was done!


    I love all the cards we made and I hope you do too. Leave me some blog love and I'll talk to you later!

    Smooches.

    Robin

    Friday, November 26, 2010

    Thanksgiving Journal 2010

    Hi everyone! I sincerely hope that everyone had a wonderful Thanksgiving filled with family, food and fun.

    I saw a post on the Cricut MB of a journal that for Thanksgiving. In the journal, all of your family and guests would write what they are thankful for. I thought this was a great idea and that I would make one for us. Here is what I came up with.

    This was my first time making a complete mini album - cover and all. I am so pleased with how this came out.
    Here are the details!

    Carts
    • Thanksgiving - cover and pages, title, some of the leaves, hat and turkey
    • George - holes in the cover and pages
    • Gypsy Wanderings - leaves
    • Create a Critter - leaf
    • B is for Boy - leaves
    I used my G to layout all the cuts I wanted to make. I searched for "leaf" and found several cuts that would work for my design. I layed them out on my G and made the cuts.

    I used the card on the Thanksgiving cart for my cover and pages. Once I realized that I could use the same layout for the cover and pages, I was off and running. I put small circles on the card for the holes and removed the score marks. I cut the cover out of chipboard (an old ceral box) and cut the pages out of 12x12 cardstock.

    Once all the pieces were cut out, I wanted to give the leaves more texture. So I ran some of them through my crimper and others through my wood grain embossing folder from Tim Holtz (I really love that one!). I glued the title on the cover, knowing that I would need room for the jute and leaves. I took some jute that I had gotten in the jewelry department and cut 6 lengths. I tied them around the top cover and tied a knot. I put the leaves from the Thanksgiving cart that were connected in the middle and tied the knot again. I then hot glued the leaves to the end of the jute and kinda let them float free.

    I took the other cuts from the Thanksgiving cart and glued them randomly on the pages inside the book. These are the pages that I asked everyone to write on.

    The other pages that are empty will be the pages that I put pictures from the day on. I will bring this out next year to show everyone and have a new one for everone to write in. I think I just started a new tradition for us! Thanks for looking!

    Monday, August 16, 2010

    30 Minute Card - Gather Friends

    I love this card! Although, I must tell you that this is not what I set out to make. Sometimes, when I am crafting, my projects take on a life of their own. It is a real organic experience. That's exactly what happened here.

    I had gotten a new toy and set out out to use it. By the time I started pulling my ideas together along with my supplies, the new toy was no where in sight. I put the card together and I was glad I trusted my creative spirit.

    This card is not about the cuts and it did not take a lot of designing. The beauty in this card is in the techniques and embellishments that were used. It took about 30 minutes from start to finish and you can make one in that amount of time too!

    Here are the details.

    Cart:
    • Gypsy Wanderings - leaf

    I cut the brown layer 3.75" x 5.25" and embossed it with the Script embossing folder. I then cut orange layer 3.5" x 5" and embossed it with the Tim Holtz Woodgrain embossing folder. I cut the leaf at 2.5" and inked the edges with the TH Distress inks in Fired Brick and Peeled Paint. I really love the way the leaf came out . The distressing makes it come to life.


    I printed the sentiment on the computer in brown ink and inked the edges with the same inks I used on the leaf. I glued the 2 background layers down. I put pop dots on the leaf and the sentiment to raise them up and give more dimension.

    When I finished this card, it made me want to put a warm sweater on, pull all my friends close and just talk for hours. What about you? Tell me what you think by leaving me some comments and blog love! TFL!!!


    Smooches,


    Wednesday, August 11, 2010

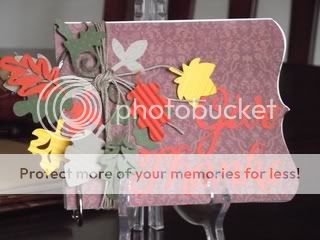
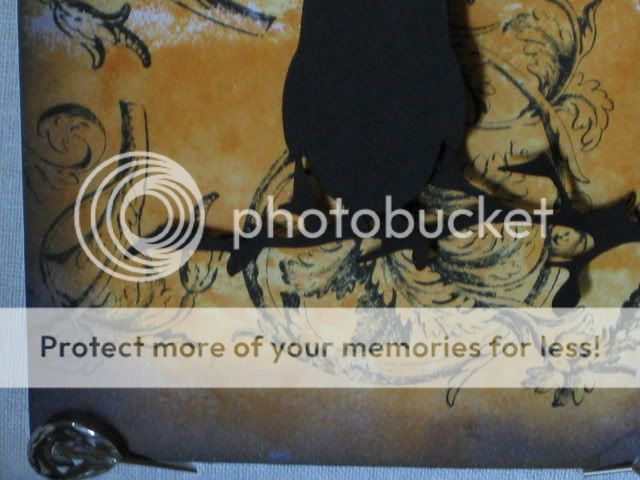
    Living in Texas, it is still hot as the dickens here. Nonetheless, I am getting in the mood for Fall. Here's my first Halloween card. I used my Tim Holtz inks on this one. I just might be a little dangerous with these things after my class with Tim himself on August 28th!

    Here are the details for this card.

    Carts:
    • Gypsy Wanderings - branch
    • Sugar and Spice Lite - owl

    I used a technique I learned from watching the demo videos on Tim's website. I swiped the Spiced Marmalade ink pad on a craft mat, sparyed it with water and dapped my paper in it. I then dried it with my heat gun and repeated the steps one more tiime. I then inked the edges with my the foam applicator and the Dusty Concord and Black Soot inks. I love that purple and orange combination.


    I stamped the sentiment with a dollar stamp using the Black Soot ink pad. I went over the sentiment with Perfect Pearls in Perfect Pearl (white).


    I used an old Anna Griffin stamp I forgot I had to make the scroll print in the background. I welded the owl and the branch together on my G. The owl was actually a lot fatter but I streched him out to give him a spookier look. I cut a seperate owl to lift up with pop dots. It's all about the shadows for a halloween card!


    I put pop dots behind the branch and adhereed it all to the background. I am really happy with this card, especially knowing when I make it again, it won't be exactly the same. Thanks for looking!


    Smooches,


    Friday, June 25, 2010

    Thanks a Latte Card


    Hi again! I have been working on some more cards and other projects this week and I am pleased to share them with you. Here is a card I call "Thanks a Latte"! (In case you didn't know, I love coffee!). I really like this card because it is big enough to slide a gift card in to Starbuck's or your local coffee house. Here are the details!

    Cartridges:
    Gypsy Wanderings - cup
    Mini Monogram - Thanks and words on cup (thanks was an image option)
    Base Camp - U Rock
    Tags, Bags, Boxes and More - Tag

    I cut out the two cups I welded together (I used the shadow of the cup) for the base of the card. I inked the edges of the card with my SU! Pretty in Pink ink pad. I then cut out a smaller shadow in brown as well. I ran it through my Sizzix Texture Boutique with the Swirls embossing folder from Cuttlebug to add some dimension. I had to cut the handle of the mug off to make it fit in the folder.
    I also cut out the word "Thanks" and made the rest of the wording from the same font to match it. I glued it on the embossed brown paper.

    I took the tag I cut out and inked the edges as well. I glued the welded "U Rock" to the tag and ran a piece of brown and pink ribbon through it. Tied the ribbon on the handle and the card was complete. I love it!


    Thanks for looking and let me know what you think!
    Smooches,


    Robin

    The Scrappin' Delta Diva

    Sunday, June 20, 2010

    Bridal Shower Dress Card

    Hi everyone! I saw this dress card with paper lace made from a border punch on the Cricut Messageboards and I just had to try it. I really love the way it came out. I had a little snafoo on the left side but I will have to fix that for the next time. And since it is wedding season, I am sure this card will come in handy. Here are the details.

    The entire crad was made form the Gypsy Wanderings cart!

    The dress template actually came from the Gypsy A to Z video from Above Rubies Studio (thanks so much!). It was made from the shadow function. I did have to make some adjustments to the design and I think I will make a few more in the future.

    The sash on the dress is an accessory to the dress image. Size it to make it fit your card. Shower is one of the phrases on the cart and it has the shadow to go with it as well.

    Now, for the lace! I used the Arch Lattice border punch from Martha Stewart. I am sure you could probably use a wide selection of border punches but this was the one I chose. Through trial and error, I found a couple of ways to make cutting the lace easy and fast.

    1. Cut several 3/4 inch wide pieces of paper (it really depends on the size of your punch design. You may need to increase it but this size works for the average punch). This size of paper gives you a little strip of paper at the top where you can apply your adhesive. The length is up to you - just make sure it extends past the longest part of the dress.

    2. Place the piece of paper under the punch so that you don't see the edge of the paper on one side. This is important.

    3. Move the paper to the left (for right handed people). I like the MS punches because there is a little guide of the deisgn that helps me line the paper up straight and continue the design.

    4. Continue to punch along until you reach the end of the strip. When you finish, you should have two strips of paper - one with the lace edge and one that is just a strip. By starting with the end of paper under the punch, it allows you to completely sever the extra little strip of paper and you don't have to cut it. This saves you a step. See the picture below for examples of the process.


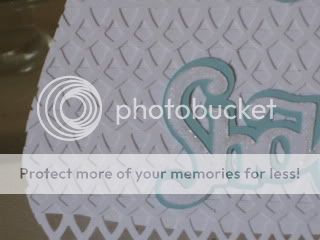
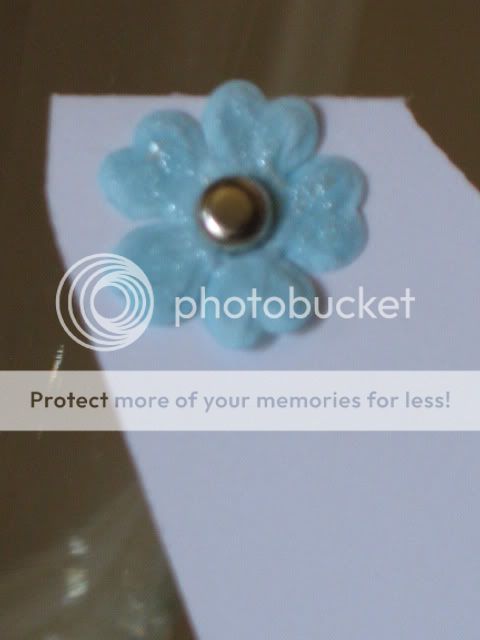
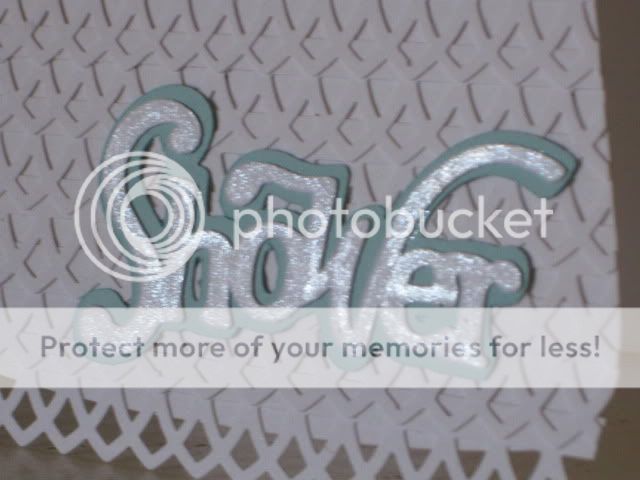
    When I cut out the word "Shower", I felt like it needed a little zing! So I added someting called Smooch Peralized Top Coat in the color Illuminate. It's like fingernail polish for paper. I also brushed it on the flower I added on the shoulder, put a tiny silver brad in it and attached it to the dress. Voila! It was done and I really like the way it came together.


    Tips

    • Start laying your lace from the bottom of the dress. This way you can lay your next piece on top of the last one so that it looks layered
    • Lay the lace on the dress with a little extra hanging over the edge.
    • Use your precision scissors to trim the edges of the lace to follow the edge of the dress. Don't use an exacto knife. This is how I ended up with my little snafoo on the left side

    I hope you like the card. Please leave me some blog love and TFL!!!!


    Smooches,

    Robin
    The Scrappin' Delta Diva