Showing posts with label Summer in Paris. Show all posts

Monday, July 11, 2011

Parisian Mini Album and Video

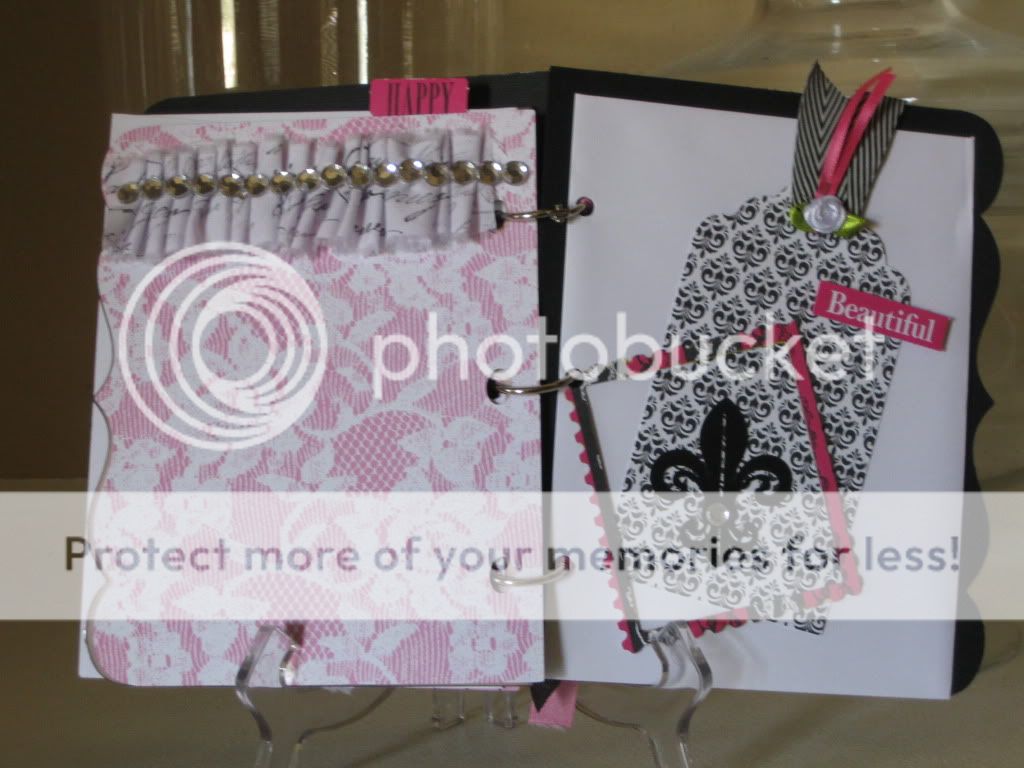
Hi eveyrone!  Got a new project today that is serving me double duty.  It is a mini album for my mom as well as my entry into the Teresa Collins Cricut Circle Challenge (try saying that 3 times!).  This post is chock full of pics and there's even a video at the end.  So let's get to it!

Carts and Materials
  • French Manor - fleur de lis, Paris, frame, borders, dress form, lattice frame, chandelier
  • Birthday Bash - cover and page shape
  • Destinations - Paris tag (pink glitter and black)
  • Summer in Paris - Eiffel Tower
  • Tags, Bags, Boxes and More - pocket and tag
  • Teresa Collins - paper, blingage, stamps, sentiments, various other elements
  • My Stash - ribbons, pins, doilies, rosettes, bling, charms
I'm not going to go into the details about the elements in the mini like I usually do because all that information is in the video.  But I am posting pics of all the pages and a few closeups.


And now here's the video!


I am really proud of this project and I know my mom will love it.  I enjoyed making it and pushing my creativity.  Leave me some blog love and I'll talk with you later!

Smooches,


Monday, June 27, 2011

Parisian Explosion Box

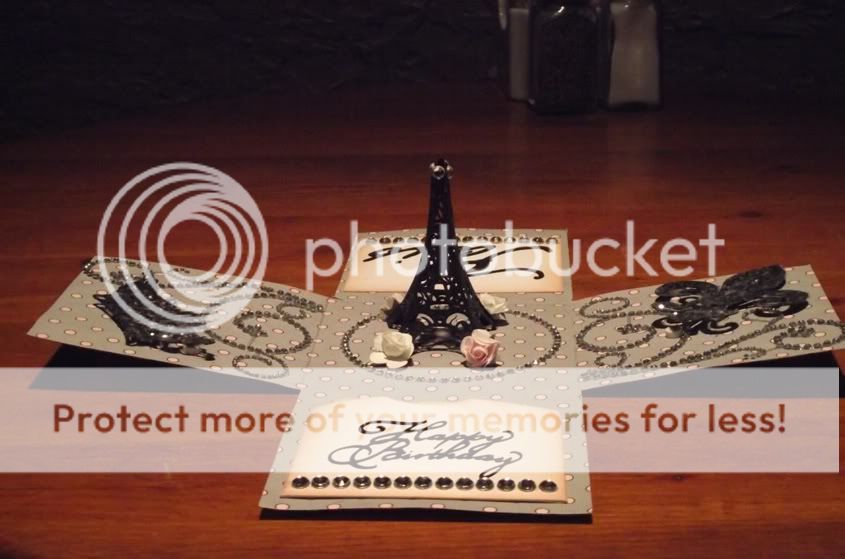
Hey Party People!  I attended my mother's birthday luncheon this weekend and the party had a Parisian theme as she is planning a trip to Paris for her 60th.  She invited all the guest to go with her and I can't wait to go.  To keep with the theme, I decided to make her an Explosion Box with a Paris slant.  Here is what I came up with.


Here's the details.

Carts and Materials
  • Summer in Paris - Eiffel Tower, fleur de lis, crown, Paris
  • MS Elegant Cake Art - Happy Birthday
  • Paper - Timelesss Collection by Teresa Collins
  • Ink - Tim Holtz Distress Ink in Tattered Rose
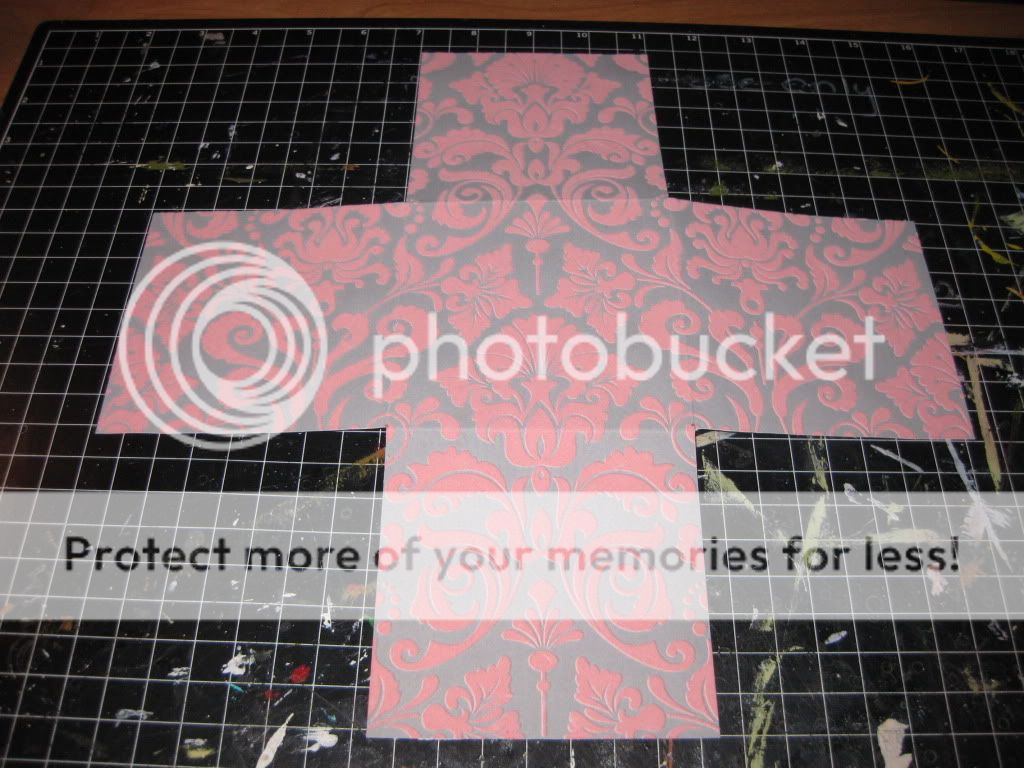
I used a 12" x 12" sheet of paper from the Teresa Collins Timeless Collection for the base.  It has a beautiful pink flocked damask design on the piece that I used for the outside of the box.  I cut out 4" x 4" squares at each corner to make the base of the box. 

I cut the top at 6 1/4" x 6 1/4" so that it would fit nicely over the box.

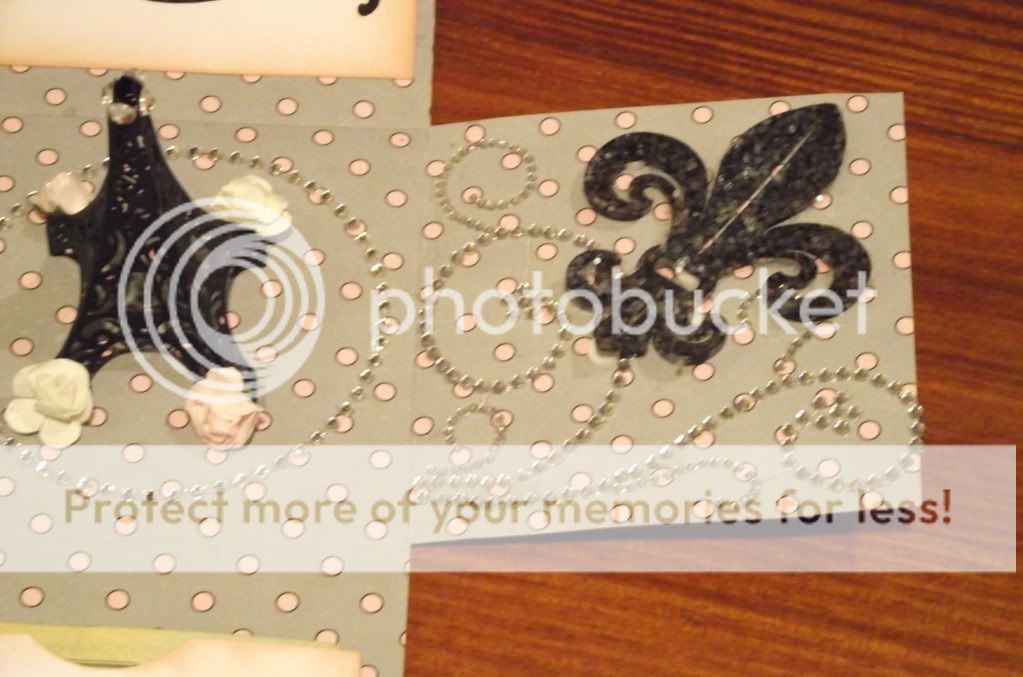
 On the inside, I added various pieces of bling from my stash (I love bling so I have a lot of it!).  I then added a crown (cut at 3" wide) and a fleur de lis (cut at 2.73" wide) that I covered with MS Coarse Glitter.

I made a pocket from a scrap piece of paper to put money in.  It could also hold a gift card.  I then cut a small card to put opposite of the pocket.  I distressed both pieces with Tim Holtz Distress Ink in Tattered Rose.  I cut out Happy Birthday (2.55" wide) and Paris (3.54" wide) and added them to the piece as well.

Now to the centerpiece - the 3-dimensional Eiffel Tower!  This cut came as a 3-D cut.  They made it with one detailed cut and one solid cut.  I chose to cut out 2 detailed cuts which worked but was murder to put together.  But I finally got it together and placed it in the middle of the box.  I added some flowers and some bling and my project was complete.
I made a video I wanted to share about how I put this all together.  I included a little snippette of video from the party of my mother opening the box.  She really loved it!

Let me know what you all think of my first Explosion Box!  Leave me some blog love and I'll talk to you later!

Smooches,


    Thursday, February 3, 2011

    Valentine's Day Cards!

    Some of you know that I own an invitation, stationery and gifts business called The Chic Paperie. I really love working in my business with my mom and helping keep the beauty of paper alive in this technological world (not to mention that I can mix in my hobby with my business!).

    And I did just that for Valentine's Day. I created these limited edition cards to sell in my suite. I used a couple of carts on the cards, made some embellishments myself and used some punches too. I really love the way they all came out!

    Here are the details on each card!

    The Gamble - on this card, I layered a piece of paper from the Love collection by American Crafts. I cut the pink heart with the Freshly Picked cart and glued some red seam binding I got on Etsy to the back. I created the Bingo card on my computer using Microsoft Excel. I also printed the sentiment, cut them out, rounded the corner and inked the edges.


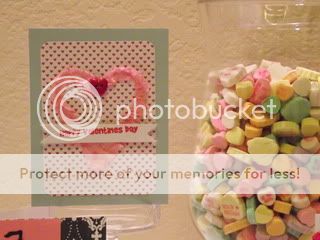
    Happy Valentines Day - for this card, I started with a piece of paper from the Love collection by American Crafts. This paper is double sided and I used the plain side instead of the decorated side. I then layered a smaller piece of tiny heart paper and then a heart I cut from the Gypsy Wandering cart. I covered that heart with some pink seam binding and put a heart button in the middle. I stamped the sentiment with a $1 stamp, cut it out and put some pop dots on it to give it a little lift. Simple and adorable!


    Rosette Love - these papers are from the Love collection by American Crafts, too, but to me they have a little more masculine feel. I layered a piece on the card and rounded the corners. I used a new valetine punch set from Martha Stewart called Heart Chain on a thin piece of red card stock. I attached that to a complimentary piece of paper from the collection that I cut in an 1 1/2" side strip. I then cut another strip 1 1/2" x 12" to make the rosette. I scored it every 1/2 inch for the folds and glued the ends together. One of the papers in the collection was full of valentine icons so we cut some out and glued them in the middle of the rosette. We added a heart pin for a special touch.


    Amore - These papers are from the Be Mine collection by Echo Park. I glued a piece to the card base and then added a strip of pink cardstock for accent. I cut the Eifel Tower from the Summer in Paris Cart and layered it on 2 Prima flowers that I sprayed with Perfect Pearls Mists in Perfect Pearl. I attached them all together with a bling brad and glued them to the card. I then glued the sentiment on and it was done!


    I love all the cards we made and I hope you do too. Leave me some blog love and I'll talk to you later!

    Smooches.

    Robin