When I jumped back into crafting earlier this year, I was surprised about where my inspiration for cards, layouts and projects come from. I would be out somewhere and say "That would make an awesome card/layout" or "I can make that project!". Of course I would use my E and G to make these things, affectionatly known as Peaches and Herb.
So goes this card. I walked into Joann's and was stopped in my tracks by all the new MS Halloween Crafts. I love Martha's style and her creations never cease to amaze me. She has some bat cutouts that you can stick on the wall for Halloween. When I looked at the package, I said
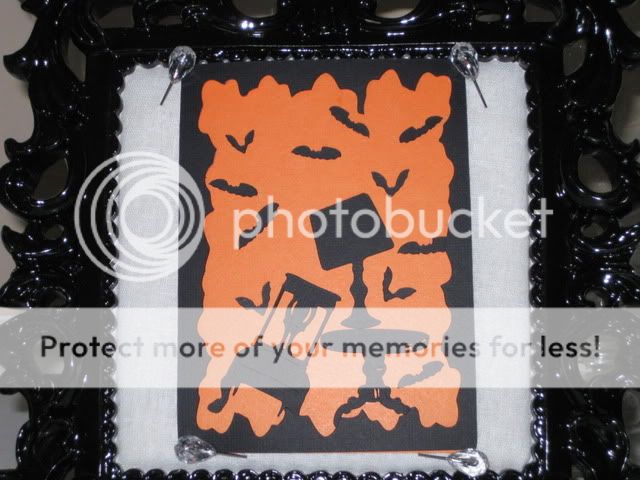
"That's my next card". And here it is! This card looks simple but there are actually 5 carts and some welding at work here. Here are the details:
Cartridges:
- Happy Hauntings - bats
- French Manor - chair, table and lamp base (which is actually the birdbath)
- George - lampshade (which is a trapezoid)
- MS Elegant Cake Art - jagged frame
- Base Camp - rectangle (for plain frame)
I started this card by making the frame on my Gypsy. I made a rectangle that was 4x5.5" and set the jagged frame inside it. When cut out, this made a nice frame for the card.
Next, I made the lamp. I know there are lamps on some carts but I didn't have one on the carts I own. So I made one. I took the birdbath from French Manor and a trapezoid from George and welded them together to make the lamp. I really liked doing it this way so I could tilt the lampshade like it has been hit by the bats.

I wanted a table and chairs that looked like they were in the hallway of a house. So I went to the Cricut Circle French Manor cart and chose the perfect cuts. I glued the chair on sideways to again, imply that the bats have taken over.

Lastly, I cut out lots and lots of the 2 kinds of bats from Haunted House. I glued them on the card in various places so it looks like an infestation.
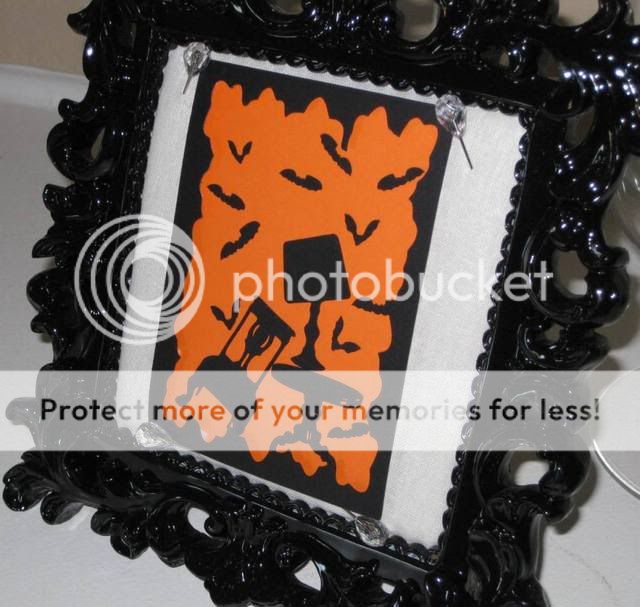
I put small pop-dots on the back of the frame to lift it up and give a shadow effect. I love doing that on Halloween cards. I put it on the card and it was done. I love this card and I hope you do too! Leave me some blog love!
Smooches,
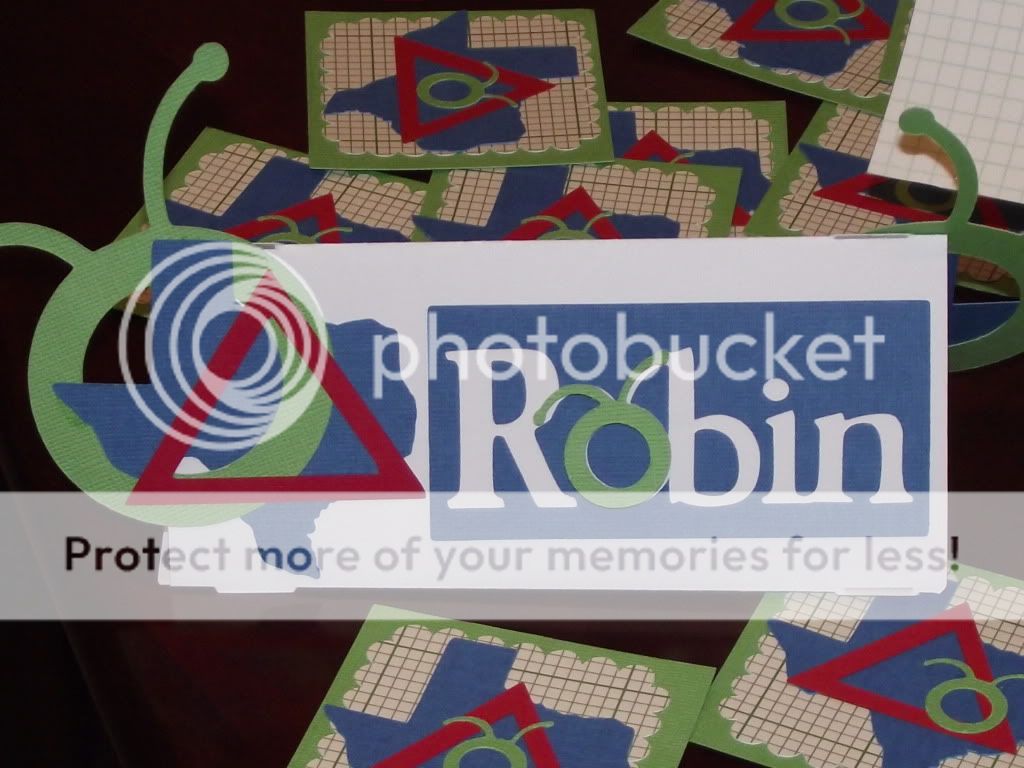
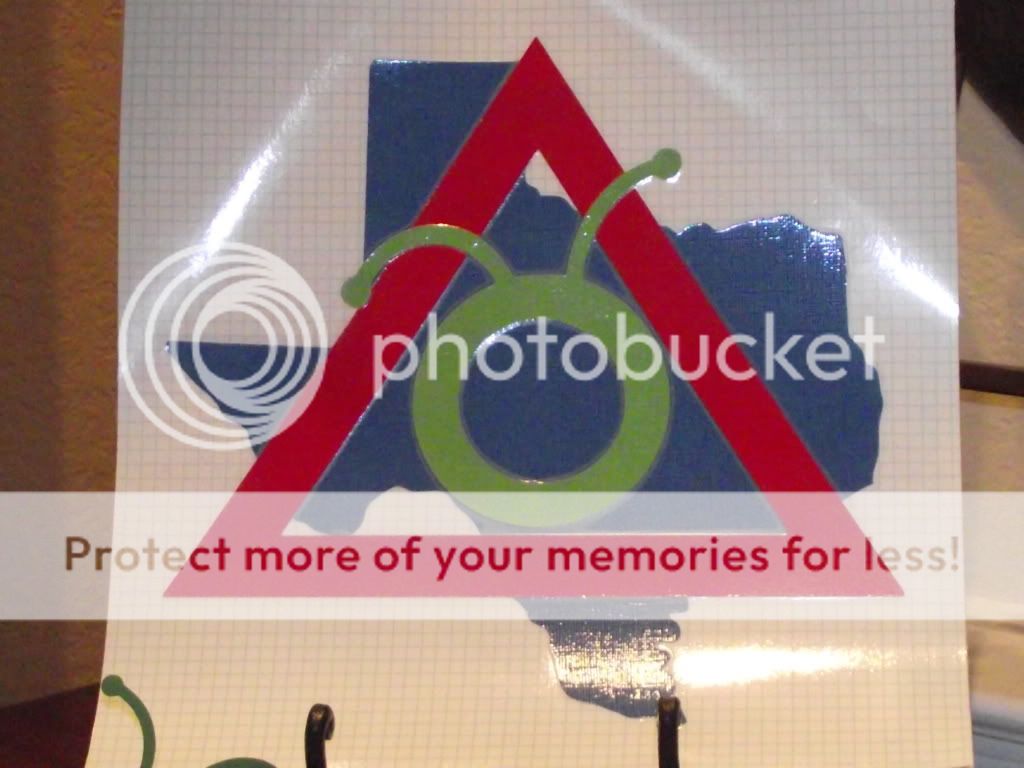
Robin
The Scrappin' Delta Diva