Showing posts with label Create a Critter. Show all posts

Wednesday, November 30, 2011

November Card Swap: Snowflakes and Christmas Trees

Hey everyone!  I'm back with my November Card Swap card.  I call it Snowflakes and Christmas trees.  Here it is!


Materials and Supplies
  • Christmas - snowflake
  • Create A Critter - tree
  • When It's Cold Outside - snowflakes
  • Mists - Perfect Pearls Mist in Perfect Pearl; Radiant Rain Shimmering Mist in Key Lime
  • Embossing Folder - 3 Dots by Sizzix
  • Stash - twine, ribbon, papers
I started with a Christmas Polka Dot paper that was soooo cute to me.  I feel it makes the perfect background accent.  I then cut 3 snowflakes in varying sizes.  I then sprayed all the cuts with the Perfect Pearls mist.  I really like the shimmer accent it gave the snowflakes.

NOTE:  Hands down (to me anyway), the When It's Cold Outside Cartridge is the best cart Provo Craft has ever put out!  If you do not have this cart you are missing a fabulous addition to your collection.  It is 25 beautifully created snowflakes, each with their own special design.  At first glance, they look like regular snowflakes.  But with a closer look, you see the details like Santa and his sleigh and a nativity scene.  So glad I have this one in my collection!


I cut out the Christmas trees and embossed each one with the 3 Dots folder.  I next sprayed these with the Radiant Rain mist.  I am falling in love with this brand !  The mist is sooo pretty.  I twisted a piece of red and white twine around the tree to mimic tinsel.  The tree is topped off with a piece of argyle Christmas ribbon.  I attached the tree with pop dots to to raise it up and give a little dimension to it. 


Here are a few of the cards on display.  I hope you like them and please let me know what you think!  Until next time...


Smooches!


Wednesday, January 5, 2011

Christmas Mini Album


Hello everyone! Happy New Year! I sincerely hope that 2011 is a wonderful year for you filled with all kinds of crafts, inspiration and learning.

I have started off on a great foot with this mini album. I don't know if you guys subscribe to The Paper Trail or not but if you don't, you need to! Laura is just amazing! Check out her blog here. She has some fun projects, a lot of which use envelopes, just like this mini album I made for Christmas.

Yes, this wonderful album, full of space for pictures and journaling, used to be 6 envelopes and a cereal box. Laura did a series this past Christmas called The 12 Days of Christmas. On the 1st day, she made a Shaped Hinge Envelope Mini. I watched the video (click here) and I knew that is what I wanted to make for my Christmas album.

Here are the carts I used.
  • Create A Critter - Flower
  • French Manor - Medallion
  • Winter Frolic - Title

I just love this idea of using envelopes (any size will do) to make an album. It instantly creates all kinds of nooks and pockets for hiding stuff and increasing your real estate in a mini album. For this project, I used the Girls Paperie Tinsle and Twig collection of papers (This was a fantastic collection!). I mixed in some Bazzill Basic cardstock, Tim Holtz pins and tags and random ribbons. I used a beautiful holiday red piece of velvet ribbon to cover the binding of my album.

I cut several flowers in graduating sizes with my Cricut on Christmas music scores I downloaded and printed from the internet for free. I printed them on white cardstock and distressed them with 3 TH inks - Vintage Photo, Peeled Paint and Fired Brick. I put them all together with a cute embellished brad.

On some of my pages, I used 2 small hinges. On others, I used one large one.

One of Laura's tricks was very smart. Instead of covering the entire back of the shaped hinge with adhesive, only cover about 1/2" out from the center. This allows you to use your hinge to both hold the pages together and hold your picture or tag in place. Genius!

Here's a closeup of my flowers. I am probably going to add a few more to make it really full and plush.

I purchased these ribbons at The Crafty Scrapper in Waxahachie, Texas. This is a fabulous store ladies so if you are coming to Dallas for the Cricut Swarm in March, you should really try to carve out some time to visit them. I don't know who the maker of the ribbon is but I love the way it coordinates with this paper.

I hope you all love my mini just as much as I do. You will be seeing this project from me again in the future, with a new twist of course!

Smooches,

Robin

Sunday, December 12, 2010

Christmas Tree Shirt - My First!

As long as I have had a Cricut, I am just now starting to explore what it can cut besides paper. I took my first foray into vinyl this year (love that stuff!) and now I have tried fabric! Man was this easy!!!! I have been wanting to do this for a while but I have to admit - I was a little intimidated. But I saw this idea and knew this was my opportunity to try it out.

Most of you know that I have a Gypsy. I knew I wanted to put a tree on my shirt so I searched on my G for the perfect tree. I ended up finding what I wanted on the Create A Critter cartridge under Accessories. I made it about 8.5" wide and 7" tall to fit an XL t-shirt I picked up at Target.

Before I cut the fabric, I ironed it to get any wrinkles out. I had seen a video on YouTube about using Steam-A-Seam 2 as the fusable mesh (click here for video) so I ironed that to backside of the fabric. I cut my piece out and adhered it to my Cricut Mat with the right side of the fabric down (very important!). I then cut out my tree. I used Multicut x3 to ensure that my project came out as clean as possible.

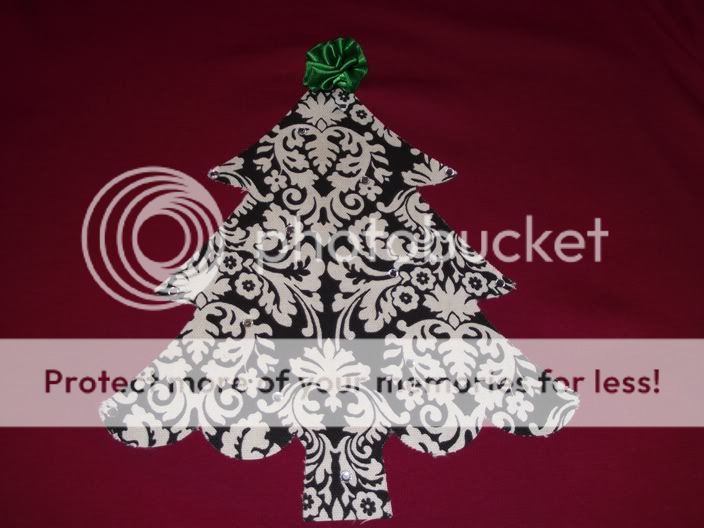
**IMPORTANT** Because I used an image that was symmetrical, I didn't have have to flip my image around. But if you want to cut words or an image that is not symmetrical, you will have to flip your image with DS or the G. Otherwise, your words will be cut backwards since the fabric is facing the mat.

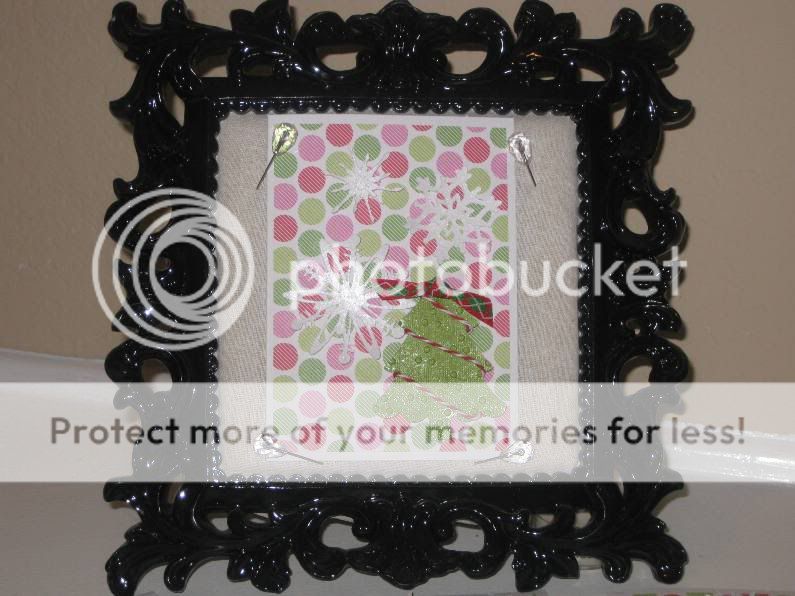
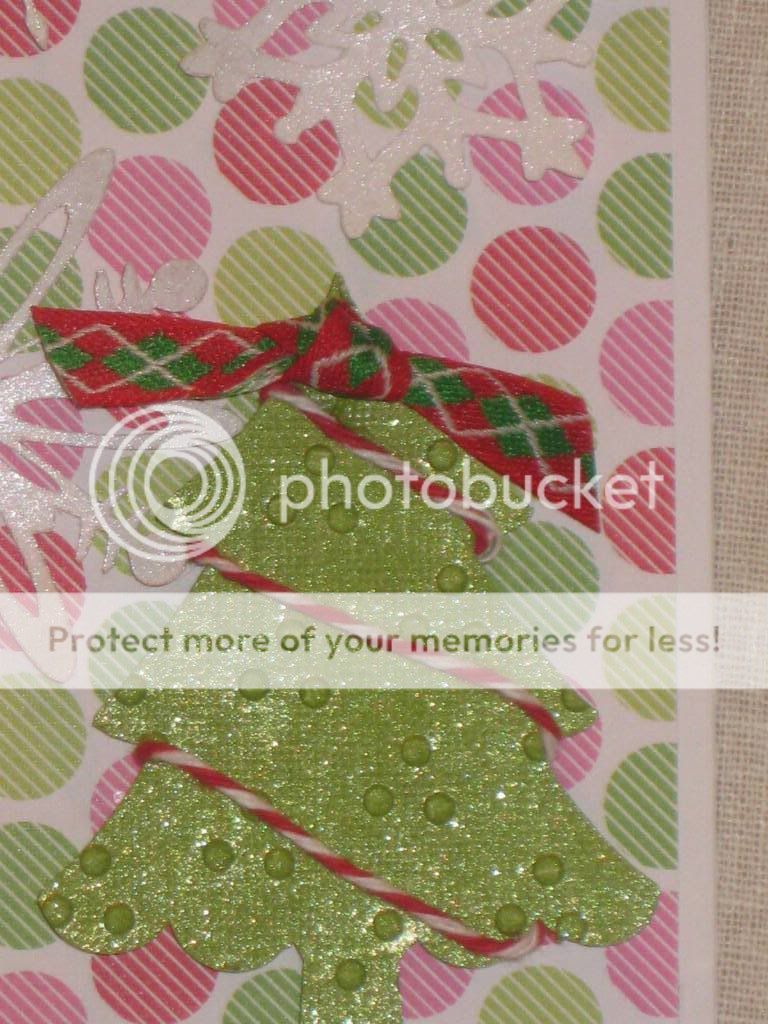
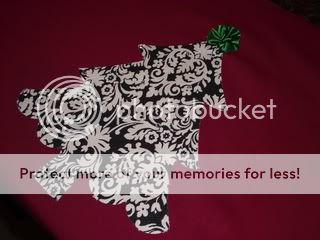
Once my image was cut, I ironed my image on my shirt following the iron setting recommendations of the Steam-a-Seam. It worked like a charm! I then ironed some Tulip iron-on bling (I have to have bling on most everything) on the tree to make it sparkle. I then decided to make a ribbon tree topper so I just ran a stich along the edge of a piece of double-faced satin ribbon and pulled the string tauwt. I then stiched it all together to make a kind of ball shape. I stiched that to the shirt and it was complete. I wore it to a charity event and got lots of compliments on it. Here are some closeup pics.


Thanks for looking and have a Merry Christmas!

Smooches,

Friday, November 26, 2010

Thanksgiving Journal 2010

Hi everyone! I sincerely hope that everyone had a wonderful Thanksgiving filled with family, food and fun.

I saw a post on the Cricut MB of a journal that for Thanksgiving. In the journal, all of your family and guests would write what they are thankful for. I thought this was a great idea and that I would make one for us. Here is what I came up with.

This was my first time making a complete mini album - cover and all. I am so pleased with how this came out.
Here are the details!

Carts
  • Thanksgiving - cover and pages, title, some of the leaves, hat and turkey
  • George - holes in the cover and pages
  • Gypsy Wanderings - leaves
  • Create a Critter - leaf
  • B is for Boy - leaves
I used my G to layout all the cuts I wanted to make. I searched for "leaf" and found several cuts that would work for my design. I layed them out on my G and made the cuts.

I used the card on the Thanksgiving cart for my cover and pages. Once I realized that I could use the same layout for the cover and pages, I was off and running. I put small circles on the card for the holes and removed the score marks. I cut the cover out of chipboard (an old ceral box) and cut the pages out of 12x12 cardstock.

Once all the pieces were cut out, I wanted to give the leaves more texture. So I ran some of them through my crimper and others through my wood grain embossing folder from Tim Holtz (I really love that one!). I glued the title on the cover, knowing that I would need room for the jute and leaves. I took some jute that I had gotten in the jewelry department and cut 6 lengths. I tied them around the top cover and tied a knot. I put the leaves from the Thanksgiving cart that were connected in the middle and tied the knot again. I then hot glued the leaves to the end of the jute and kinda let them float free.

I took the other cuts from the Thanksgiving cart and glued them randomly on the pages inside the book. These are the pages that I asked everyone to write on.

The other pages that are empty will be the pages that I put pictures from the day on. I will bring this out next year to show everyone and have a new one for everone to write in. I think I just started a new tradition for us! Thanks for looking!