Showing posts with label Plantin School Book. Show all posts

Tuesday, May 8, 2012

Teacher Appreciation Tag and Card

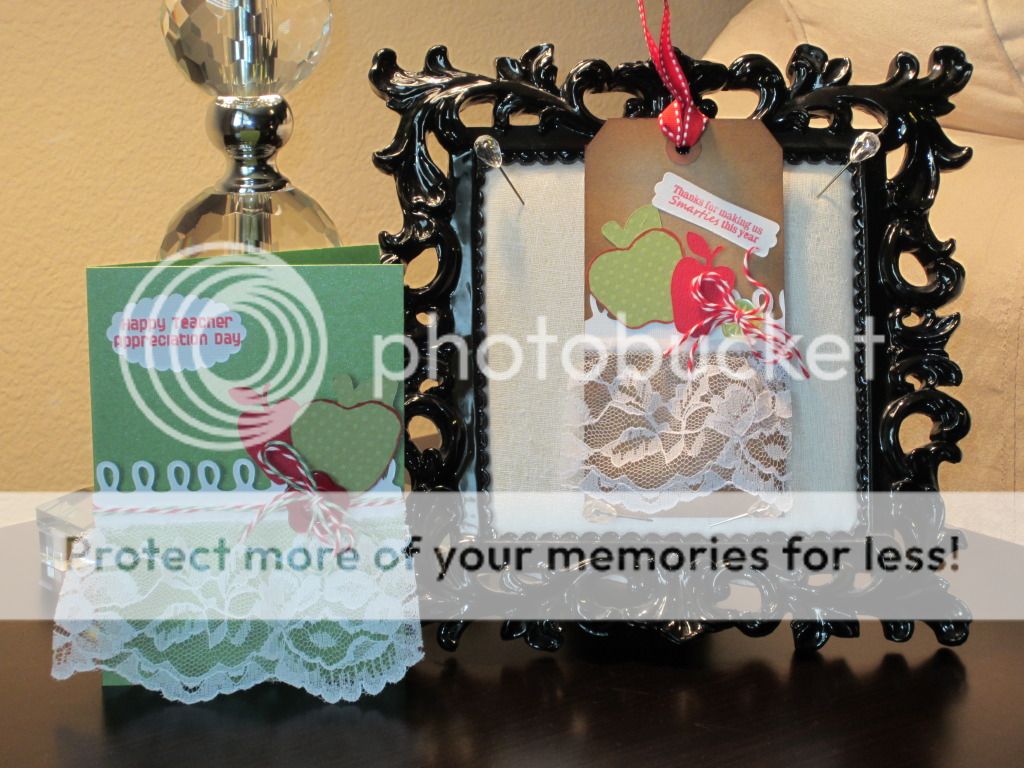
Hi everyone!  I am here with my first two projects from my retreat this past weekend.  Since it is Teacher Appreciation week, I thought it was appropriate to make some tags and cards for my fellow educators.  So here they are!


Carts and Materials
  • Doodlecharms - green apple
  • Plantin Schoolbook - red apple
  • MS Elegant Cake Art - loop border
  • Stamps - "Teacher Appreciation" set by Jaded Blossom
  • Twine - The Twinery
  • My Stash - lace, buttons, inks and paper


I started with a sparkly green card for the base.  I layered the loop border on with 2 kinds of twine and some pretty wide lace.  I then layered on some apples for that teacher influence.  Finally, I ran the twine through a large red button and then tied a bow.  I really like the way it all came together!


Now, for the tag!


I started with a natural card base.  I inked the edges with Tim Holtz Distress Ink in Vintage Photo.  I then added the loop border and lace.  I added the apples and glued on the button and twine.  I stamped the sentiment on a punched out tag, ran some ribbon through the top and and called it done. 
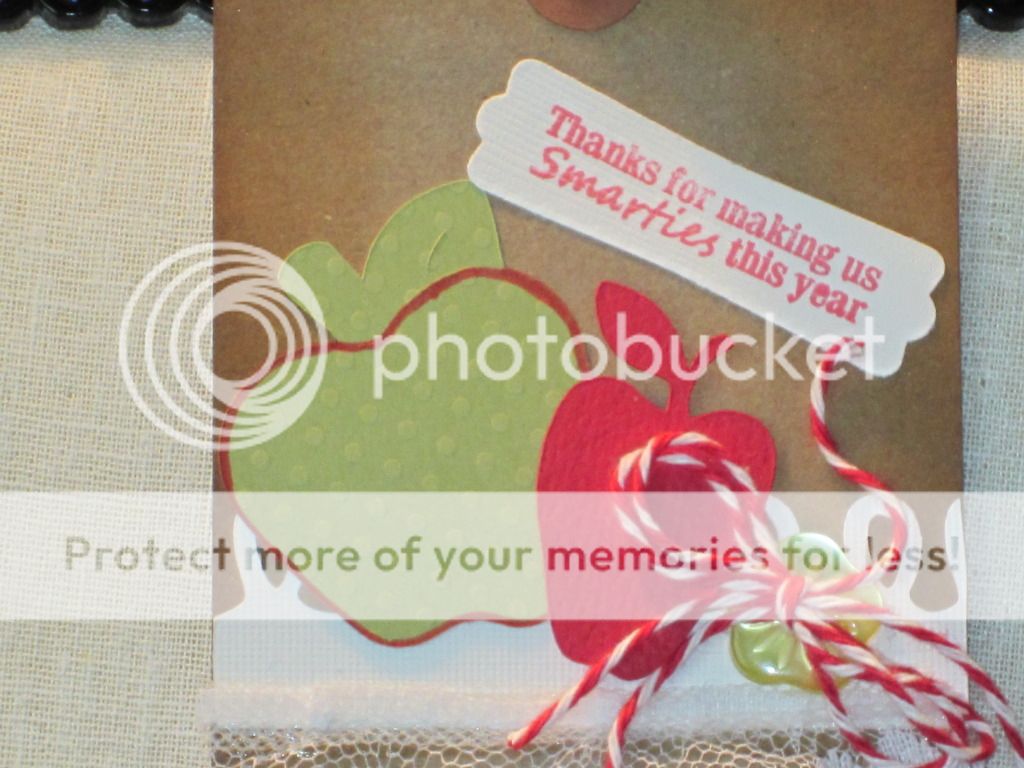

I have to send a shout out to my friend Stefani for letting me borrow her Teacher
Appreciation stamp set by Jaded Blossom.  It really helped complete the tag and card.  That's all for now.  I'll post another project soon.  Until then...


Smooches!

Robin


Thursday, August 4, 2011

Cartridge Spotlight Week - Plantin Schoolbook: Gift Tubes

Hey everybody! It's been a crazy busy week but I am back with the second project in this weeks Cartridge Spotlight. As you know, this weeks cartridge is Plantin Schoolbook. I was able to make this project with only cuts from this cart. So let's get to the project which is....Gift Tubes!


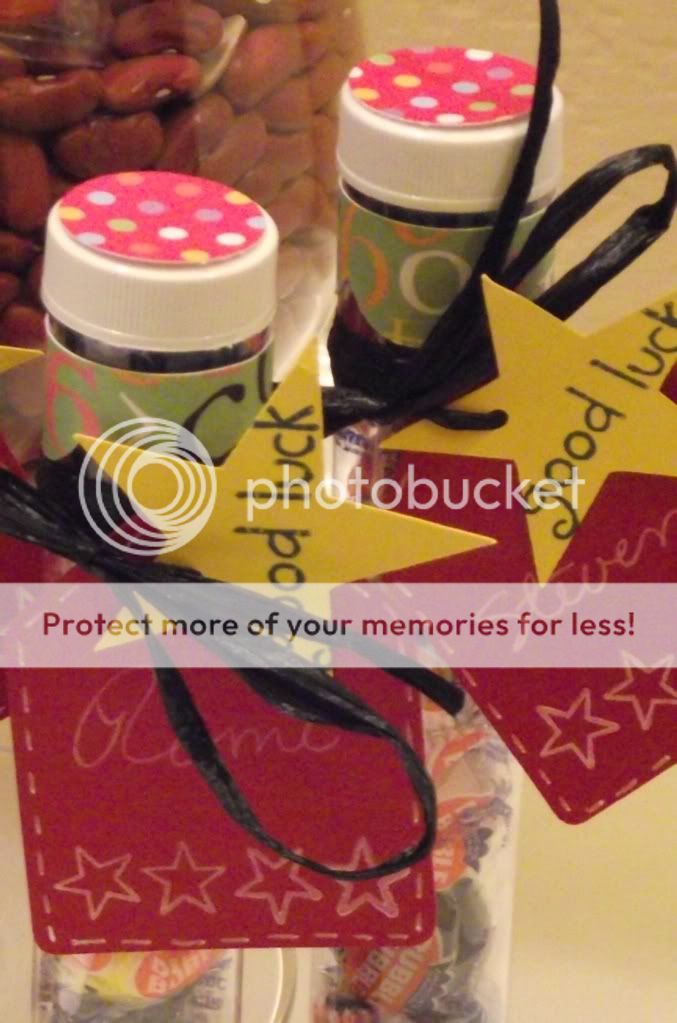
As many of you know, I am a teacher. I was promoted at the end of last school year to Special Education Department Chair at my high school. So I decided to make these tubes for my team to welcome them back this year.

I used the Grade School paper pack from DCWV again and some plain cardstock from my stash as well. I cut a scalloped border and glued that around the top. I also cut a tag and a star to put the names and sentiments on.

I stamped some stars and the sentiment using Stampin Up! inks and some stamps I found in the dollar bin. I also used my white gel pen to put some ticking around the edge of the tag. I tied them on to the tubes with raffia and glued a 1" circle to the tops of the tubes.

I forgot to say I filled the tubes with Dubble Bubble bubble gum. I hope my team likes these and that it gets them off to a great start to the year.

Leave me some love and remember to check back for at least 1 more project this week. Toodles!

Smooches,

Monday, August 1, 2011

Cartridge Spotlight- Plantin Schoolbook: Gift Bag

Hi everyone and welcome to my very first Cartridge Spotlight Week!  What is this you may ask?  From time to time, I am going to choose one of the over 250 beloved cartridges made for the Cricut machine and make projects with that cartridge.  I will try very hard to only use the weeks cartridge for all the cuts but I may have to venture out from time to time (don't hold it against me!).

So to start off this feature on my blog, I am starting with the Plantin Schoolbook cart.  Most people have this cart and since school will be starting soon, I thought it was the perfect choice.  Here's what I made!


Materials
  • Paper - Grade School paper pack by DCWV
  • Various Cardstock
  • Ruler Stamp - Maya Road
  • Ink - Stampin' Up! (red, black and white)
  • Various ribbons, buttons and twine from my stash

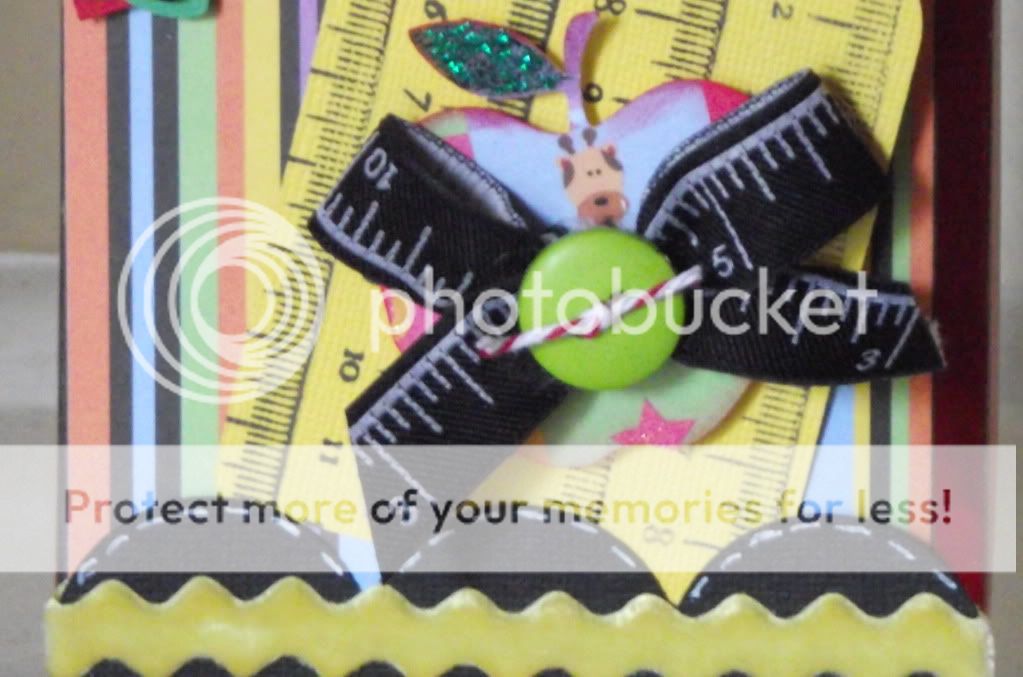
As I said before, all the cuts on this bag, including the bag, came from PS.  Most of the gems on this cart are at the endof the book.  I made the tag so that you can pull it out and write a note on the back.  It will slide back in and fit snuggly by the sentiment and the border on the bottom of the bag.


 I used the Roly Poly feature to cut a fatter apple.  I added some ticking with my white pen to the border for a little more flair.  Fill this gift bag with a few pens, pencils and a couple of stacks of post-it notes and send it to school with your child on the first day.  Guess who will be the apple of the teacher's eye then!!

I hope you have enjoyed this project and remember to check back all week for other projects made with this week's Spotlight Cartridge Plantin Schoolbook!

Smooches,


Monday, May 2, 2011

Mom U Rock Card

Who is always there for you through the ups and the downs? MOM!!!  Moms rock through life with the good and the bad, taking it all in stride.  This card celebrates mom's spirit and strength as well as her fragility and grace.  Let's dig in!

Carts Used
  • Gypsy Wanderings - music note (shadow)
  • Indie Art - guitar
  • Plantin Schoolbook - sentiment
  • Cuttlebug Folder - Allegro
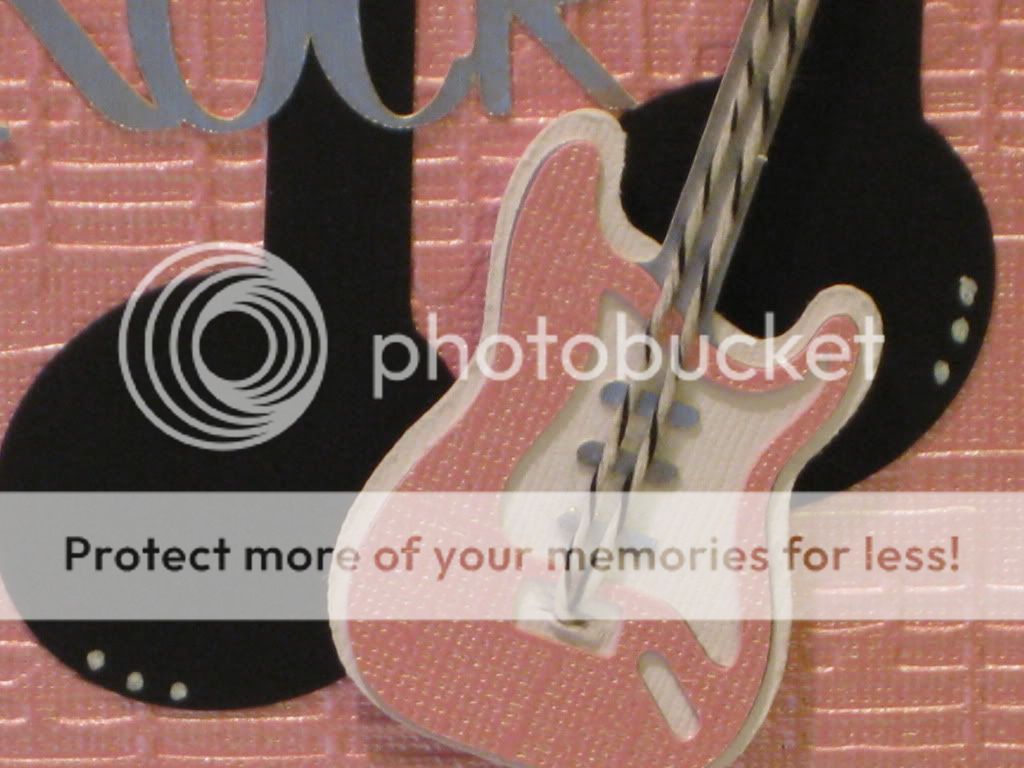
I used the pink Gemstones paper from Coredinations.  I really like the shimmer it gives off.  I cut a piece at 4.25" x 5.5" and embossed it with the "Allegro" Cuttlebug folder.  I attach it to the white card base.  I welded the sentiment together on my Gypsy, cut it out in silver and adhered it to the card as well.

 I cut the music note from basic black cardstock and adhere it to the card.  I cut all the pieces to the guitar and assemble it.  I add a little dimension to it by using black and white twine for the guitar strings.  Adds a nice touch, don't you think?! (You will have to cut a slit in the guitar base to feed the strings through.  Use an exacto knife.)

I put some pop dots behind the guitar to give it some lift and a shadow.  Doing this makes all the difference.  I added a few white dots here and there with my gel pen and it was complete.

I hope you like it because I love it!  Check back on Friday for my Mother's Day Blog Hop project.  It's super cute and useful.  Until then....

Smooches!


    Tuesday, July 20, 2010

    Great Idea! 30 Minute Cards

    There are so many celebrations going on all the time - birthdays, anniversary, new babies, graduations. The list goes on and on. And there are even less happy times that still call for a card. Sometimes, you need a card in a pinch. So I decided to start something called 30 Minute Cards!
    30 Minute Cards are cards that you can make in 30 minutes or less. They will use Cricut cuts, stamping or other quick techniques. They may not be as detailed as other cards that take more time but the result will always be the same - Beautiful!
    Here are 2 cards I made this weekend. My Father's birthday was Sunday and my MIL's is today. So I made them both a card.
    Father's Birthday Card
    My father isn't that old but he definitely isn't as spry as he used to be. He is starting to deal with getting older so I made him this card. Sometimes, it's not about how much detail is on the card but rather is it simply about the words. I used my computer to print "I'd rather call it Vintage!" on the inside. I used From My Kitchen to cut the phone and Plantin Schoolbook for the words. I really like the way it came together, all in 30 minutes.


    Mother-In-Law's Birthday Card
    For this card for my MIL, I challenged myself to not use my Cricut and get back into my stamps. I have quite a few stamps, mostly from SU!. All the stamps I used for this card came from SU! and I like the way I was able to mix sets to come up with this beautiful card. The ribbon is also SU!. I stamped the swirl with Pretty in Pink. I then stamped the tag in Close to Cocoa, cut it out and put some pop dots on it to give it a little lift. I finished the ribbon off with a gem pin and it was complete. My husband loved it!

    Look for more 30 minute cards in the future!
    Smooches,