Showing posts with label Indie Art. Show all posts

Saturday, September 24, 2011

Witch's Boot Altered Wood Cutout

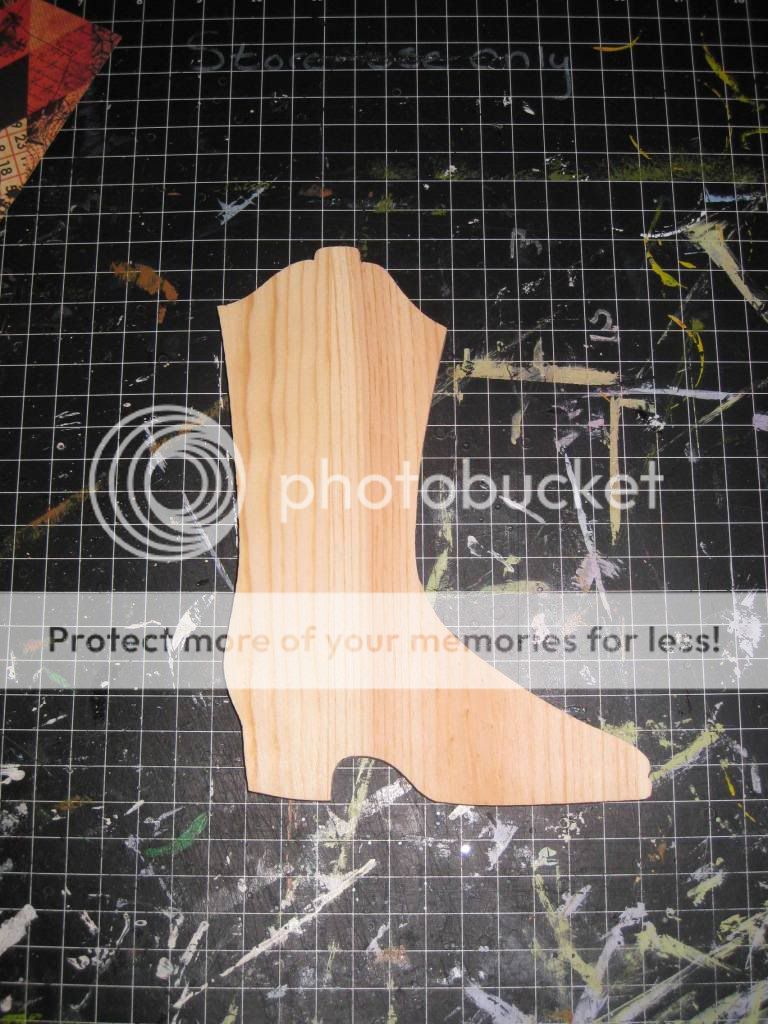
Hello to all my peeps out there in bloggerville!  I have a project for you today working with a raw wood cutout.  I haven't done many projects with this medium but I am fast falling in love with it.  I turned this...


into this!


Deets please!

Carts and Materials
  • Indie Art - skull and crossbones
  • Paper - Authentique "Glowing"
  • Paint - Martha Stewart "Beetle Black"
  • Glitter - Marth Stewart "Fire Opal"
  • Spray - Glimmer Mist "Graphite"
  • Ink - SU Basic Black, TH Spiced Marmalade
  • My Stash - black roses, black swirl bling, twine, crepe streamer, black ribbon trim

I attended the Cricut Stampede last Spring and we each received this wood cut out of a cowboy boot.  It has been sitting on a shelf in my craft room since I came home.  Halloween usually shows a lot of witch's boots so I knew I had found an opportunity to use my cut out.  I started by painting it black with some new paint from MS that I found at Michael's.  I then covered it with this beautiful Halloween paper from Authentique. 

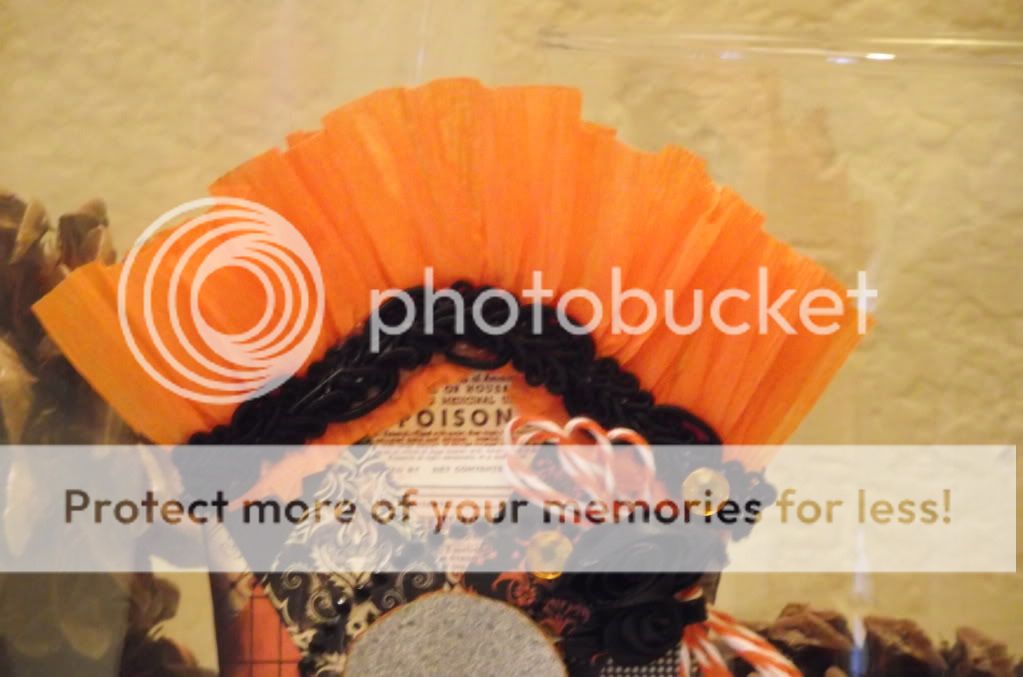
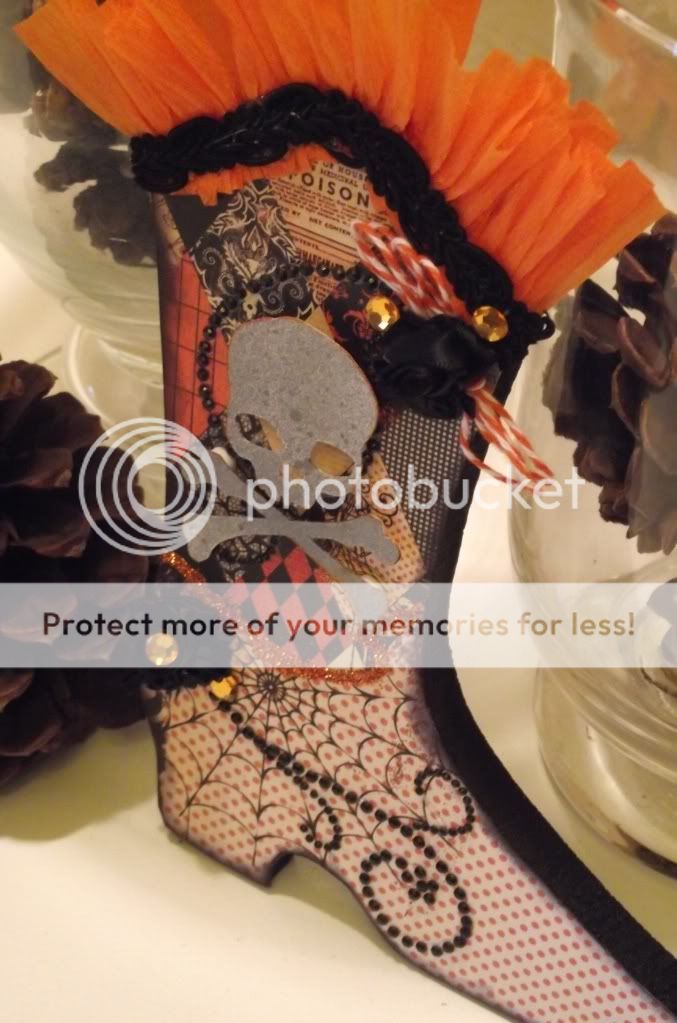
I adeded some crepe paper ruffles to the edge of the boot which makes the boot very girly.  I covered up my glue line with a piece of black trim.  Things were going in the right direction.

I used 2 different papers and I wanted to stress that detail.  So I added a line of glitter to make the transition more noticable.  now, it's time for the little details.

I am learning to layer in details instead of feeling like everything I put in a project has to be immediatley seen at first glance.  I am still working on this but I feel I did a good job here.  I added some black swirl bling and layered a skull and crossbone cut on top.  I covered the cut with Glimmer Mist in Graphite.  I love the splattered look.  I edged it with Spiced Marmalade ink.  I plopped several loops of twine and some black roses at the beginning of the bling to complete the look.

I added another black swirl of crystals complete with a cluster of roses.  I also added a few orange diamonoids to finish the look.


I edged the entire boot with Basic Black ink to give it more of an aged look.  Do you love my kickin' witche's boot?  I sure do!  With boots like these, anyone could get into a little trouble!  Until next time...

Smooches!


Thursday, July 14, 2011

Texas, The Lone Star State Pennant

I'm back again with another project this week!  My scissors and cricut machine are getting some miles put on them this week.  I'm entering another contest on the Cricut Circle and this time we had to create a pennant that represented our state, country or province.  Here is my project.


Carts and Materials
  • 50 States - shape of Texas, Bluebonnet
  • Birthday Bash - Pennant
  • George and Basic Shapes - star
  • Indie Art - rose
  • Old West - font, hat, boot, longhorn, cards
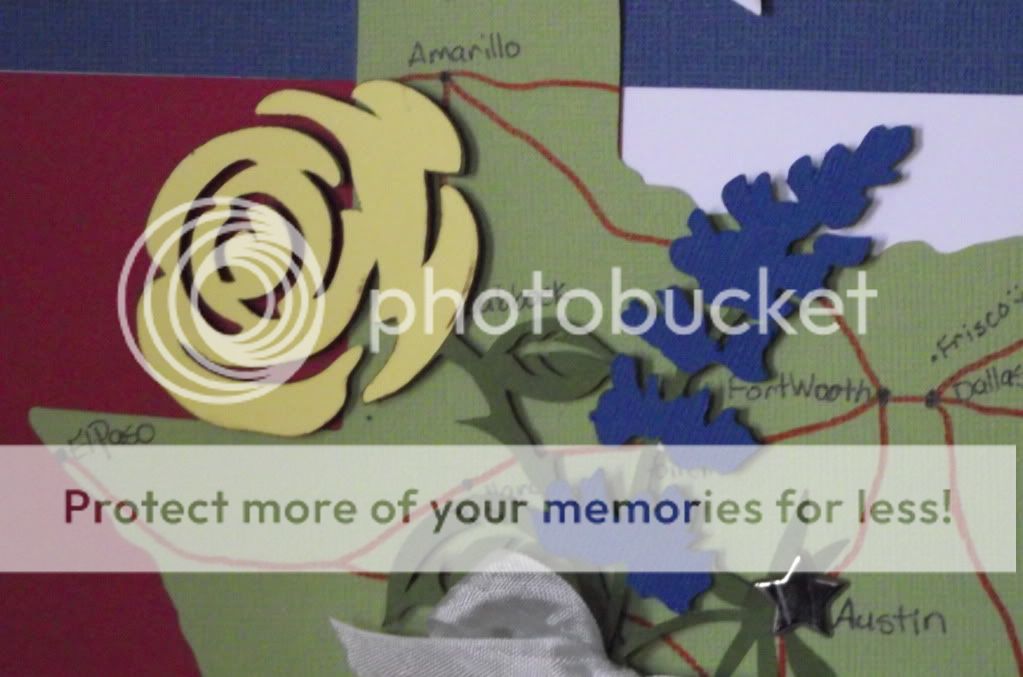
The background of the pennant is the Texas State Flag.  To make the star more dimensional, I pinched each point and then put pop dots on the back to raise it up.  I cut the title shadow twice to make it standout more.  I like the old west typeface which harkens back to the state's history.

I hand drew a map on the green Texas shape.  It shows some of the most popular cities with a small shout out to Frisco where I live.  I also included the official (Bluebonnet) and unofficial (Yellow Rose) flowers of Texas.  They are tied together in friendship.  The Spanish word for Texas is Tejas, which means friendship.


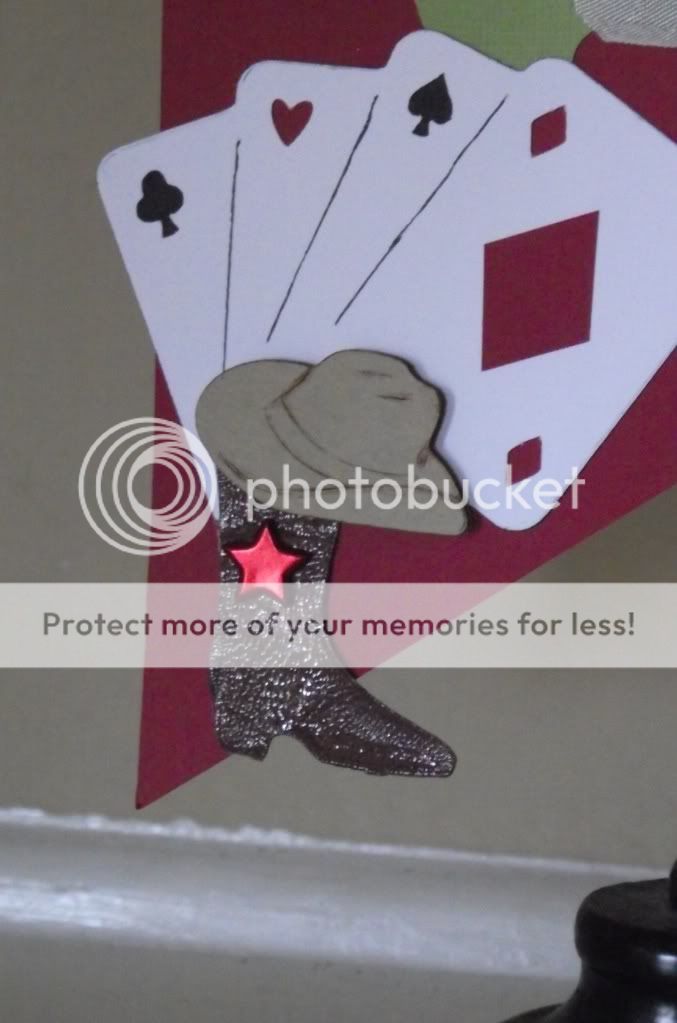
The cards represent Texas Hold 'Em, the most popular form of poker.  An no self respecting cowboy would ever be caught without their well worn boots and trusty hat.

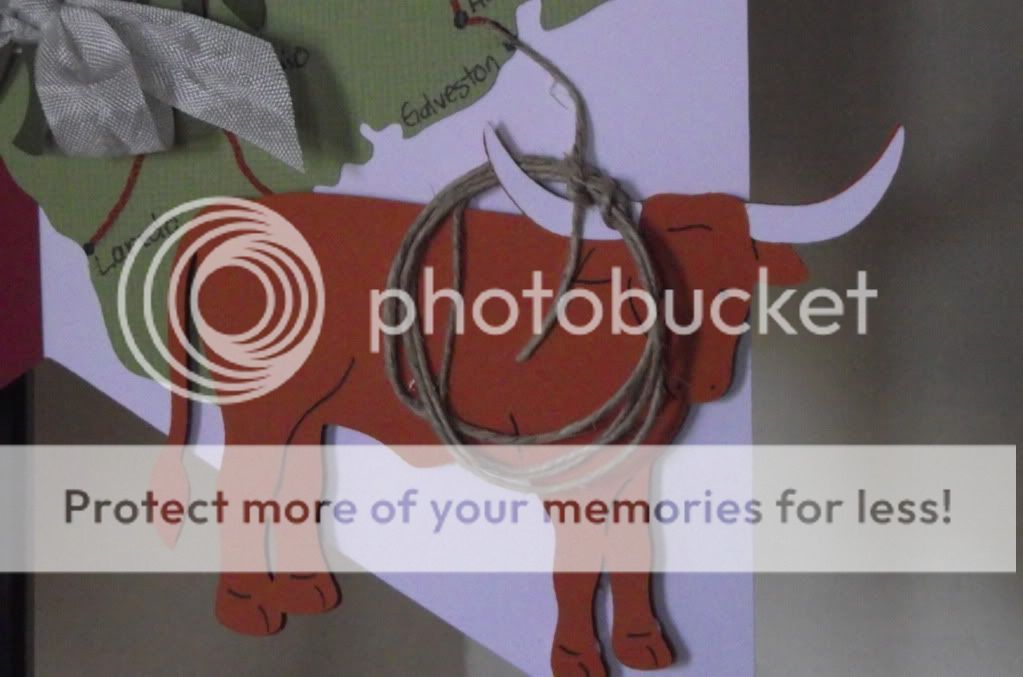
Longhorn cattle are legendary in Texas and also the mascot of The University of Texas.  And you will need a lasso to catch one or practice your trick roping.


I used lots of pop dots on this project so I hope it gets to Utah in one piece.  Thanks for checking out my post and sharing this project with me.  I hope you will leave me some blog love!  Until next time...

Smooches!


Monday, May 2, 2011

Mom U Rock Card

Who is always there for you through the ups and the downs? MOM!!!  Moms rock through life with the good and the bad, taking it all in stride.  This card celebrates mom's spirit and strength as well as her fragility and grace.  Let's dig in!

Carts Used
  • Gypsy Wanderings - music note (shadow)
  • Indie Art - guitar
  • Plantin Schoolbook - sentiment
  • Cuttlebug Folder - Allegro
I used the pink Gemstones paper from Coredinations.  I really like the shimmer it gives off.  I cut a piece at 4.25" x 5.5" and embossed it with the "Allegro" Cuttlebug folder.  I attach it to the white card base.  I welded the sentiment together on my Gypsy, cut it out in silver and adhered it to the card as well.

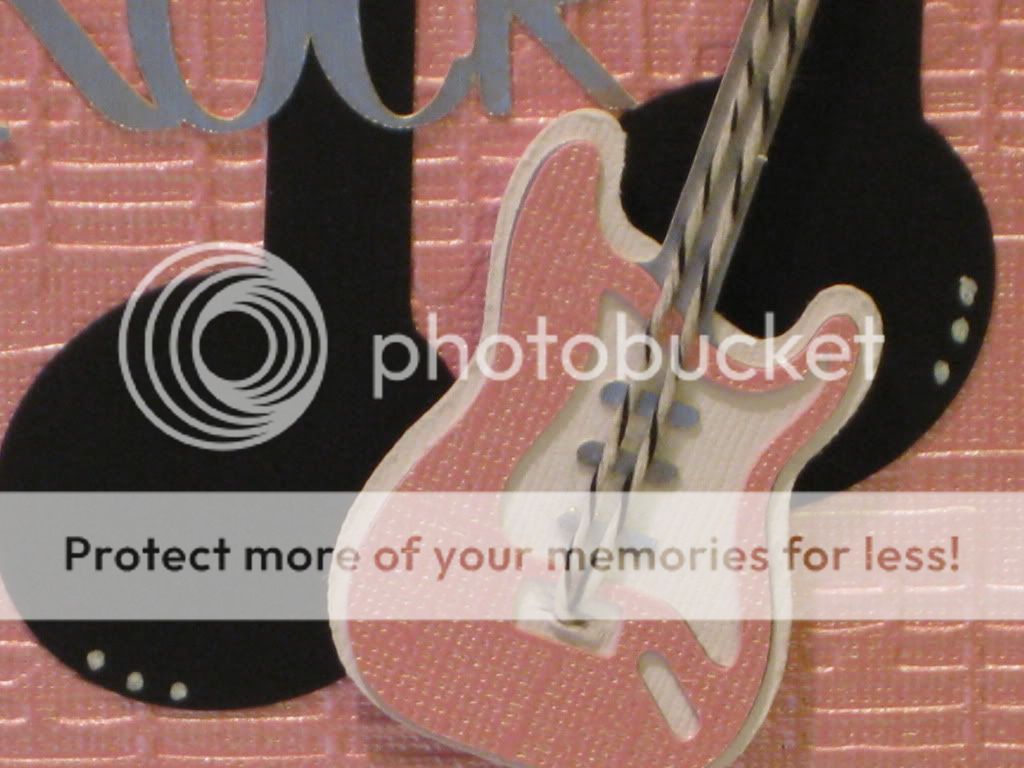
 I cut the music note from basic black cardstock and adhere it to the card.  I cut all the pieces to the guitar and assemble it.  I add a little dimension to it by using black and white twine for the guitar strings.  Adds a nice touch, don't you think?! (You will have to cut a slit in the guitar base to feed the strings through.  Use an exacto knife.)

I put some pop dots behind the guitar to give it some lift and a shadow.  Doing this makes all the difference.  I added a few white dots here and there with my gel pen and it was complete.

I hope you like it because I love it!  Check back on Friday for my Mother's Day Blog Hop project.  It's super cute and useful.  Until then....

Smooches!