
 Hi everyone! I saw this dress card with paper lace made from a border punch on the Cricut Messageboards and I just had to try it. I really love the way it came out. I had a little snafoo on the left side but I will have to fix that for the next time. And since it is wedding season, I am sure this card will come in handy. Here are the details.
The entire crad was made form the Gypsy Wanderings cart!
The dress template actually came from the Gypsy A to Z video from Above Rubies Studio (thanks so much!). It was made from the shadow function. I did have to make some adjustments to the design and I think I will make a few more in the future.
The sash on the dress is an accessory to the dress image. Size it to make it fit your card. Shower is one of the phrases on the cart and it has the shadow to go with it as well.
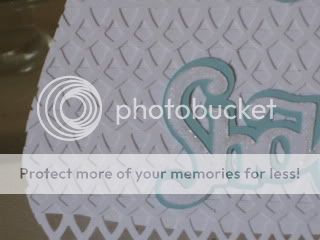 Now, for the lace! I used the Arch Lattice border punch from Martha Stewart. I am sure you could probably use a wide selection of border punches but this was the one I chose. Through trial and error, I found a couple of ways to make cutting the lace easy and fast.
 1. Cut several 3/4 inch wide pieces of paper (it really depends on the size of your punch design. You may need to increase it but this size works for the average punch). This size of paper gives you a little strip of paper at the top where you can apply your adhesive. The length is up to you - just make sure it extends past the longest part of the dress.
2. Place the piece of paper under the punch so that you don't see the edge of the paper on one side. This is important.
3. Move the paper to the left (for right handed people). I like the MS punches because there is a little guide of the deisgn that helps me line the paper up straight and continue the design.
4. Continue to punch along until you reach the end of the strip. When you finish, you should have two strips of paper - one with the lace edge and one that is just a strip. By starting with the end of paper under the punch, it allows you to completely sever the extra little strip of paper and you don't have to cut it. This saves you a step. See the picture below for examples of the process.
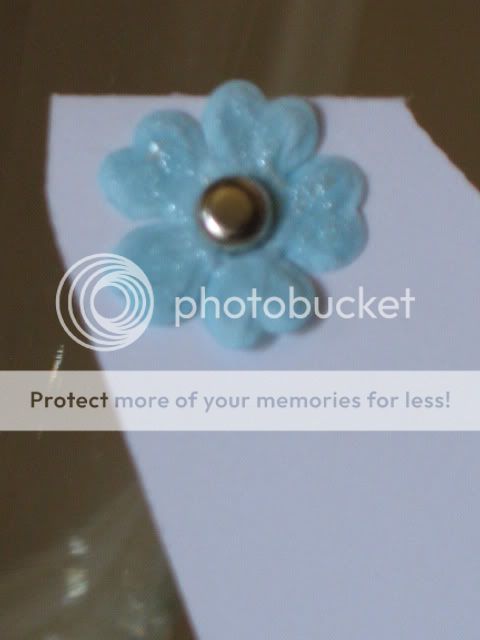
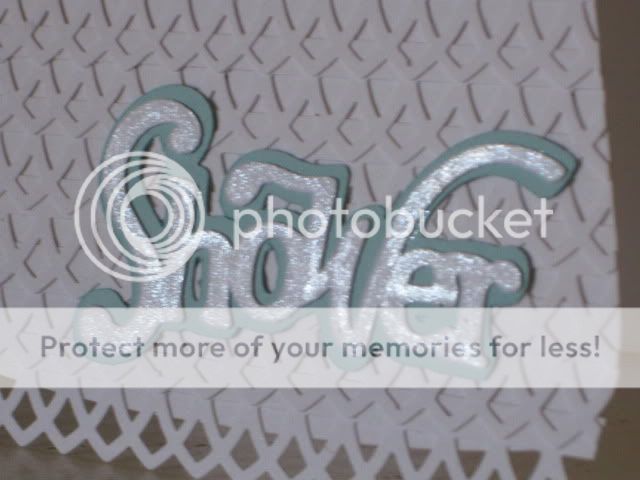
 When I cut out the word "Shower", I felt like it needed a little zing! So I added someting called Smooch Peralized Top Coat in the color Illuminate. It's like fingernail polish for paper. I also brushed it on the flower I added on the shoulder, put a tiny silver brad in it and attached it to the dress. Voila! It was done and I really like the way it came together.


- Start laying your lace from the bottom of the dress. This way you can lay your next piece on top of the last one so that it looks layered
- Lay the lace on the dress with a little extra hanging over the edge.
- Use your precision scissors to trim the edges of the lace to follow the edge of the dress. Don't use an exacto knife. This is how I ended up with my little snafoo on the left side
I hope you like the card. Please leave me some blog love and TFL!!!!
Smooches,
Robin
The Scrappin' Delta Diva

Very Pretty card! Love the lace!
ReplyDeletereally great way to use a punch..... Pretty little card...... See you on the MB.....
ReplyDelete