Showing posts with label B is for Boy Lite. Show all posts

Friday, November 26, 2010

Thanksgiving Journal 2010

Hi everyone! I sincerely hope that everyone had a wonderful Thanksgiving filled with family, food and fun.

I saw a post on the Cricut MB of a journal that for Thanksgiving. In the journal, all of your family and guests would write what they are thankful for. I thought this was a great idea and that I would make one for us. Here is what I came up with.

This was my first time making a complete mini album - cover and all. I am so pleased with how this came out.
Here are the details!

Carts
  • Thanksgiving - cover and pages, title, some of the leaves, hat and turkey
  • George - holes in the cover and pages
  • Gypsy Wanderings - leaves
  • Create a Critter - leaf
  • B is for Boy - leaves
I used my G to layout all the cuts I wanted to make. I searched for "leaf" and found several cuts that would work for my design. I layed them out on my G and made the cuts.

I used the card on the Thanksgiving cart for my cover and pages. Once I realized that I could use the same layout for the cover and pages, I was off and running. I put small circles on the card for the holes and removed the score marks. I cut the cover out of chipboard (an old ceral box) and cut the pages out of 12x12 cardstock.

Once all the pieces were cut out, I wanted to give the leaves more texture. So I ran some of them through my crimper and others through my wood grain embossing folder from Tim Holtz (I really love that one!). I glued the title on the cover, knowing that I would need room for the jute and leaves. I took some jute that I had gotten in the jewelry department and cut 6 lengths. I tied them around the top cover and tied a knot. I put the leaves from the Thanksgiving cart that were connected in the middle and tied the knot again. I then hot glued the leaves to the end of the jute and kinda let them float free.

I took the other cuts from the Thanksgiving cart and glued them randomly on the pages inside the book. These are the pages that I asked everyone to write on.

The other pages that are empty will be the pages that I put pictures from the day on. I will bring this out next year to show everyone and have a new one for everone to write in. I think I just started a new tradition for us! Thanks for looking!

Monday, September 20, 2010

New Wheels Card

Don't you love a new car?! I do! The smell, the shine, the feel. It all makes me smile. Just like this card called "New Wheels" for a person who got a new car.

I love the Little Tykes car cut on the B is for Boy Lite cart. I thought it would be cute on this card. It harkens back to your childhood - kinda like the feeling you get when you get a new car! Here are the details.

Cartridges:

  • B is for Boy Lite - car
  • Everyday Paperdolls - tree, road and cloud

I started out by cutting all the pieces out. I elongated the tree so it would fill in more space on the card. I covered the card in a pretty light blue that resembled a clear sky. I took the cloud and embossed it with the Swirls embossing folder. I took the green part of the tree and embossed it with the Dots folder.


to give the car a little more definition, I cut out 2 of the car bodies in red. I inked all parts of the car with Black Soot Distressing ink and a Fanstastix (it got a little messy, hence the stray marks). I attached one body directly to the yellow base, put pop dots on the second and attached it to the car. Then I put the wheels on and the car was complete.

Since I design and place all my cuts on my G, I made sure the road was just the right length for an A2 card. I attached the pieces to the card in this order: road, tree, car, cloud.

I really adore the cuteness of this card. I think you could even give this as a birthday card to a little boy. Thanks for looking and leave me some comments. They keep my creative juices flowing!

Smooches,

Robin
The Scrappin' Delta Diva

Thursday, July 15, 2010

Boys and Their Toys Card

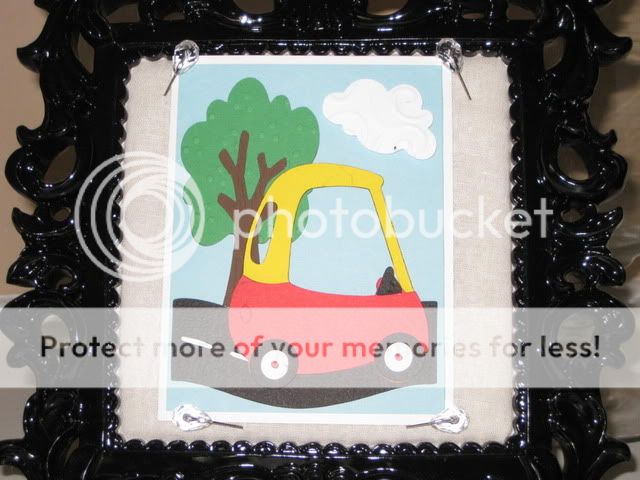
Oh, oh, oh!!! I have been about to come unglued trying to wait to share this card with you all! I have been in a very creative mood this summer but I try to space my posts out so I can have at least 1 or 2 a week. I made this card last Saturday and couldn't wait to share it with you. I call it Boys and Their Toys and I absolutely love the way it came out! I think it looks like the Little Bill cartoon. I tried some new things with this card so let's get to the details.
Carts:

  • Sugar and Spice Lite - wagon
  • B is for Boy Lite - all the toys

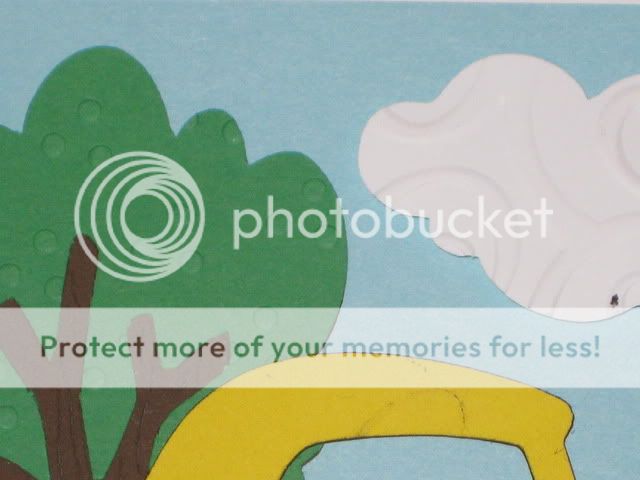
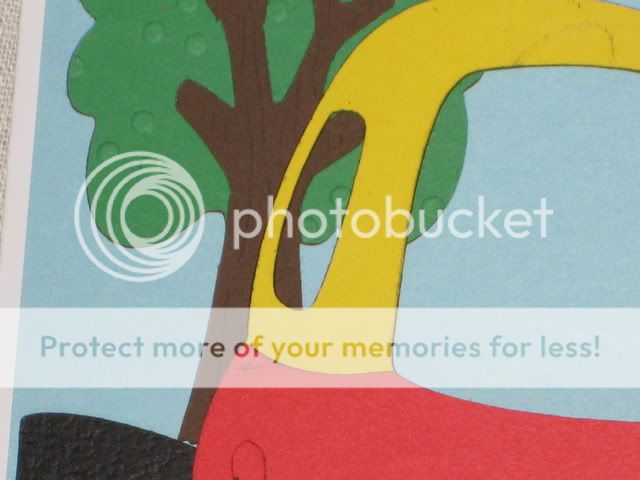
For those of you who have been following me, you know that I started a recent love affair with the Tim Hotlz inks. They are amazing and here is yet another reason why. I made the background paper!!!!! Yeah, uh! I'm stepping up my game. I wanted to use the TH inks but my eBay order had not come in with all my differnt shades of blue. So I only had Broken China in the reinker on hand. I knew that you could spray a craft mat with water was one way to use his ink pads so I decided to do that with the reinker and see what happened. I dropped a few drops of ink on the mat, sprayed it and swirled it around with the tip of a paint brush. I then dipped my white cardstock in it and turned it over. By the look in my eyes you would have thought I had found Fort Knox (or won a golden Cricut!). I repeated this step a couple of times and the results are what you see. I am very pleased with this technique and will be doing it again. I am going to make a post with pics for this technique by the end of this week.


I then cut the wagon out using the Sugar and Spice cart. I don't know why they have a wagon on the girl cart and not the boy but they do. I had to work on this wagon a little. I wanted the handle and the detial to be silver. So I cut the base in silver. But when I went to layer it, the wheels were silver. So I ended up have to cut another bas in black, punch holes in the wheels for the "hub cap", trim it so the sliver line would show and glue it under the red layer. So that is why there is a little adhesive on the "hub cap".


Next, I cut all the layers for the toys. This was a lot of small work but it paid off big time. I just love all the details in the toys. I colored the details on the Jack-In-The-Box's face on because the cut outs were way to small to glue on.


I put pop dots on the wagon and put it on the card. I then glued the toys to the card, making sure to put some of it below the line of the wagon so they look like they are "in" the wagon. I was going to put a title on there but when I finished, I thought it was perfect the way it was.

I don't think I could be happier with this card than I already am, especially since boy and guy cards are so hard for me. TFL!!!

Smooches,