Tuesday, May 8, 2012

Teacher Appreciation Tag and Card

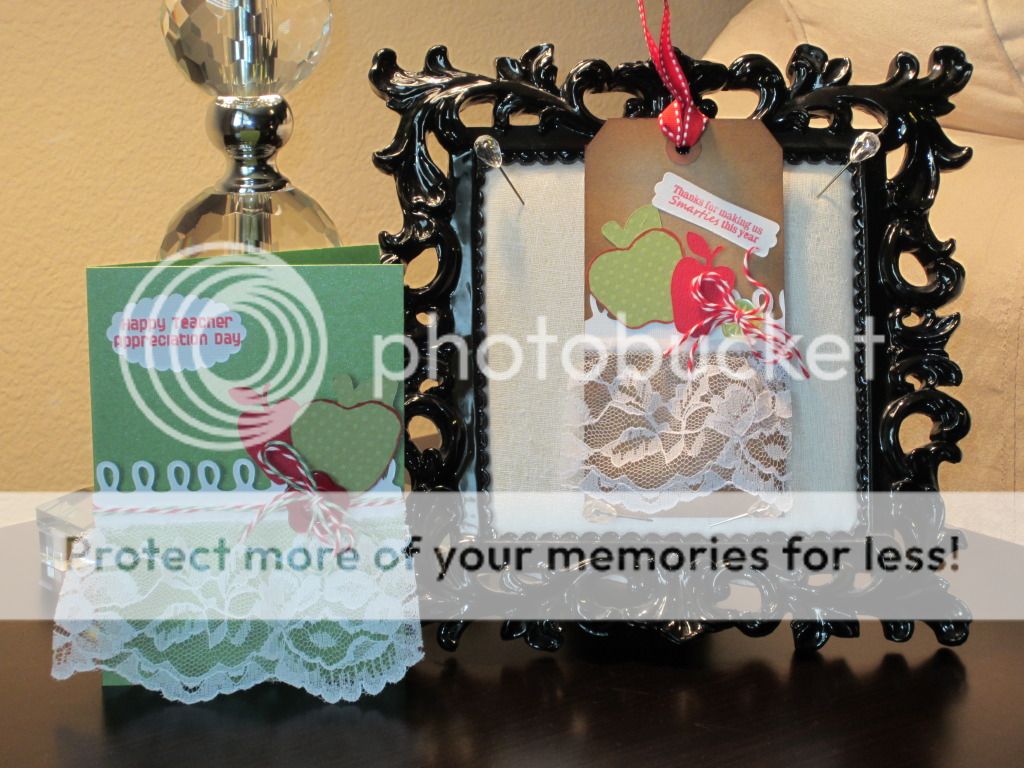
Hi everyone!  I am here with my first two projects from my retreat this past weekend.  Since it is Teacher Appreciation week, I thought it was appropriate to make some tags and cards for my fellow educators.  So here they are!


Carts and Materials
  • Doodlecharms - green apple
  • Plantin Schoolbook - red apple
  • MS Elegant Cake Art - loop border
  • Stamps - "Teacher Appreciation" set by Jaded Blossom
  • Twine - The Twinery
  • My Stash - lace, buttons, inks and paper


I started with a sparkly green card for the base.  I layered the loop border on with 2 kinds of twine and some pretty wide lace.  I then layered on some apples for that teacher influence.  Finally, I ran the twine through a large red button and then tied a bow.  I really like the way it all came together!


Now, for the tag!


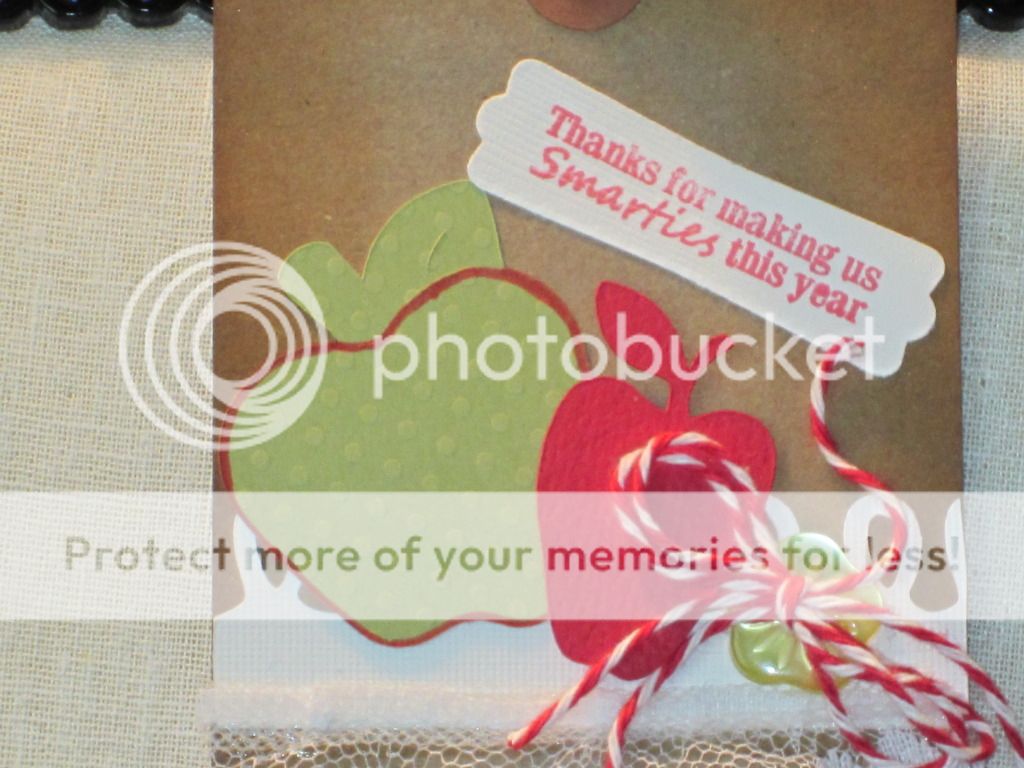
I started with a natural card base.  I inked the edges with Tim Holtz Distress Ink in Vintage Photo.  I then added the loop border and lace.  I added the apples and glued on the button and twine.  I stamped the sentiment on a punched out tag, ran some ribbon through the top and and called it done. 


I have to send a shout out to my friend Stefani for letting me borrow her Teacher
Appreciation stamp set by Jaded Blossom.  It really helped complete the tag and card.  That's all for now.  I'll post another project soon.  Until then...


Smooches!

Robin


Friday, May 4, 2012

Hello Everybody!

I know, I know!  It's been a looong time since you guys have heard from me.  All I can say is life can throw you some real curve balls.  And you better be paying attention or they will knock you down!  I had to take some time off from crafting to take care of life business.  But by the grace of God, I am back!

As a matter of fact, I am at my very first scrapbooking retreat this weekend.  I was invited by my good friend Stefani Chastain to attend with her and a group of ladies.  It's sort of a mini reunion of the wonderful friends I made last year at the Cricut Stampede - Stefani, Kim and Miro.  We are in picturesque Tyler, Texas at the luxurious Memory Lane Inn.  I can't believe this place!  It is a crafters dream!  They have thought of everything and left no stone unturned.  Check out their website at http://www.memorylaneinn.com/.

There are 13of us here and we are already having a blast.  I will be posting pics of the weekend and my projects next week.  Be sure to check back to see what crafty goodness I have whipped up.  Until next time...


Smooches!

Robin

Tuesday, January 17, 2012

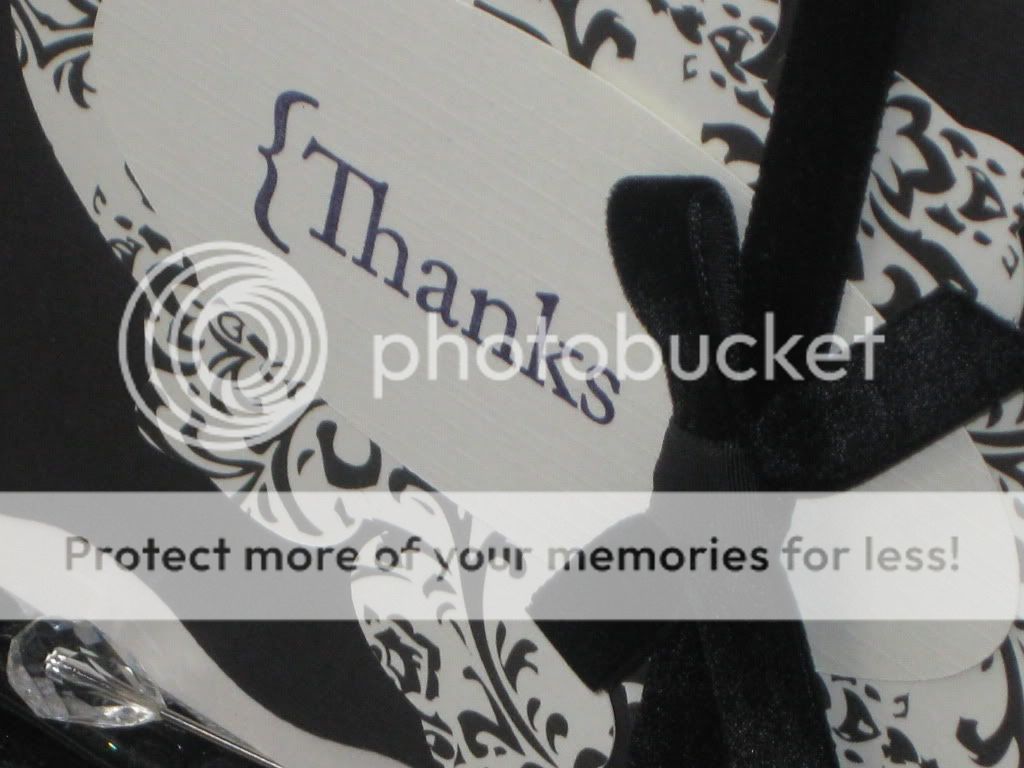
December Card Swap Card - Thanks

Happy New Year Divas!

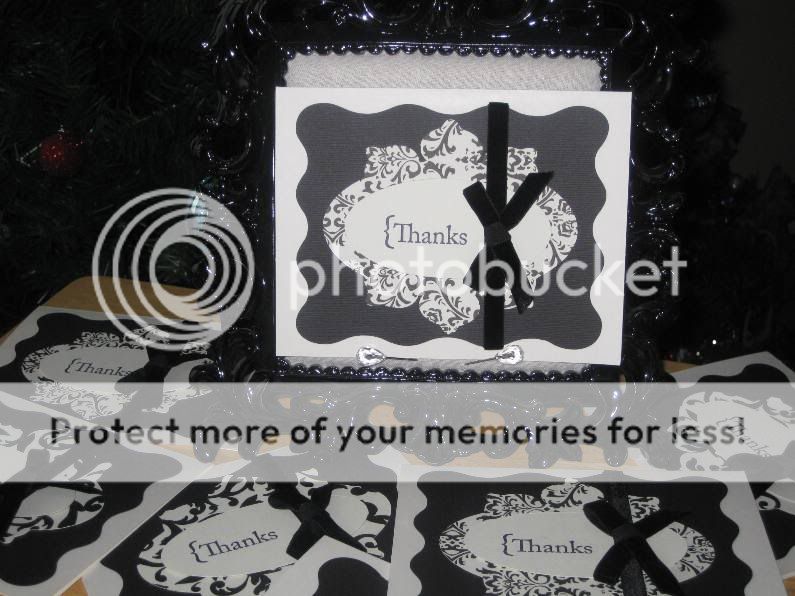
With the kind of 2011 I had, no wonder I am starting my new year off by posting December's Card Swap card!  But I guess it is better late than never.  So here it is.


Carts and Materials
  • Paper Trimmings Circle Exclusive - rectagular frame and decorative oval frame
  • Opposites Attract - Oval
  • Decorative Paper - Recollections brand from Michael's
  • Ribbon - stash
  • Stamp - Stampin Up!

You know how you get something new and you can't wait to use it?!  That's how I felt about this cart.  I was really looking forward to this cart because I felt I could do a lot with it.  I was right. 


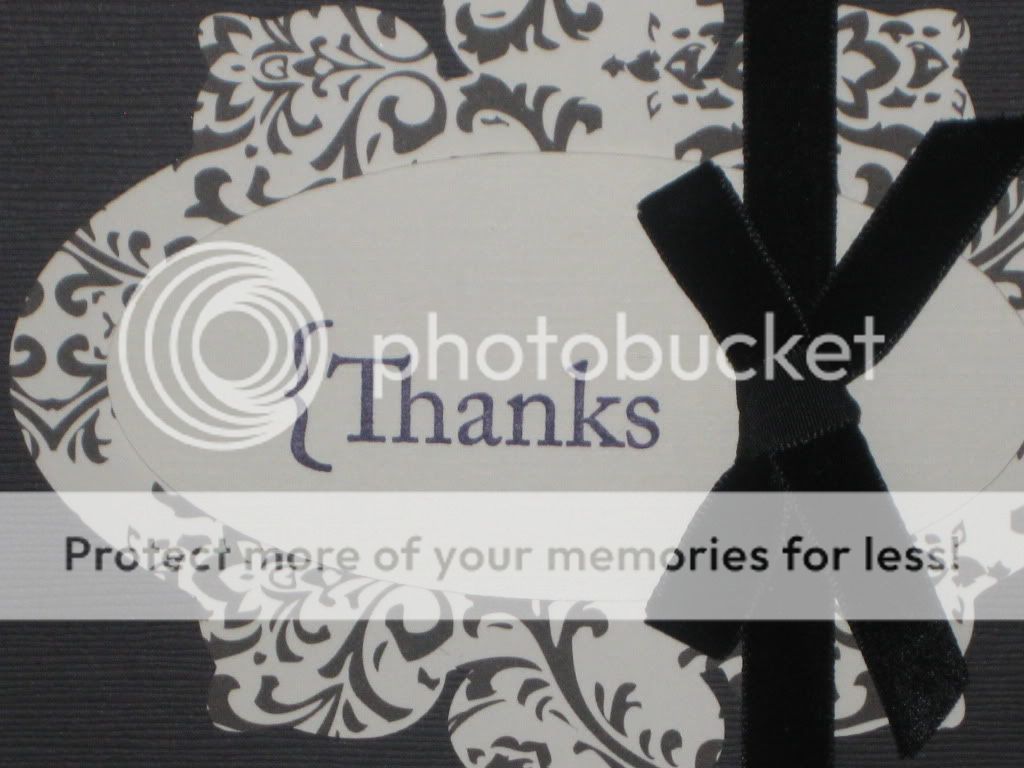
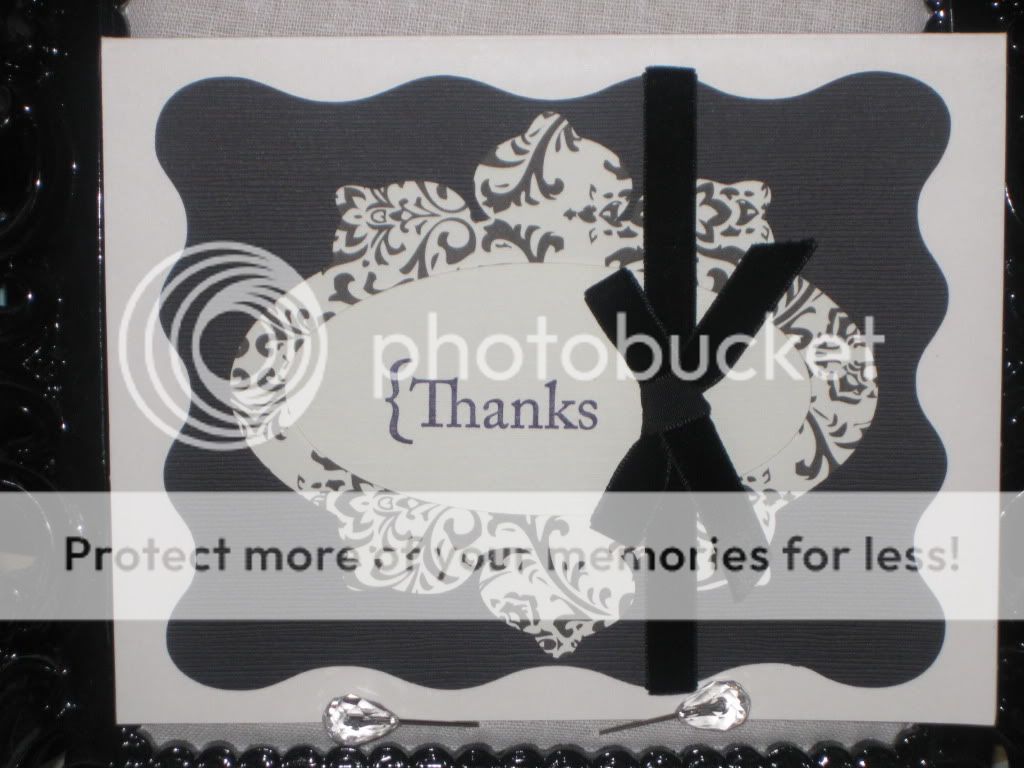
Since this was a larger card, I tweaked the backgrounds a little by stretching them on my Gypsy to fit my card base.  The oval shaped mat using the decorative paper is actually a circle.  So you can see how versatile this cart can be.  I used a stamp I had from SU! to stamp my sentiment on the basic oval.  That's one thing I love about the Gypsy - I was able to layer my oval on top of my design to make sure it fit perfectly.  I love that!


I added the final touch with a velvet ribbon and bow.  I think it adds a touch of elegance and ties the whole card together.  I tied the bows individually and glued them to the strip of ribbon after it was attached to the card. 

You can see from this picture that I used a couple of different design papers to mix it up a little.  I like the way they came out and I hope you do too.  Leave me some blog love and let me know what you think.

Until next time...


Smooches!

Robin

Sunday, December 4, 2011

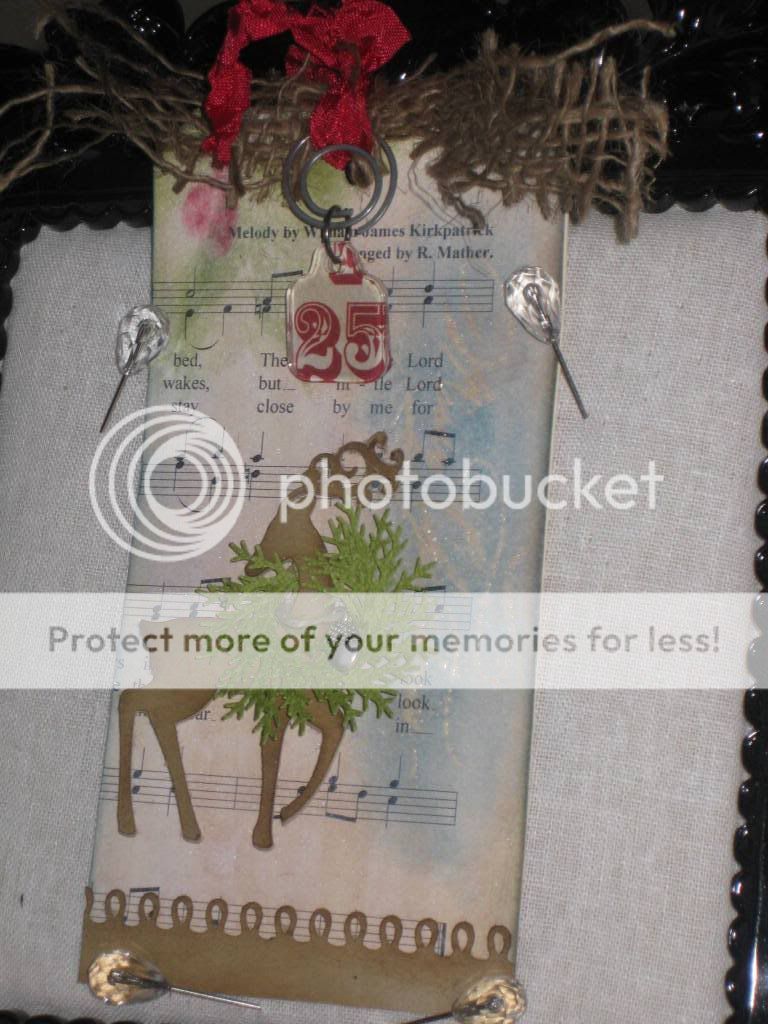
12 Tags of Christmas - My Version of Tag #2

As many of you know, Tim Holtz is in full swing with his annual 12 Tags of Christmas.  These tags are truly works of art and he encourages us to make our own version of the tags.  I have loved each and every one but I decided to start my attempts with Tag #2.  Here it is!


Carts and Materials (Warning: This list is long!)
  • Christmas Cart - Reindeer (cut 3 times)
  • George and Basic Shapes - circle (for wreath base)
  • MS Elegant Cake Art - border
  • TH Distress Inks - Peeled Paint, Fired Brick, Stormy Sky, Vintage Photo
  • TH Distress Stain - Picket Fence
  • Versa Mark Embossing Ink
  • Stamp - SU Hand Penned Holiday
  • Punch - MS Pine Branch
  • Perfect Pearls Mist in Perfect Pearl
  • My Stash - twine, acorn charm, red seam binding, TH Fragments Charm, round paper clip, tag
Making this tag was more involved for me because I didn't have everything that Tim used in his tag.  He used his line of paper that already had the vintage look and an embossed saying.  I had to create mine.  I started with some free Christmas sheet music I found on the internet.  Once printed, I aged it with my TH vintage photo ink.  I then lined it up with my tag and cut out the shape. 


I covered the entire tag with the TH Distress Stain in Picket Fence.  You need to let this soak in the paper for a few seconds and then hit it with a heat gun.  I wanted to create the embossed design on the right side of the tag.  I found a "Merry Christmas" stamp I had from SU and stamped that with my Versamark pad.  I covered it with UTEE (Ultra Thick Embossing Powder) to make it really stand up and then hit it with the heat gun.  In an effort to make it stand out even more, I went over the raised image with TH Distress Ink in Stormy Sky.  I wish I had had a stamp with more coverage.  I think my stamp is too fine to really show up.

I tried to create the illusion of a holly sprig and berries with my inks.  I turned out ok.  After everything was dry, I spritzed the tag with Perfect Pearls Mists in Perfect Pearls.  The splatters look like snow flurries.  I edged the whole tag with the TH Stormy Sky ink.

Next, I cut the reindeer at 3" 3 times and glued them all together.  I distressed the top layer with TH Vintage Photo ink.  I layered 2 circles (one smaller than the other) inside each other to make a ring,  I covered the ring with pine sprigs punched with the MS punch.  I really like the way it turned out.  I also put a charm on a piece of twine and tied it around his neck.  I put some pop dots on the back and attached him to the tag.

To finish off the tag, I attached a strip of burlap to the tap with some red seam binding.  Once in place, I attached a tag made from a TH fragments and scrap paper to a round paper clip and looped it through the seam binding.  Now, finally, the tag was complete!

This puppy took some work but I am very pleased with the final results.  As always, leave me some blog love and tell me what you think.  And please check out Tim's 12 Tags of Christmas on his blog.  His creations are breath taking and you can learn tons of techniques.  Click here to go to his blog.  Until next time...

Smooches!


Wednesday, November 30, 2011

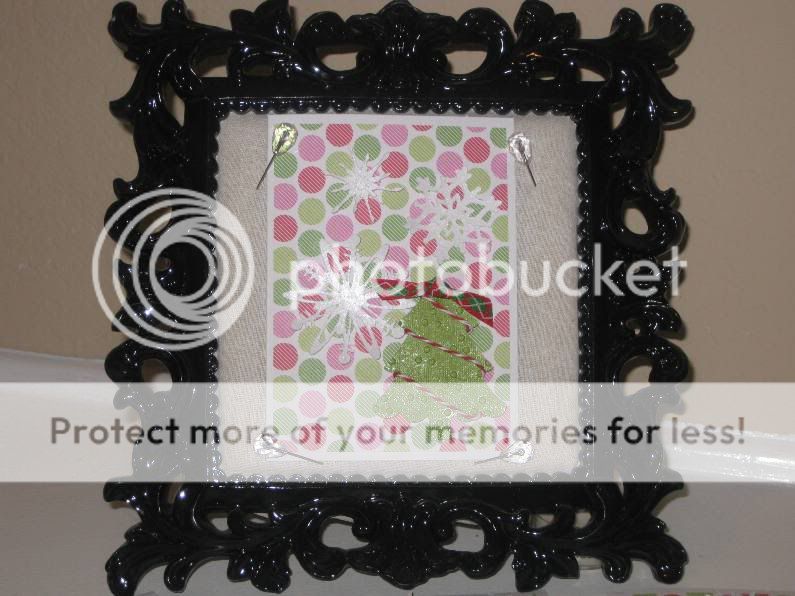
November Card Swap: Snowflakes and Christmas Trees

Hey everyone!  I'm back with my November Card Swap card.  I call it Snowflakes and Christmas trees.  Here it is!


Materials and Supplies
  • Christmas - snowflake
  • Create A Critter - tree
  • When It's Cold Outside - snowflakes
  • Mists - Perfect Pearls Mist in Perfect Pearl; Radiant Rain Shimmering Mist in Key Lime
  • Embossing Folder - 3 Dots by Sizzix
  • Stash - twine, ribbon, papers
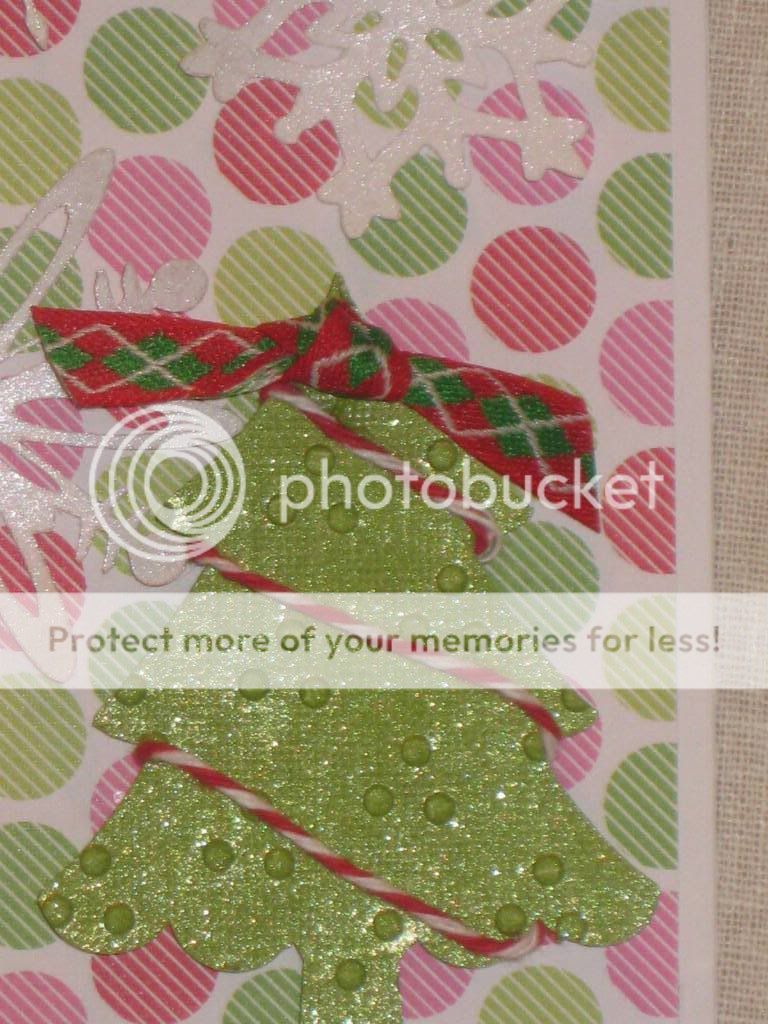
I started with a Christmas Polka Dot paper that was soooo cute to me.  I feel it makes the perfect background accent.  I then cut 3 snowflakes in varying sizes.  I then sprayed all the cuts with the Perfect Pearls mist.  I really like the shimmer accent it gave the snowflakes.

NOTE:  Hands down (to me anyway), the When It's Cold Outside Cartridge is the best cart Provo Craft has ever put out!  If you do not have this cart you are missing a fabulous addition to your collection.  It is 25 beautifully created snowflakes, each with their own special design.  At first glance, they look like regular snowflakes.  But with a closer look, you see the details like Santa and his sleigh and a nativity scene.  So glad I have this one in my collection!


I cut out the Christmas trees and embossed each one with the 3 Dots folder.  I next sprayed these with the Radiant Rain mist.  I am falling in love with this brand !  The mist is sooo pretty.  I twisted a piece of red and white twine around the tree to mimic tinsel.  The tree is topped off with a piece of argyle Christmas ribbon.  I attached the tree with pop dots to to raise it up and give a little dimension to it. 


Here are a few of the cards on display.  I hope you like them and please let me know what you think!  Until next time...


Smooches!


Sunday, November 27, 2011

October 2011 Card Swap: Birthday Kitty

OMG!!!!!  I will never, never, EVER try to make 14 Hello Kitty cuts!!! (I had to get that out!)

Hello my crafty peeps!  I know it has been waaaay too long since I have posted.  I have been going through some rough times over here but I am making it through.  I haven't crafted much but things are looking up.  I hope to have a few projects coming soon for the holidays so check back often.

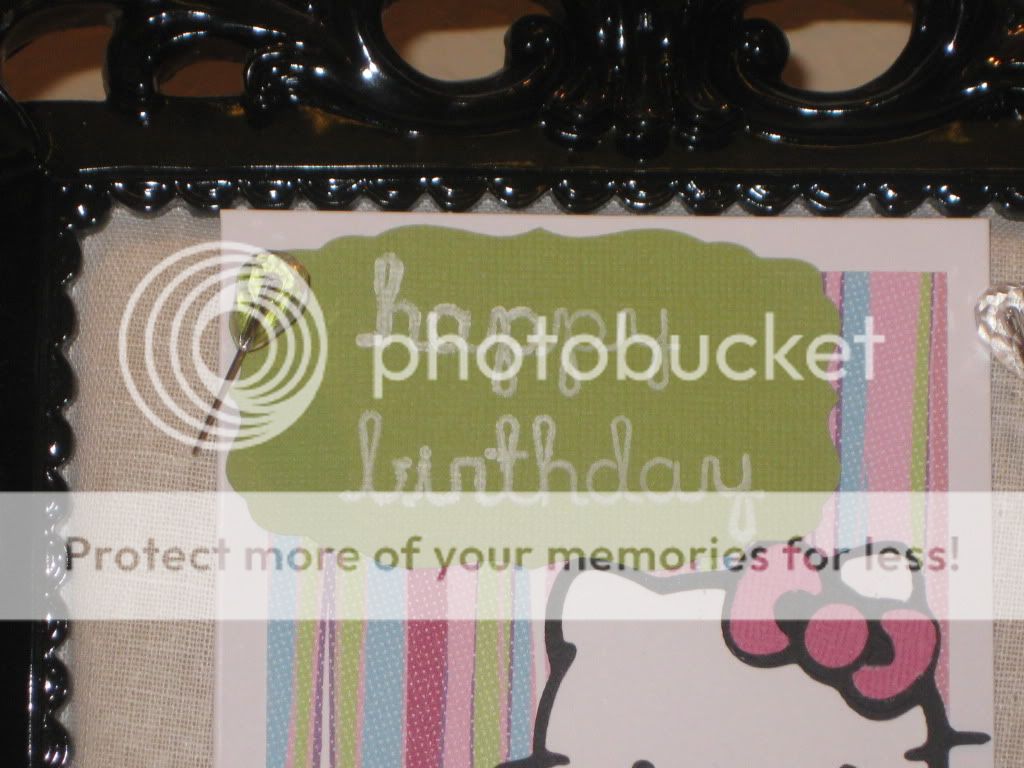
You may know that I am in a monthly card swap.  So here is my card for October.  The theme was Birthday so I decided to use a cart I had never used before - Hello Kitty Font.  Here is the card.


Here is the recipe!

Carts and Materials
  • Hello Kitty Font - Hello Kitty Ballerina
  • Storybook - Frame for sentiment
  • Stash - paper, sentiment stamp, SU white craft ink
I do believe that I picked the hardest cut to make on this cartridge.  There are so many small pieces that have to be glued on.  And it took me a couple of times to cut them because my blade depth was not accurate coupled with the smallness of some of the pieces.  It took me forever to finish these things.  when I finished Hello Kitty was anything but sweet!


I went very simple with the rest of the card.  I stamped the sentiment on a frame I cut from Storybook with white craft ink.  I layered it all on a stripe background paper and called it complete.


Leave me some blog love and let me know what you think.  Until next time...

Smooches!

Friday, September 30, 2011

What's Cooking? Halloween Card + CC Challenge Entry


I swore off entering challenges a while ago. I had worked really hard on a couple of projects and I didn't win. I don't take rejection well so I have found out lately. But in an effort to grow and mature, I decided to give the challenges on the CC Blog another stab. Here is my entry for the September Monthly Challenge which was to include a window element.


Carts and Materials
  • Happy Hauntings -
  • October 31st
  • Ink - TH Black Soot, SU Craft White
  • Stash - plain cardstock, twine


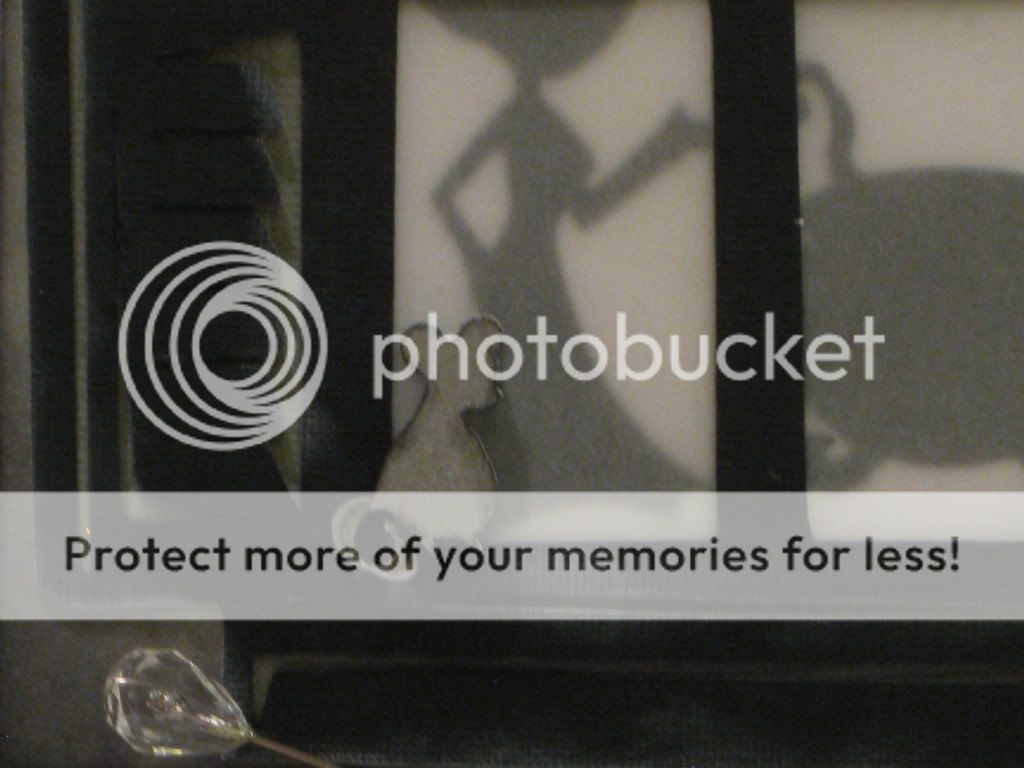
I started by making a 6x6 card base and distressing it with black ink.  I think it adds to the spookiness.  I then cut the window frame at 5.80".  I justed the Hide feature on my Gypsy to make the gray window frame base which allowed me to hide some of the cut out details.  I tapped the edges of the black window frame with white craft ink to age it a little.  I really like this affect.  I added a piece of white vellum to the window to give the shadow affect.


I cut a spider web ont of gray paper which did not cut as well as I would have liked.  But I used this to my advantage because it makes the web look like it has been there while.  I cut several spiders and decided on this guy which I "suspended" on black and white twine.


I cut two mice and used pop dots on the second one to give it a little dimension.  Isn't he cute?!  The witch in the background is actually the Bride of Frankenstine cut but I added a hat on and a pointy nose to her to turn her into a witch.  I think she looks great stirring the concoction she is making in her caludron.
This time, I carried my theme to the inside of the card with my sentiment.  I used the font on the Happy Hauntings cart and welded the letters together on my G.  I added another caludon and a hand coming out of it.  So cute!


I hope you like my entry for the contest.  I know I do.  And for those of you who are wondering where I got the ornaments, I found them at Ross.  There was only one pack or else I would have gotten more.  I may be on the hunt this weekend!  Leave me some blog love and I will talk to you soon!


Smooches!