Showing posts with label Storybook. Show all posts

Sunday, November 27, 2011

October 2011 Card Swap: Birthday Kitty

OMG!!!!!  I will never, never, EVER try to make 14 Hello Kitty cuts!!! (I had to get that out!)

Hello my crafty peeps!  I know it has been waaaay too long since I have posted.  I have been going through some rough times over here but I am making it through.  I haven't crafted much but things are looking up.  I hope to have a few projects coming soon for the holidays so check back often.

You may know that I am in a monthly card swap.  So here is my card for October.  The theme was Birthday so I decided to use a cart I had never used before - Hello Kitty Font.  Here is the card.


Here is the recipe!

Carts and Materials
  • Hello Kitty Font - Hello Kitty Ballerina
  • Storybook - Frame for sentiment
  • Stash - paper, sentiment stamp, SU white craft ink
I do believe that I picked the hardest cut to make on this cartridge.  There are so many small pieces that have to be glued on.  And it took me a couple of times to cut them because my blade depth was not accurate coupled with the smallness of some of the pieces.  It took me forever to finish these things.  when I finished Hello Kitty was anything but sweet!


I went very simple with the rest of the card.  I stamped the sentiment on a frame I cut from Storybook with white craft ink.  I layered it all on a stripe background paper and called it complete.


Leave me some blog love and let me know what you think.  Until next time...

Smooches!


Sunday, August 21, 2011

August 2011 Card Swap Card - Friendship

I have been absent from my blog for a couple of weeks now and for good reason.  I got a promotion last Spring to Special Ed Department Chair at my high school and the position has kept me busy!  I almost brought a cot up there and just spent the night since I was leaving the school most nights betweeen 8 and 10 pm. 

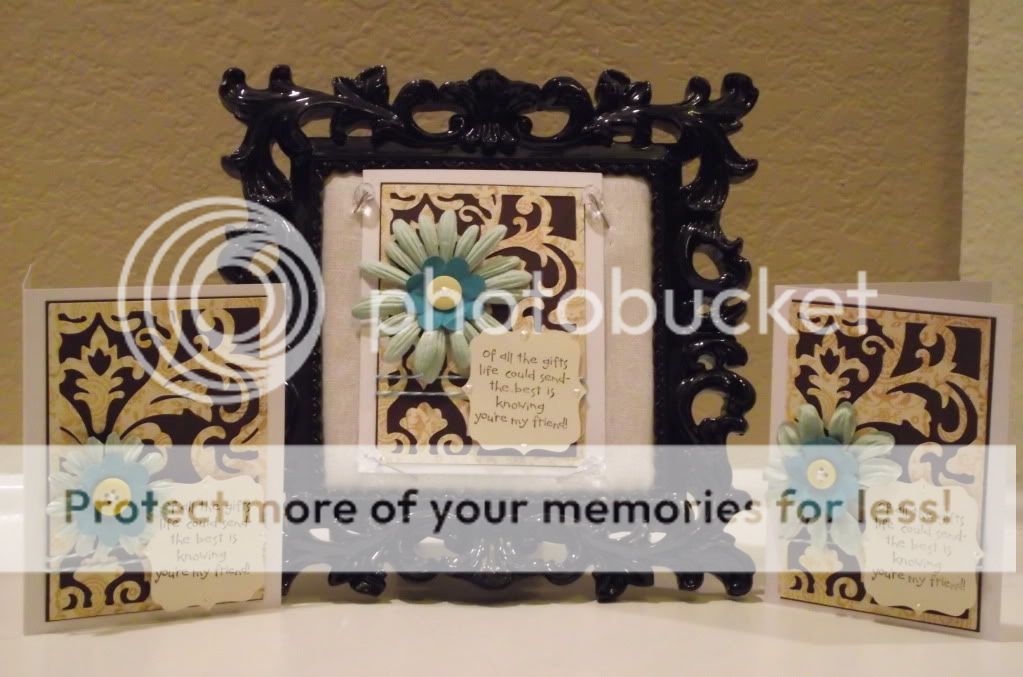
I signed up for a year long card swap that started in August and somehow, someway (probably with 1 eye open), I finished my August card on time.  Here it is.  Each month has a theme and this month's theme was friendship.


Carts and Materials
  • Damask Decor - background (using the Card feature), flower
  • Storybook - panel
  • Paper - Authntique
  • Stamp - StampinUp!
  • Pearl Accents - Pearl Pen (love this thing) in pearl
  • Spray - Glimmer Mist in Gumdrop
  • My Stash - buttons, twine and flowers
I had to make 14 cards for this swap.  I had gotten a new cart and I wanted to use it so that's how I came up with the background.


I had just purchased some of the new Authentique papers and knew I wanted to use those on my cards.  I also like cards that have a lot of texture and dimension so I came up with the idean to add twine, buttons, and flowers.  I used my Pearl Pen to add a little accent in the middle of the button.  I also sprayed the flowers with Glimmer Mist for a little more depth.  It has gold glitter in it.


I stamped the sentiment on the panel with chocolate chip ink from StampinUp!.  I added some pearl accents to the points with my Pearl Pen, adhered it with pop-dots and the card was done.


Good news is - I'm done.  The better news is that there will be a new card each month so make sure you check back often to see next month's creations.  As always, leave me some love and I will see you all next time.  Wish me luck on my new school year which starts tomorrow and send up some prayers!

Smooches,

Thursday, February 17, 2011

Valentine's Day Banner

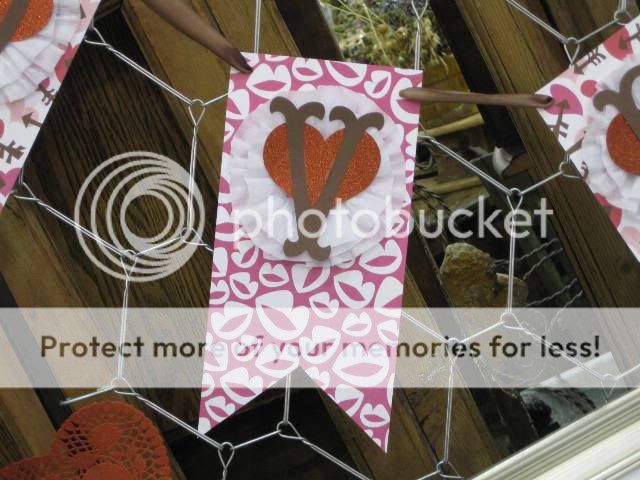
I am really like making banners.  Who knew!  I made this one for my store and it was so cute.  A customer even offered to buy it from us.  It was really simple to make.  I cut a 12x12 piece of paper in half and then cut a triangle out of it on one side.  I made a double layered rosette with crepe paper and cut a heart out of red glitter paper.  I cut the word "LOVE" with the Storybook cart out of brown cardstock and ran a piece of brown ribbon to hold it all together.  I think it is very cute!  Here are some pics of the banner.


Let me know what you think.  Later ladies!

Smooches,

Robin

Friday, February 4, 2011

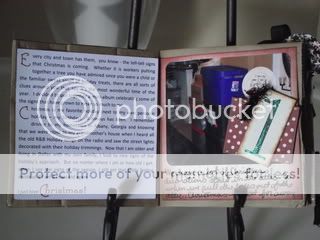
Signs of the Season Mini Album (Pic Heavy)

Hi guys! There are always things that I look for (and things that trigger me) to let me know that Christmas is on it's way. These signs make my spirits perk up and are the things that get me in the mood for the holiday. So this year, I decided to do a mini album dedicated to these signs. I used the amazing Noel collection from Teresa Collins. These papers are so beautiful and very well coordinated. I did not get all the pieces I wanted in the collection but I did get some good ones. One sheet has the numbers 1-25 on it that could be used for a countdown. I used that sheet to number the things I was listing. All the sheets are double sided so you feel like you get more for the money. Plus her designs are just fabulous. I can't wait for her cartridge to come out. I'll be first in line!!!

Here are the pages of my mini and the details!

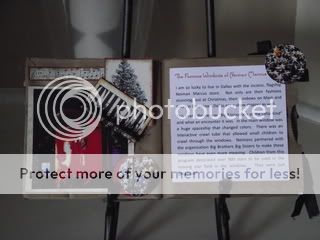
The Cover - I used the Holly Jolly cart for the ornament on the cover (cut in shadow). I also used the Storybook Cart for the background piece (Accent Blackout option, 1st column, 5th row, hide the holes) . I printed the title on the computer, cut it out and glued it on the ornament. I also hand wrote the year on a piece of the paper from the collection and glued it to the back of a TH fragment with Glossy Accents. I tied a piece of red and white twine to the fragment and backed it with some black seam binding. I also inked the edges to make the cover stand out more.

Page 1


Page 2


Page 3


Page 4


Page 5


Page 6


Thanks for looking and I hope you like my work! Leave me some blog love to let me know. Thanks!!!!
Smooches,
Robin

Sunday, October 31, 2010

Halloween Cupcake Toppers

Hi guys! It's been way too long since I have posted on my blog but I am back. I have missed you all.
I was inspired by some of the post for Halloween Week on the Circut Circle Blog. The designers on this blog are amazing! One of the designers made some cupcake toppers that were adorable so I decided to make some for my co-workers. Here is what I made.
Carts
  • Happy Hauntings
  • Storybook
  • Sugar and Spice

I chose 4 different shaped backgrounds. I then chose 4 images and 4 phrases to go on the backgrounds and sized them to fit on my Gypsy. I cut all the pieces including the layers for the images. I ran everything through the Xyron Sticker Maker to make the assembly easy on me

Once everything was assembled, I hot glued 2 toothpicks to the back. I made triple chocolate fudge cupcakes with cream cheese frosting to go with the toppers. I took them to work, stuck the toppers in the cupcake and they were a hit! Here are some closeups of the toppers.


As always, thanks for looking!

Smooches,

Robin

Wednesday, October 13, 2010

Cricut Circle Blog Weekly Challenge October 8th

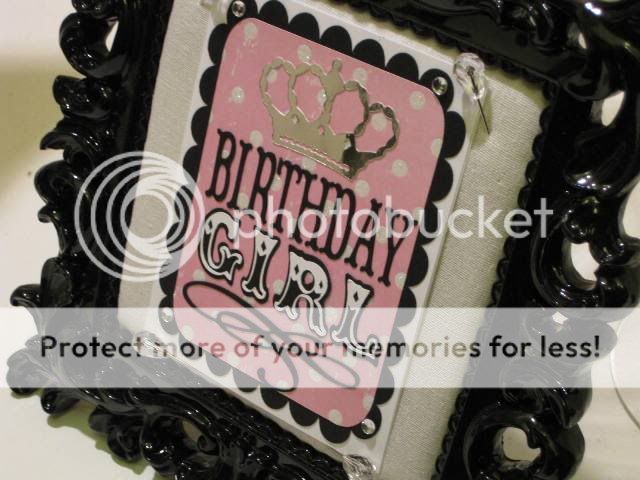
It's funny when you think about where you get inspiration! I was at a local party supply store and saw a balloon with the cutest design on it. I immdiately said "I can make that into a card!" (It also gave me a reason to go buy the Carousel Lite cart!) So I pulled my phone out, took a picture with my camera and ran home to get to work. Luckily for me, my amazing friend and mother to my adorable God-daughter was having a birthday this week. Guess what card she is getting?!?! Making this was a double whammy - a cute card for her and a perfect entry for this weeks CC Blog contest.

Here are the details of the card!

Carts:
  • Carousel Lite - Girl
  • George - rounded rectangle
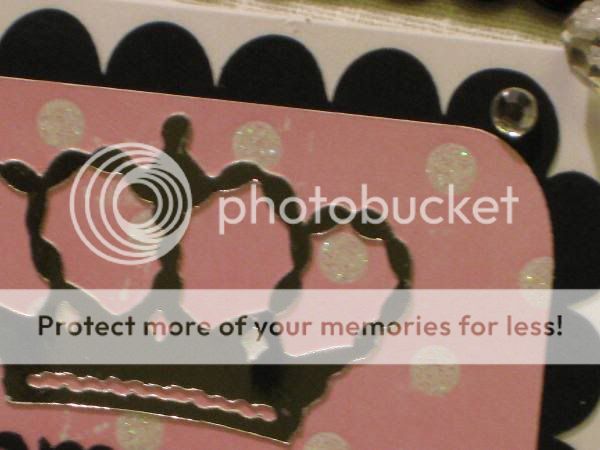
  • Home Decor - crown and flourish
  • Storybook - Birthday
  • Sugar and Spice Lite - scalloped rectangle

Pic of the Balloon - coming soon!


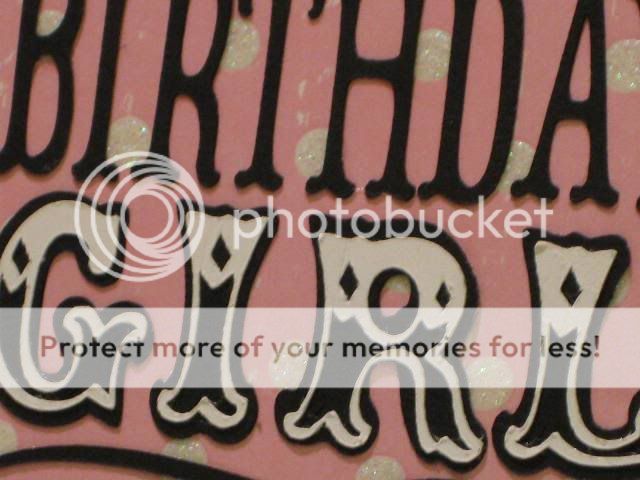
All the cuts on this card are pretty straight forward. I used the Tall creative feature on the Storybook cart to make the word "Birthday". I wanted the squeezed in look and that both words made a block. I played around with it on my G until I got the dimensions just right.


I hope you like the card and I really hope I win the Pink Journey cart. I have been wanting that one for a while. Wish me luck!

Smooches,

Robin
The Scrappin' Delta Diva

Thursday, July 29, 2010

Merci Card made with Martha Stewart Elegant Cakes Cart

OMG! Have you ever had an idea for a card or project in your head and you are like "That is going to be so cute!"? You come up with all these grand ideas about what you are going to do on the project. And then you start assembling it. Half way into the project you realize you bit off more than you could chew. That's the way I felt with this card, the card that almost wasnt!

I got the new Martha Stewart Elegant Cake Art cart from HSN and I was dieing to use it. There are so many classic Martha cuts on this cart that could work well with cards. Well I saw this accent , loved it and thought "I could use this as a background. So I started cutting. I cut out 10 thinking I would have a few extras for mistakes. When I took the mat out, I realized that the cut is actually 2 pieces each, not one (this cart is not on the G yet). I knew it was going to take a little more work than I anticipated but I proceeded.

When I started glueing is when I realized what I had done. Lineing up all those pieces was horrible. I know what I am good at and what I am not. Exact measurements has never been my forte'. I started in the middle (my best idea) and went from there. By the time I put 4 or so on the paper, I was ready to throw in the towel but I didn't. The more I completed, the better it looked and that kept me going.

When I had 7 accents on the card, I was going to stop. But then I decided to cut one in half (crazy, right) and put the halves on the sides of the middle one. I really like the finished look. I cut out some marquees from the Storybook Cart and layered them. I stamped "Merci" in white with my SU! Craft Ink and added a piece of bling for the dot. I decided I needed to include more red so I cut a piece of ribbon, glued it down, pop dotted the marquee and placed it on the card.
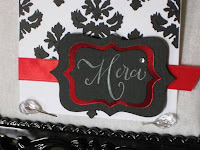
I really am happy with the way it all came together! I don't know if I will be making this card again but at least I did try it. Thanks for looking and leave me some comments!

Smooches,


Robin
The Scrappin' Delta Diva

Sunday, July 4, 2010

Sympathy Cards

Hello everyone! Happy 4th of July, Independence Day for this great country called the US of A! I hope you all are enjoying your family and remembering all that it has taken for this day even exist.

While I am celebrating, my heart is a little heavy, too. I have had several friends and sorority sisters lose family members in the last few weeks. So my scrapping this week has mostly been making sympathy cards. I designed 2 cards since I have to send out about 5 cards. Here are the details for the cards. I used an Amy Butler paper stack for both cards. It was really nice since all the papers were double-sided and the colors coordinated perfectly.

With Sympathy Dove


Carts:

  • Jasmine - With Sympathy sentiment
  • A Child's Year - bird
  • Storybook - scalloped oval

I covered the card with a piece of the coordinating paper. I then inked the edges with my SU! Close to Cocoa ink pad. I embossed the bird with my Cuttlebug Script embossing folder and put pop dots on it to give it some dimension. I glued all the pieces in place and called it done.


With Sympathy Butterfly


Carts:

  • Storybook - marquee and butterflies
  • Calligraphy Collection - With Sympathy Sentiment

Again, I covered the card with the coordinating paper from the paper pad. I inked the edges of the card, marquee and the top butterfly. I also embossed the marquee with my Cuttlebug Swiss Dot folder. I put a pop dot on the back of the top butterfly so that I could fold the wings out. I glued it all down and was very pleased with how it came out.


Thanks for looking and leave me some blog love!

Smooches,