I am so proud of this card! It turned out just exactly the way I envisioned it!!! I'm going to get right to it.
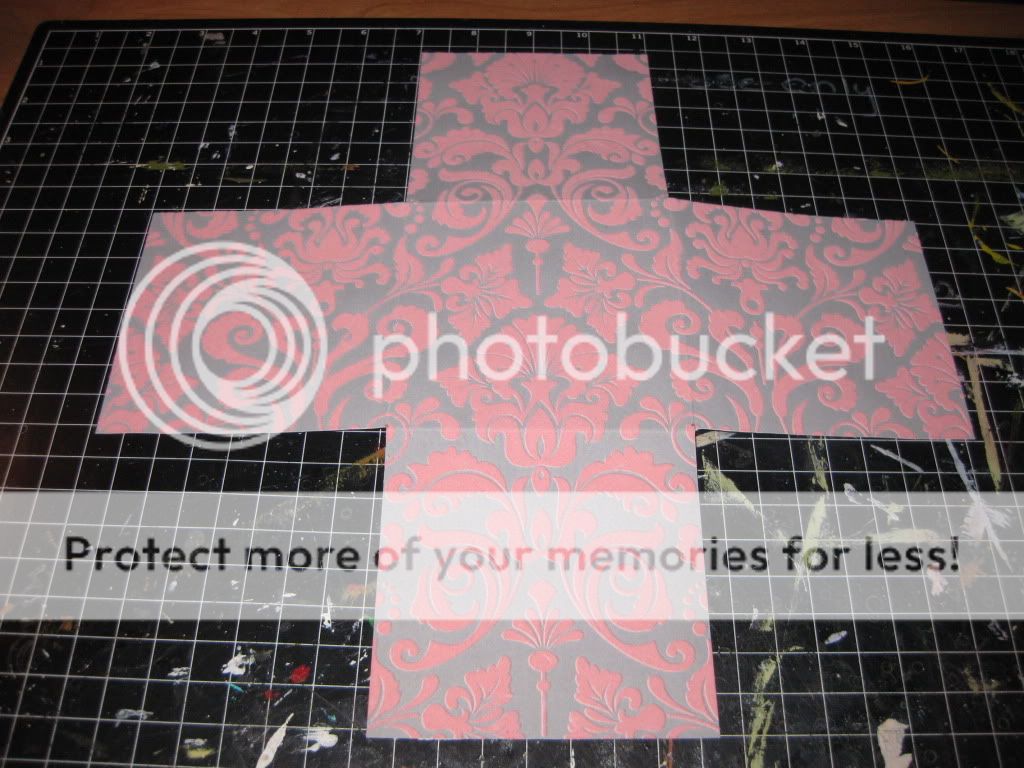
I turned this...
..
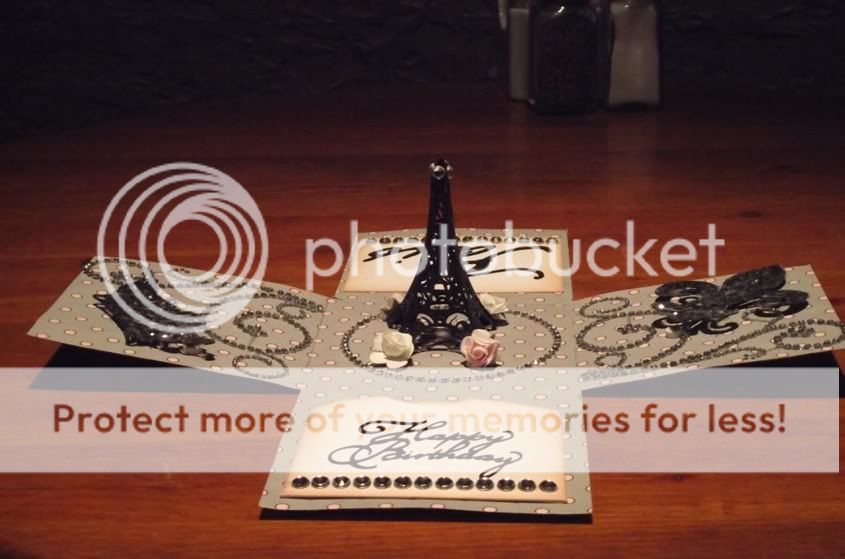
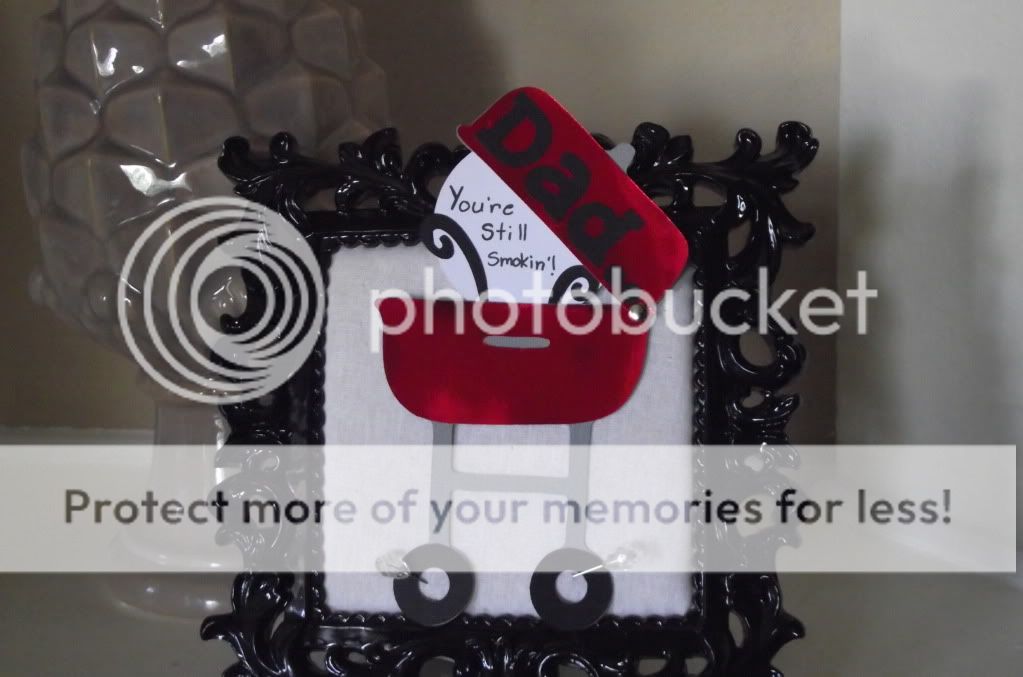
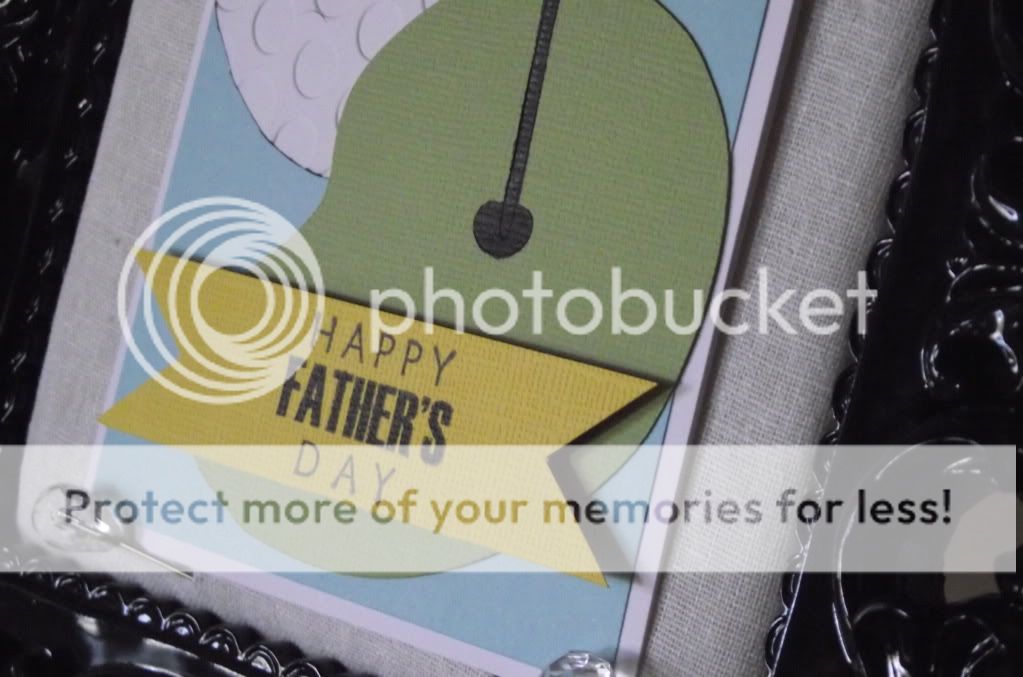
into this!!!
Here's the prescription!
Carts
- Everyday Paper Dolls - grill (4 cuts - 2 in gray, 1 red and 1 black)
- Birthday Bash - font for senitment, circle, plumes
But wait! There's more!!!
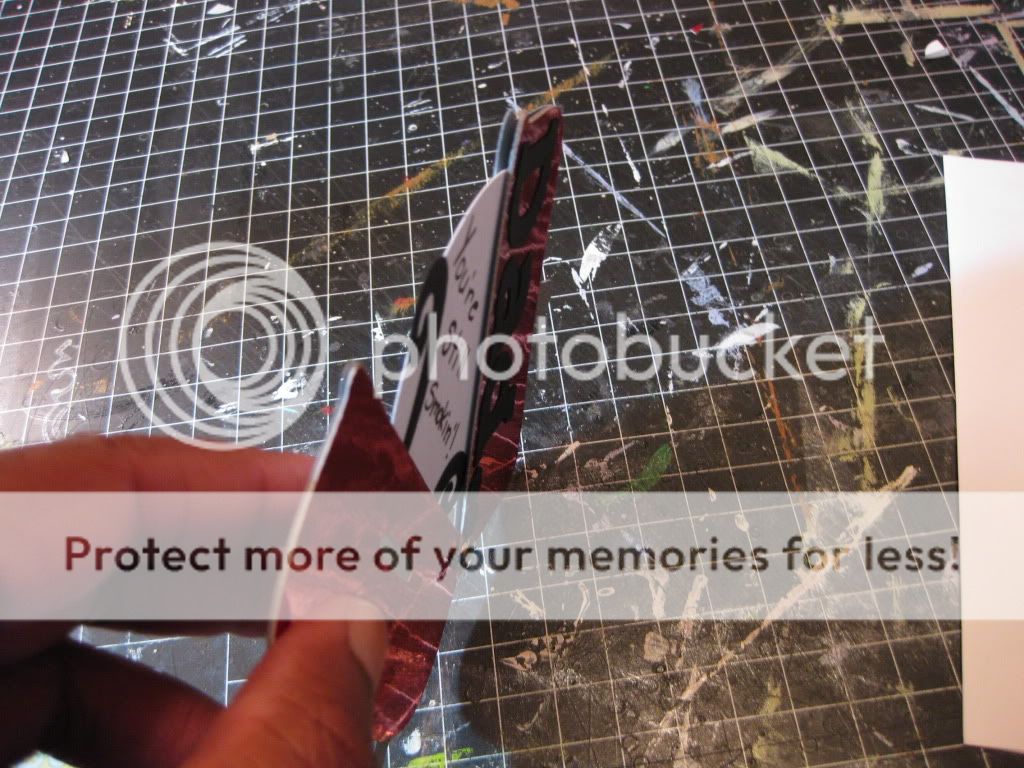
It opens up to reveal the sentiment!!! Cute huh?!
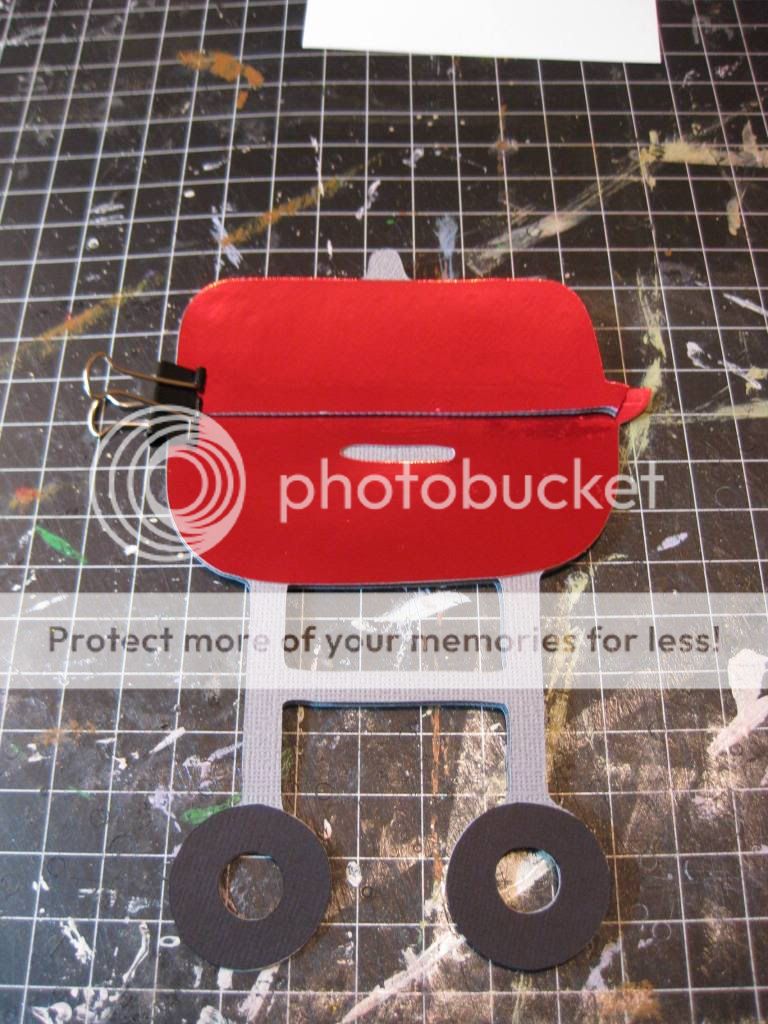
The grill cut was an open grill so I altered it to make it close. I wanted it to open and close so I snipped a part of the cut and added a brad to make a hinge.
I used a red metallic paper to make it look like the classic red Weber grill that everyone had back in the day. I added a circle and a few "smoke plumes" to be able to add my sentiment and make the grill smokin'!
I had to make a pocket to hide the sentiment. Here is how I did it.
1. Cut 2 grills out of gray cardstock. Place them on top of each other and snip the corner that holds that top onto the bottom of the grill.
2. Glue on your red and black pieces to the top layer and line up the top layer with the bottom layer. Using a binder clip to hold all layers together, punch a small hole in the in the grill cover where the brad will go. Make sure you overlap the layers a little so the brad will hold them all together.
3. Place a bead of glue around the edge of the grill, leaving a little space before you get to the bottom of the cover. Place another bead of glue on the legs and around the edge of the bottom of the grill. This creates the pocket for the circle.
4. Place a small bead of glue at the up edge of the circle and slide it into the top pocket of the grill. You may have to play with this a little in order to make sure the circle is in the right spot to be covered up when you close the grill. Glue the smoke plumes on and make sure everything fits when you close the grill. Write your sentiment on there and you are finished!
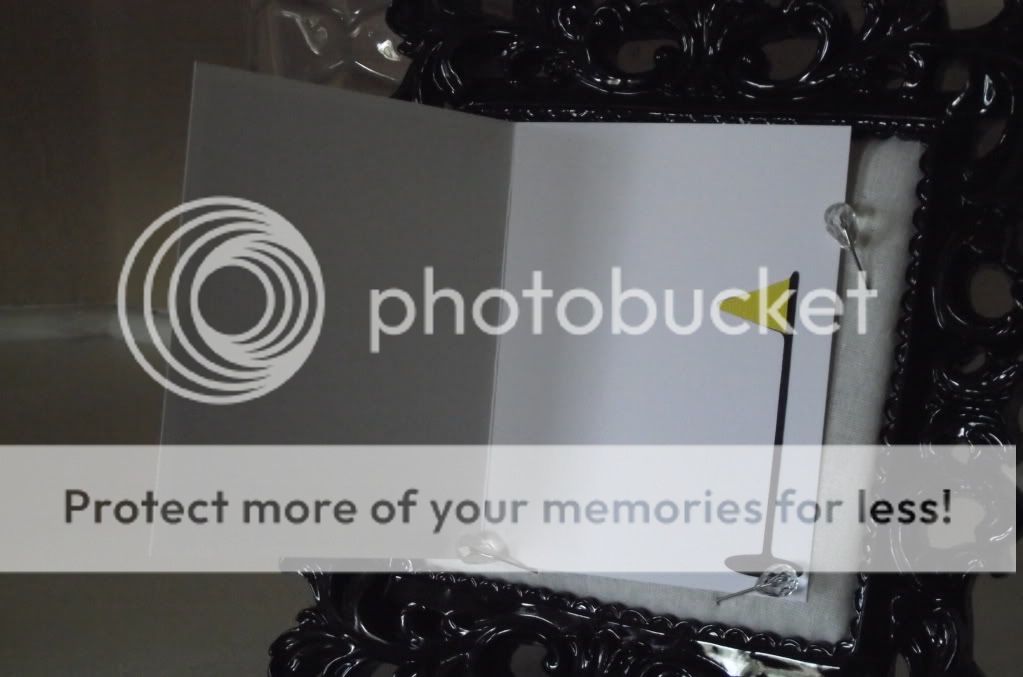
Back of card
I will be dropping this card in the mail today for my dad who is an avid griller and bbq sauce maker. I know he is going to love it! Leave me some blog love and tell me what you think!!!
Smooches,