Hi everyone! It's been a while since I have posted. I decided to take a break over the holiday while I spent time with my family and also prepared for the Bunco Party I hosted on the 5th.
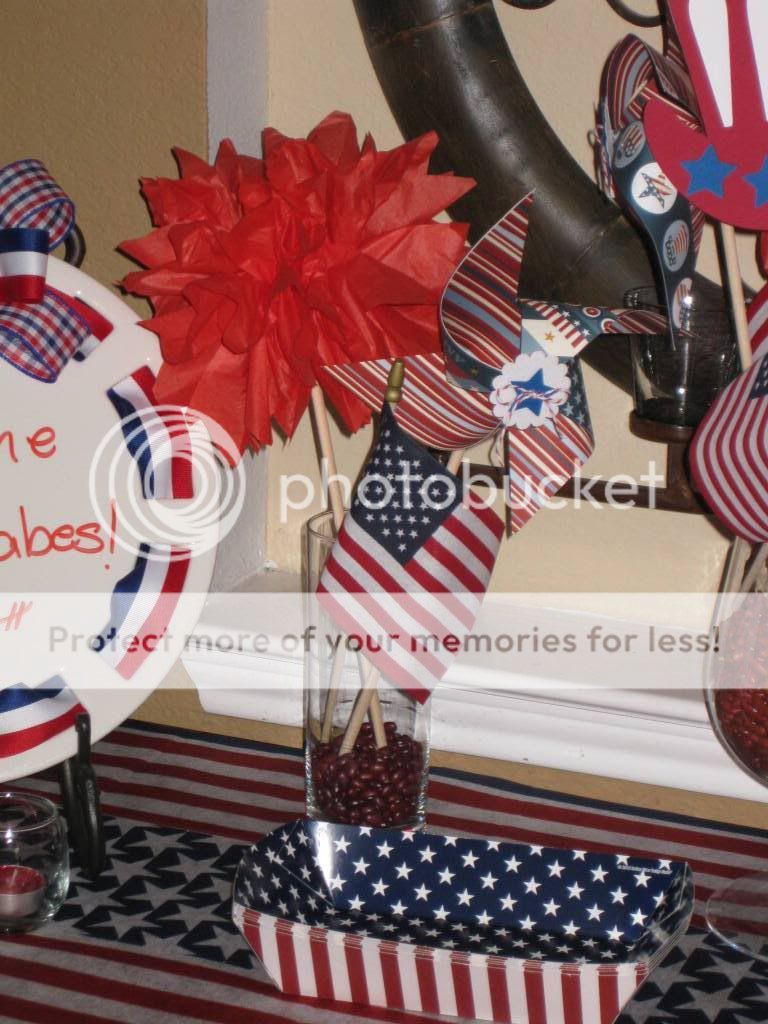
I have seen so many great decorations on the Circle Blog and on all the MBs that I had to make some for my Bunco party to make it special. Here is what I made!
Here are the carts and materials I used.
Carts and Materials
- Shall We Dance - Hat
- Cindy Loo - exclamation marks on the hat
- George and Basic Shapes - Stars
- From my Stash - various buttons, twine, doillies, and paper
Notice that I did not mention the Stand and Salute Cartridge. That's because I don't have it. So how did I make the hat???
I found a hat on my G that I liked. I then put some exclamation marks inside the hat to make the cutouts (I hid the dots). I then made a second hat without cutouts for the background. I cut out some blue stars seperately and added them to the hat with popdots. I think it came out great!
I also made some pinwheels in small and large sizes. These are very easy to make since I didn't have the Mother's Day bouquet cart either. Once I pulled my corners together on the large one, I put a doily and 2 stars in the middle. I finished it off with a button with postmail twine running through it.
The small ones were a bit more simple with a scalloped circle punched out of white glitter paper in the middle. I then placed a star that had a contrasting twine bow glued to the middle of it on the circle.
The red tissue paper bursts of color are what I call my "fireworks". Don't they look like the fireworks once they have exploded in the sky? I made these by folding 3 sheets of tissue back and forth like you are making a fan. Snip the ends in a V for a decorative edge. Next I stapled the fan in the middle and then spread the sheets of tissue paper apart. Last, I hot glued some dowels in the middle so I was able to put them in the jar with the other stuff.
You can make multiples of everything so you can place them all around the room to carry the theme to everywhere your guest will be. I even put a few in the bathroom!
Lastly, I welcomed my guests with a Southern Living plate that I ran holiday ribbon through. I finished the plate off with a bow and a cute sentiment.
I hope you get some inspiration from this project and make some cut decorations for your next gathering. Until next time...
Smooches!