Showing posts with label Once Upon a Princess Cart. Show all posts

Saturday, July 16, 2011

It's A Wrap Blog Hop - Clownin' Around Birthday Bag

Welcome to the It’s a Wrap Blog Hop hosted by Cool Beans By L.B. Do you like to receive gifts? How about give them? Well this hop is all about the outside…the wrapping; Gift bags, boxes, baskets and more. There are 22 wonderful stops on this hop and we hope you will take some time to stop in and see everything we have created for you.

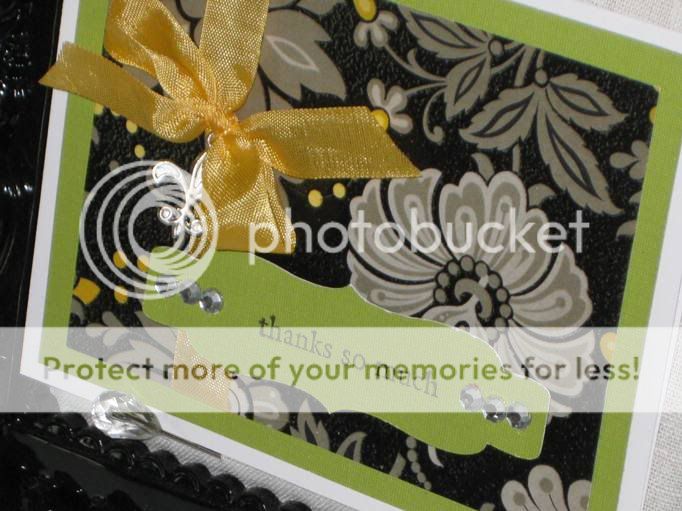
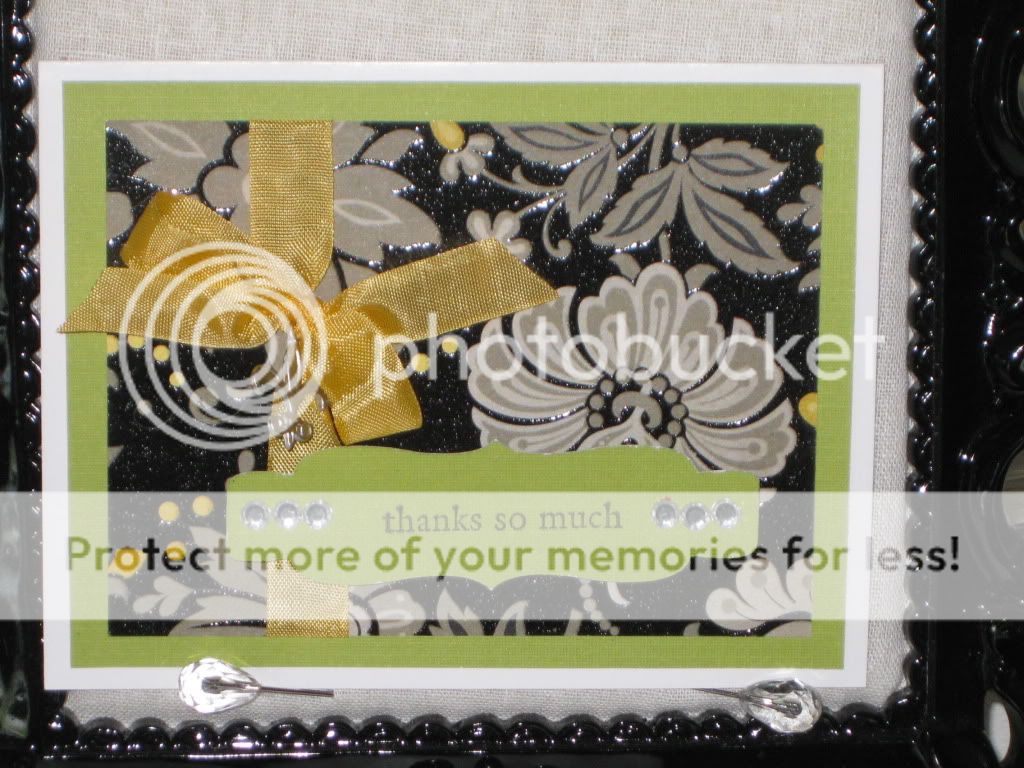
You should have arrived here from, Everything Digital Scrapbooking. If you are just finding our hop in the middle you can go to the beginning at Cool Beans By L.B.

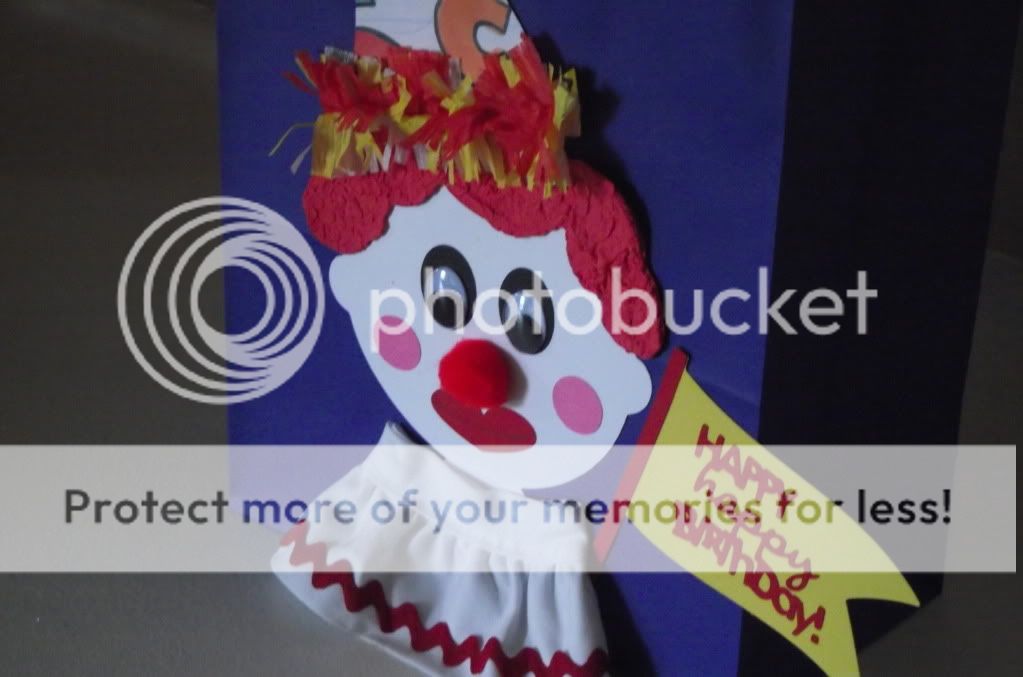
For my project I made an adorable clown gift bag.  I recently went to my friend's twin's birthday party and needed a gift bag for their gifts.  The party theme was circus so I made this clown bag.

Carts and Materials
  • Birthday Bash- clown hat, pennant
  • George and Basic Shapes - circle, oval
  • Once Upon A Princess - heart for the lips
  • Paper Doll Dress Up - clown head, hair base
  • Tulip Puffy Paint - for clown hair
I cut a head from the Paper Doll body at about 4.5 x 5.  I cut just the head on my Gypsy by having the rest of the body hang off the mat.  There is a clown outfit on this cart and one of the accessories is hair.  So used that cut for the base.


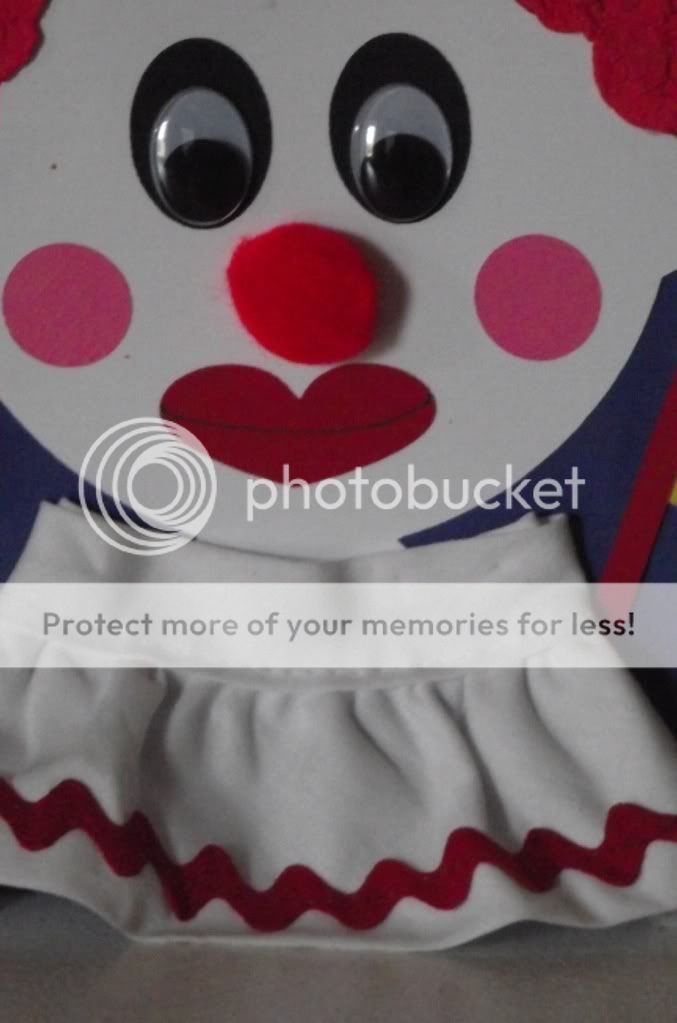
I looked up clown faces on the internet to decide what I wanted him to look like.  I don't have a cart with lips on it so I decided to use a stretched out heart as my lips.  I added pink cheeks and ovals for the base of he eyes.  I then found some oval googly eyes that were perfect.  And no clown is complete without a pom-pom red nose!  I used some ruffle I had in my stash for the fluff around his neck.  I love the ric-rac and the look it adds.

These just may be my 2 favorite parts of the bag - the hair and the ruffle on the party hat.
For the hair - I used Tulip Puffy Paint.  What you do is you add a generous amount of the paint to your base.  Once you have covered the entire thing, you then heat it up with your heat gun.  After a few seconds, it will puff up like popcorn and give your project great texture.  Try using white in the Winter for snow!

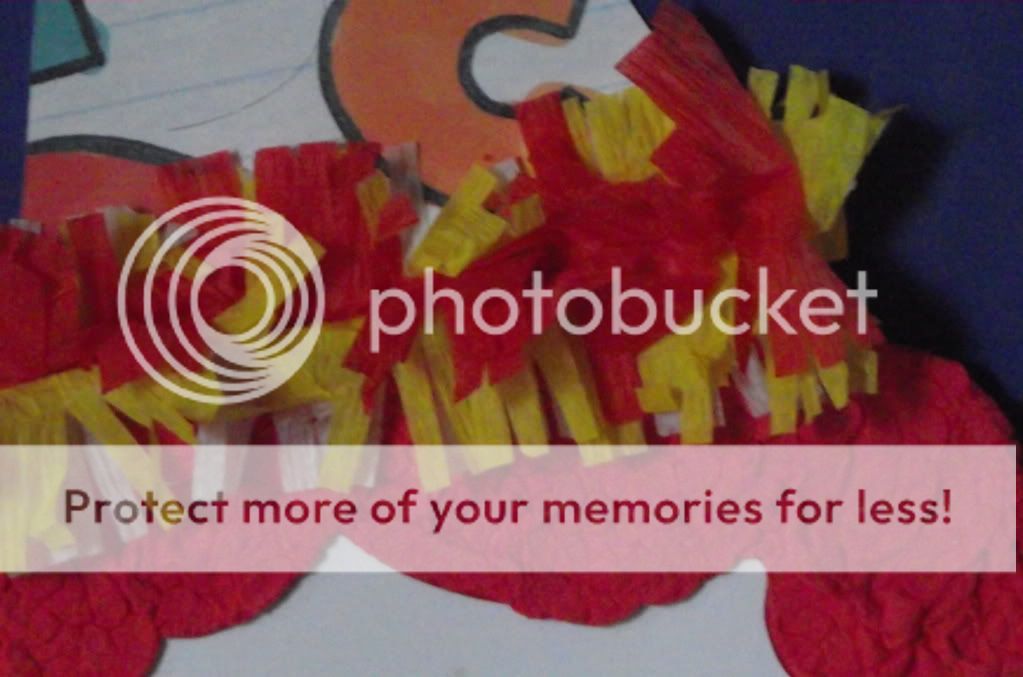
For the hat ruffle - I used a couple of pieces of crepe paper (use the old fashioned rolls we used for streamers) and folded them in half.  I then stapled them to hold them together.  I pulled out my MS Fringe Scissors and cut the fringes.  I attached it to my hat with glue and fluffed it out.

I added a yellow pom-pom to the top of the hat, added the birthday pennant and this bag was complete.  I really hope you liked my project and leave me come blog love!
I
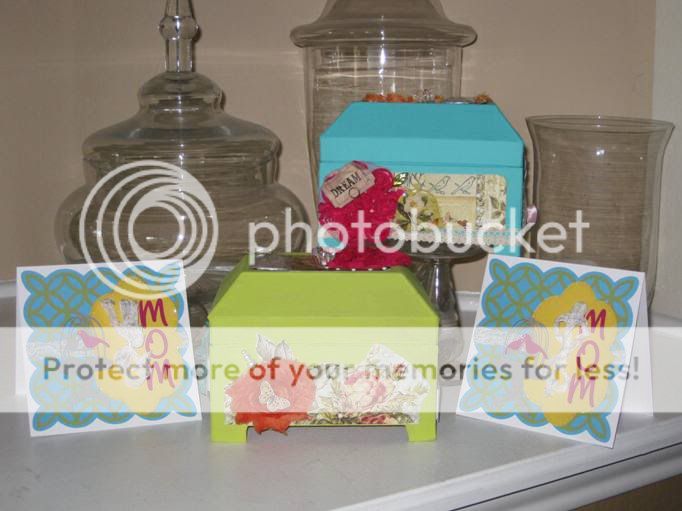
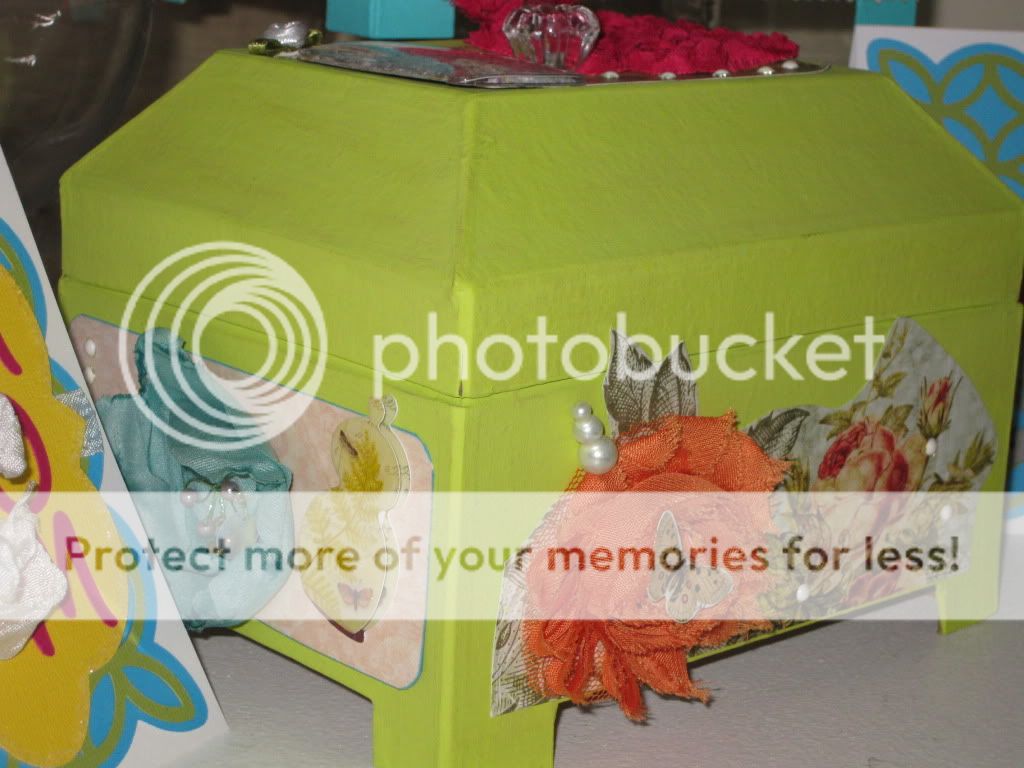
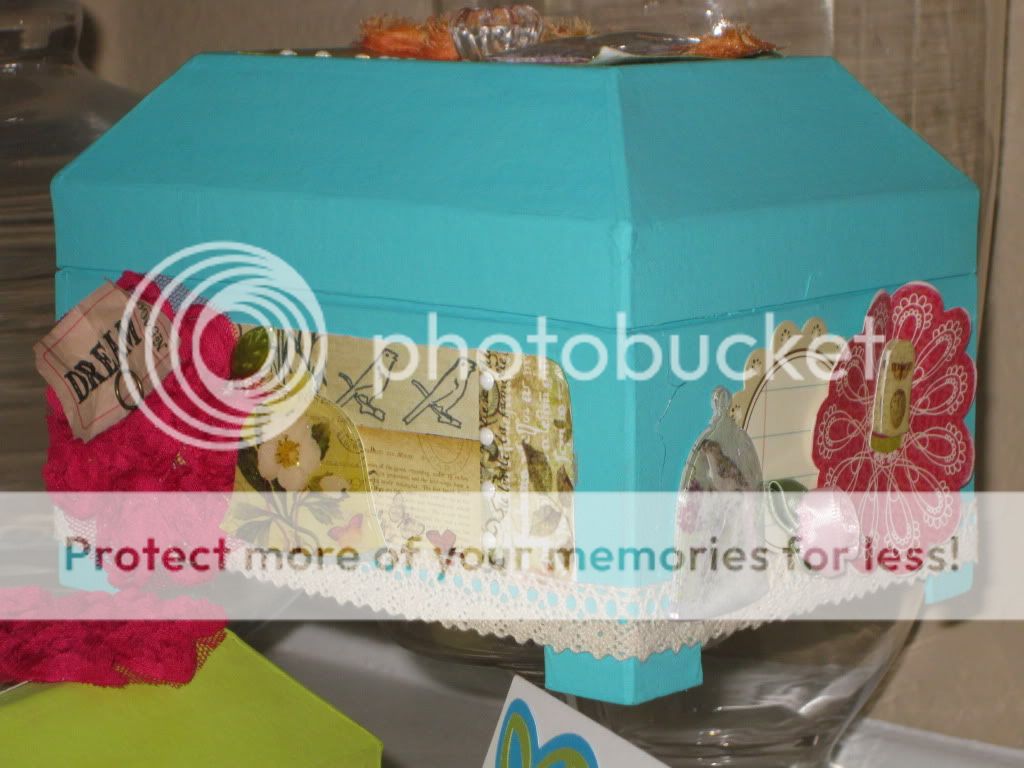
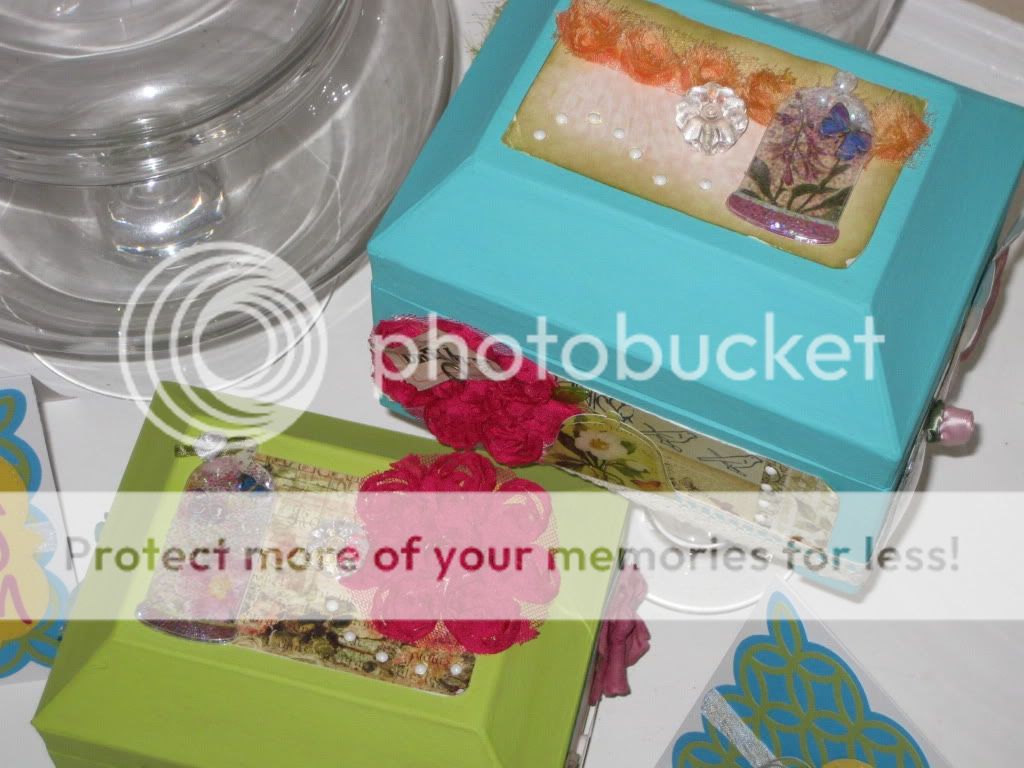
 am offering some fun blog candy on this hop in the form of a Mystery Box!  The only thing I am going to tell you is that it will include some fun chipboard from Maya Road!  Here's what you have to do:
  1. Leave me some blog love! ( I love comments)
  2. Become a follower
  3. Leave your email address in the post
That's all you have to do!

Thanks for stopping by on this fun hop. Your next stop is Gamma's Creative Corner.  Until next time...

Smooches!


Thursday, May 5, 2011

Thanks Mom Blog Hop!!! My First!

Welcome to the THANKS MOM BLOG HOP. Thanks for joining us to enjoy all the wonderful crafty inspiration in honor of mother's everywhere from the talented designers in this hop.

You should have arrived here from Maria's Blog. If you missed the beginning of the hop, please go back to the start of the hop at Debbie's Blog to start so you don't miss any of the projects. There is a Grand Prize Blog Candy offered so you want to start at the beginning and read how to participate to win.
Here's my crafty goodness made especially for my mom and mother-in-law.  It's hard to get women who have everything something they don't already have.  My husband bought them each some jewelry for Christmas so I decided to make them a custom jewelry box and card.
The boxes started out as a kraft colored paper mache' box.  I painted them with my Making Memories paint in some pretty Spring colors.  I covered the sides and top with some paper from the Botanical Gardens collection by Pink Paislee.  I distressed the edges before I adhered them so the boxes would have an agend appreance.

Next, I started attaching various things.  I cut some individual flowers from some ribbon I had from Webster's Pages (hot pink and orange flowers).  I also added some Prima flowers as well (aqua flower).  After that, I layered in some birdcage and terrerium stickers from K and Company.


I continued to add more findings like pins, tags and more.  I also added some pearls that I adhered with my iRock.  On top, I added some small crystal knobs I found at Hobby Lobby.  They were the perfect size for this project.  The peach colored row of flowers on the aqua box were the Tim Holtz Lavish Trimmings Ribbon that started out white.  I sprayed it with some Sunshine Glimmer Mist and a little homemade mist in orange and this is what came out.  I love it!
 I lined the inside of the box with pink satin that I glued down with hot glue.  It was kinda crude looking but it got the job done!
Now on to the card....
Carts I Used
  • Paper Lace - lattice background, shadow and sentiment
  • Once Upon A Princess - tag
  • French Manor - table
  • Winter Frolic - birdcage
This card is 5.5" x 5.5".  I used a lattice and coordinating shadow for the background of the card.  I ran a piece of white seam binding behind the lattice.


Next, I glued the word MOM on the tag.  I ran a glue pen around the edge of the tag and covered it with MS Coarse White Glitter.  After that, I ran the seam binding through a couple of slits in the tag and tied a bow.  


Lastly, I cut two of the birdcage stands.  I made this by welding the birdcage cut to a table cut with my Gypsy.  I put pop dots on one layer and attached it to the second cut.  I then glued it to the card.  Finally, I added eyes to the birds with a white gel pen.  Voila!  Project Complete!!!!

I really hope you like my project and my card.  Show me some love by leaving a comment and I'll show you some too!  Everyone who leaves a comment on MY BLOG will be entered into a contest for some Blog Candy!  I'm going shopping this weekend so I know I will pick up some goodies to give away.  Don't you want to be the winner?!  Then subscribe to my blog and leave me a comment!!!

Thanks for hopping along with us. Remember, if you leave a comment on every designers blog hop post, your name will go into the drawing for the Blog Candy that our THANK MOM BLOG HOP hostess, Debbie, is offering as a Grand Prize.
Next up on the hop , is the talented Heather!
Smooches!


Sunday, April 10, 2011

Spring "Thanks So Much" Card in 30 minutes


It had me at "Hello"! The Lemon Flower paper stack from DCWV that is. It is sooooo beautiful! My favorite color is green and I love pairing yellow with it (easy choice for the color of my business logo!). So when I saw this stack in Joann's, I immediately picked up the 12x12 and the 4.5x6.5 stacks. And look at my first project with it in 30 minutes!! Did I say I was in love?!?!


The green background is from the small stack. I trimmed it up a little so that it has a small white border around it. The black floral piece has embossing powder all over the black part which makes it shiny and very pretty. I cut that about a 1/2 inch smaller on all sides to give a larger green border.


Before I glued the black paper down, I cut a piece of beautiful Goldenrod seam binding and ran it behind the paper. I then took the streamers, tied a knot and ran a flure de lis charm on one of the them. Once the charm was in place, I tied my bow.


The only Cricut cut on the card is the tag for the sentiment. It is from Once Upon a Princess and it is the tag on the butterfly cut. I used my G to elongate it to just the right size for my card. I stamped my sentiment on it, added some bling and pop dots for good measure and adhered it to the card.

When it was completed, I knew I had made a good investment in this paper stack. Looking at this card makes me happy and I hope it does the same for you. Tell me what you think and I will see you later!


Smooches,