Hello everyone! Happy New Year! I sincerely hope that 2011 is a wonderful year for you filled with all kinds of crafts, inspiration and learning.
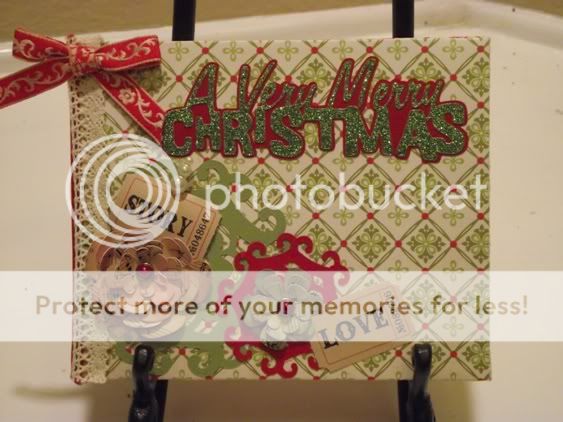
I have started off on a great foot with this mini album. I don't know if you guys subscribe to The Paper Trail or not but if you don't, you need to! Laura is just amazing! Check out her blog here. She has some fun projects, a lot of which use envelopes, just like this mini album I made for Christmas.
Yes, this wonderful album, full of space for pictures and journaling, used to be 6 envelopes and a cereal box. Laura did a series this past Christmas called The 12 Days of Christmas. On the 1st day, she made a Shaped Hinge Envelope Mini. I watched the video (click here) and I knew that is what I wanted to make for my Christmas album.
Here are the carts I used.
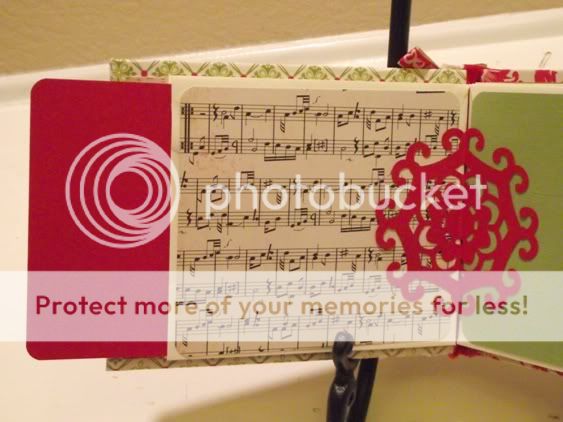
On some of my pages, I used 2 small hinges. On others, I used one large one.
One of Laura's tricks was very smart. Instead of covering the entire back of the shaped hinge with adhesive, only cover about 1/2" out from the center. This allows you to use your hinge to both hold the pages together and hold your picture or tag in place. Genius!
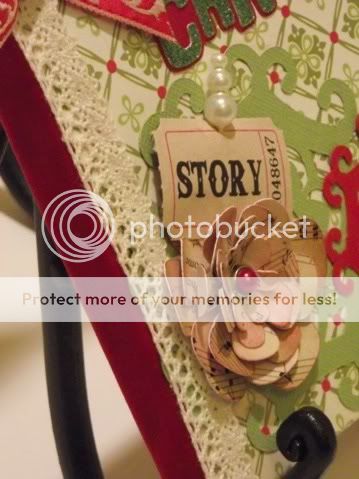
Here's a closeup of my flowers. I am probably going to add a few more to make it really full and plush.
I have started off on a great foot with this mini album. I don't know if you guys subscribe to The Paper Trail or not but if you don't, you need to! Laura is just amazing! Check out her blog here. She has some fun projects, a lot of which use envelopes, just like this mini album I made for Christmas.
Yes, this wonderful album, full of space for pictures and journaling, used to be 6 envelopes and a cereal box. Laura did a series this past Christmas called The 12 Days of Christmas. On the 1st day, she made a Shaped Hinge Envelope Mini. I watched the video (click here) and I knew that is what I wanted to make for my Christmas album.
Here are the carts I used.
- Create A Critter - Flower
- French Manor - Medallion
- Winter Frolic - Title
I just love this idea of using envelopes (any size will do) to make an album. It instantly creates all kinds of nooks and pockets for hiding stuff and increasing your real estate in a mini album. For this project, I used the Girls Paperie Tinsle and Twig collection of papers (This was a fantastic collection!). I mixed in some Bazzill Basic cardstock, Tim Holtz pins and tags and random ribbons. I used a beautiful holiday red piece of velvet ribbon to cover the binding of my album.
I cut several flowers in graduating sizes with my Cricut on Christmas music scores I downloaded and printed from the internet for free. I printed them on white cardstock and distressed them with 3 TH inks - Vintage Photo, Peeled Paint and Fired Brick. I put them all together with a cute embellished brad.On some of my pages, I used 2 small hinges. On others, I used one large one.
One of Laura's tricks was very smart. Instead of covering the entire back of the shaped hinge with adhesive, only cover about 1/2" out from the center. This allows you to use your hinge to both hold the pages together and hold your picture or tag in place. Genius!
Here's a closeup of my flowers. I am probably going to add a few more to make it really full and plush.
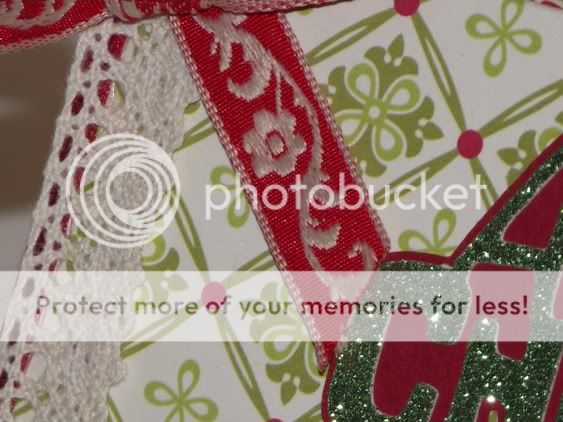
I purchased these ribbons at The Crafty Scrapper in Waxahachie, Texas. This is a fabulous store ladies so if you are coming to Dallas for the Cricut Swarm in March, you should really try to carve out some time to visit them. I don't know who the maker of the ribbon is but I love the way it coordinates with this paper.
I hope you all love my mini just as much as I do. You will be seeing this project from me again in the future, with a new twist of course!
I hope you all love my mini just as much as I do. You will be seeing this project from me again in the future, with a new twist of course!
Smooches,
Robin


