Showing posts with label Tim Holtz. Show all posts

Wednesday, March 27, 2013

Easter Tags

Hello everyone!  Easter season is upon us and I made a few treat bags.  I took them to my scrappy friends I scrap with each month.  They loved them.  Here they are!


Materials
  • Stamp - Chocolate Bunny by SU!; Happy Easter - $1 bin at Michaels
  • Inks - Close to Cocoa, Basic Brown, Chocolate Chip and Glorious Green (all SU!); Tattered Rose (Tim Holtz)
  • Punch - 1 3/4 in circle (SU!)
  • Stash - white tag, button and raffia
I stamped the bunny image 3 times in 3 different colors of ink.  I wanted to make it look like different flavors of chocolate.  I then stamped the sentiment and punched it out with my cricle punch.

I edged all the pieces with the TH Tattered Rose ink to give it a more vintage look.  Topped the tag off with a button and some rafia to complete the treats.

These tags were simple and easy to make.  So if you are needing to make a large amount, think about using this design.  Let me know what you all think about them and I hope to see you back here soon.  Have a very Happy Easter!  Until next time...

Smooches!

Robin

Wednesday, December 26, 2012

Secret Santa Christmas Mini Album - Pic Heavy

Hello Peeps!  Merry Christmas!!  I wanted to share a mini album I made this holiday season.  I am a member of a group on Facebook called Crafty Girl.  My talented friend and founder, Jennifer Flatt, decided to do a Secret Santa with group members.  I was a Secret Santa to Ema Martinez, whose talents with Copics make me drool!  Anyway, on her list of things she likes was mini albums.  I didn't need to ready any further because I knew what I was going to make for her.  Here is my creation.

I used all sorts of items from my stash.  But here is the best account I could put together of the various materials I used.
  • Paper - Anna Griffin's Calisto Christmas Paper Pack
  • Glimmer Mist - Gumdrop
  • Tim Holtz Inks - Fired Brick, Pine Needle and Vintage Photo
  • Tim Hotz Pins and Charms
  • Cricut Cartridges for Ornaments - Paper Trimmings and Christmas 
  • Cinch Machine and Coiled Binding Wire
  • My Stash - doily, flowers. leaves, fibers, tags, buttons, stamps, mini clothes pin

 
Here's a closeup of the cover.  I used a doily that I spritzed with Glimmer Mist for my base and then started to pile on the goodies from there.  I am pleased with the way it came togehter.  It looks camera ready! : )

Let's get inside to the pages.
Even though this was going to be a mini album, I wanted to put a lot of real estate in it for Ema to put her pictures from the season. So I decided to make the pages fold out pages.


Page 2 - this page has an ornament I cut from the Paper Trimmings cartridge.  I added a gold button for the finishing accent.


Page 3- This page got a pocket for a vintage tag to collect all those memories.  These kinds of spaces will become important in years to come when you look back at this mini.

Page 4- I put an orment on this page that was cut from the Christmas cartridge.  I left the right side loose so a picture could be slid under it.


Page 5- Another tag to jot down the feelings of the season.  The older I get, the more important these things are.  The spirit and the feelings are what make the moments special!


Page 6- Another cute little tag for memories to be kept.  I left space for a picture as well.


That's it for this mini.  I think Ema loved it from what she said on her post.  I certainly enjoyed making it for her.  Until next time...

Smooches!

Robin

Tuesday, May 8, 2012

Teacher Appreciation Tag and Card

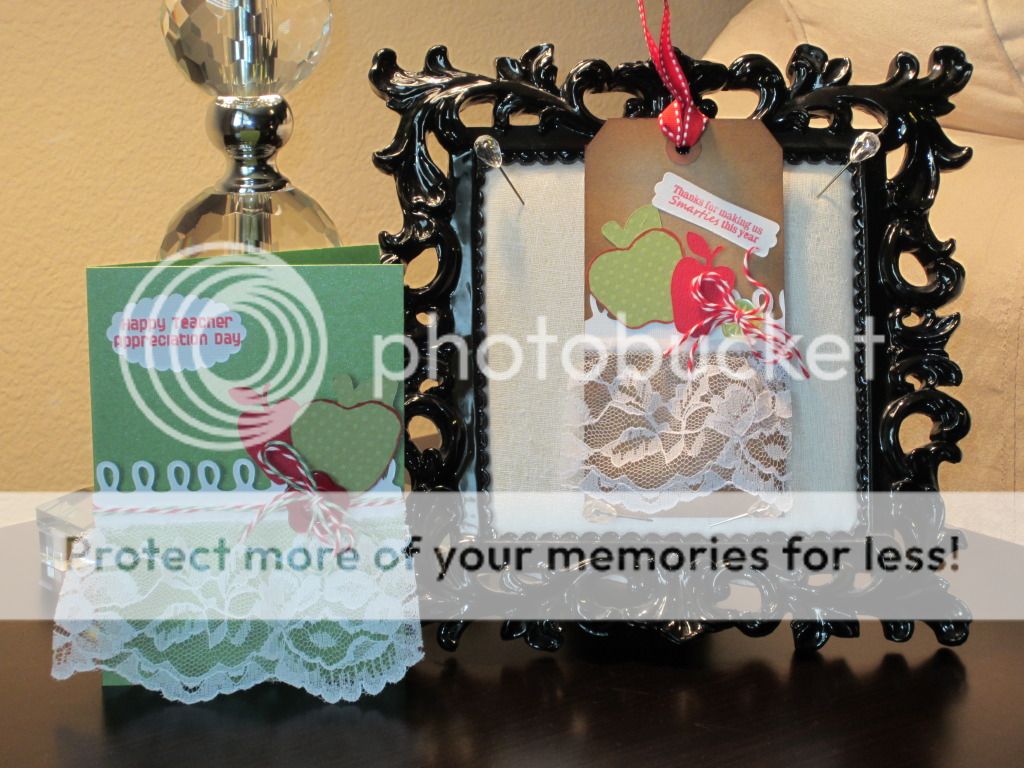
Hi everyone!  I am here with my first two projects from my retreat this past weekend.  Since it is Teacher Appreciation week, I thought it was appropriate to make some tags and cards for my fellow educators.  So here they are!


Carts and Materials
  • Doodlecharms - green apple
  • Plantin Schoolbook - red apple
  • MS Elegant Cake Art - loop border
  • Stamps - "Teacher Appreciation" set by Jaded Blossom
  • Twine - The Twinery
  • My Stash - lace, buttons, inks and paper


I started with a sparkly green card for the base.  I layered the loop border on with 2 kinds of twine and some pretty wide lace.  I then layered on some apples for that teacher influence.  Finally, I ran the twine through a large red button and then tied a bow.  I really like the way it all came together!


Now, for the tag!


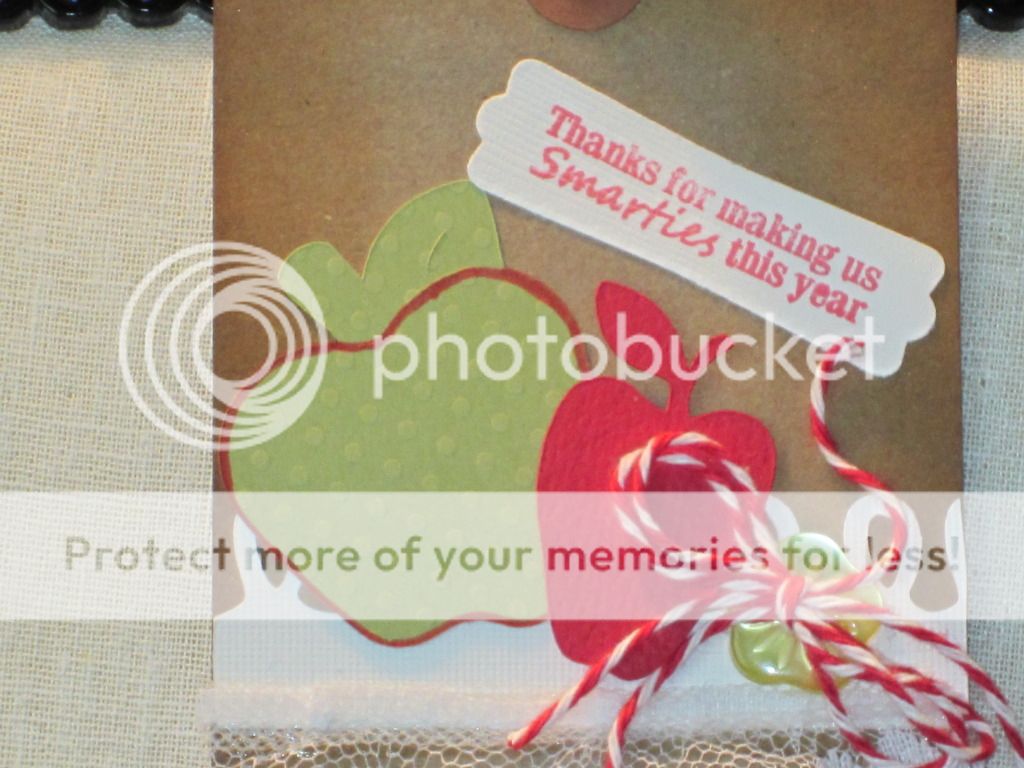
I started with a natural card base.  I inked the edges with Tim Holtz Distress Ink in Vintage Photo.  I then added the loop border and lace.  I added the apples and glued on the button and twine.  I stamped the sentiment on a punched out tag, ran some ribbon through the top and and called it done. 


I have to send a shout out to my friend Stefani for letting me borrow her Teacher
Appreciation stamp set by Jaded Blossom.  It really helped complete the tag and card.  That's all for now.  I'll post another project soon.  Until then...


Smooches!

Robin


Sunday, December 4, 2011

12 Tags of Christmas - My Version of Tag #2

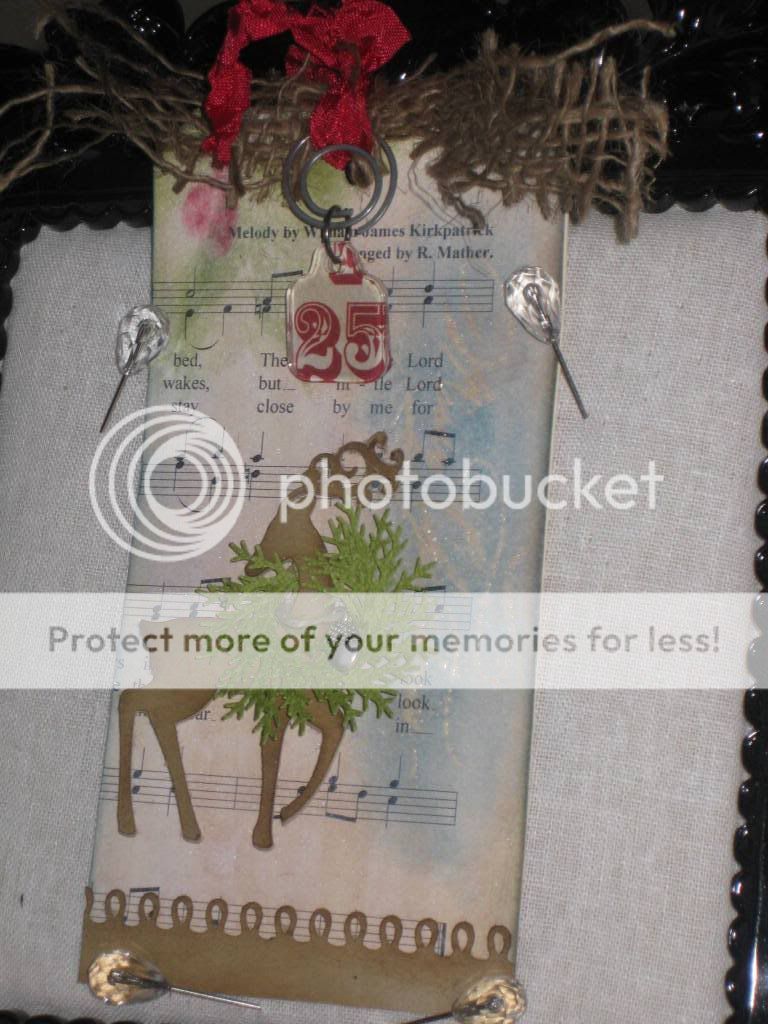
As many of you know, Tim Holtz is in full swing with his annual 12 Tags of Christmas.  These tags are truly works of art and he encourages us to make our own version of the tags.  I have loved each and every one but I decided to start my attempts with Tag #2.  Here it is!


Carts and Materials (Warning: This list is long!)
  • Christmas Cart - Reindeer (cut 3 times)
  • George and Basic Shapes - circle (for wreath base)
  • MS Elegant Cake Art - border
  • TH Distress Inks - Peeled Paint, Fired Brick, Stormy Sky, Vintage Photo
  • TH Distress Stain - Picket Fence
  • Versa Mark Embossing Ink
  • Stamp - SU Hand Penned Holiday
  • Punch - MS Pine Branch
  • Perfect Pearls Mist in Perfect Pearl
  • My Stash - twine, acorn charm, red seam binding, TH Fragments Charm, round paper clip, tag
Making this tag was more involved for me because I didn't have everything that Tim used in his tag.  He used his line of paper that already had the vintage look and an embossed saying.  I had to create mine.  I started with some free Christmas sheet music I found on the internet.  Once printed, I aged it with my TH vintage photo ink.  I then lined it up with my tag and cut out the shape. 


I covered the entire tag with the TH Distress Stain in Picket Fence.  You need to let this soak in the paper for a few seconds and then hit it with a heat gun.  I wanted to create the embossed design on the right side of the tag.  I found a "Merry Christmas" stamp I had from SU and stamped that with my Versamark pad.  I covered it with UTEE (Ultra Thick Embossing Powder) to make it really stand up and then hit it with the heat gun.  In an effort to make it stand out even more, I went over the raised image with TH Distress Ink in Stormy Sky.  I wish I had had a stamp with more coverage.  I think my stamp is too fine to really show up.

I tried to create the illusion of a holly sprig and berries with my inks.  I turned out ok.  After everything was dry, I spritzed the tag with Perfect Pearls Mists in Perfect Pearls.  The splatters look like snow flurries.  I edged the whole tag with the TH Stormy Sky ink.

Next, I cut the reindeer at 3" 3 times and glued them all together.  I distressed the top layer with TH Vintage Photo ink.  I layered 2 circles (one smaller than the other) inside each other to make a ring,  I covered the ring with pine sprigs punched with the MS punch.  I really like the way it turned out.  I also put a charm on a piece of twine and tied it around his neck.  I put some pop dots on the back and attached him to the tag.

To finish off the tag, I attached a strip of burlap to the tap with some red seam binding.  Once in place, I attached a tag made from a TH fragments and scrap paper to a round paper clip and looped it through the seam binding.  Now, finally, the tag was complete!

This puppy took some work but I am very pleased with the final results.  As always, leave me some blog love and tell me what you think.  And please check out Tim's 12 Tags of Christmas on his blog.  His creations are breath taking and you can learn tons of techniques.  Click here to go to his blog.  Until next time...

Smooches!


Saturday, September 24, 2011

Witch's Boot Altered Wood Cutout

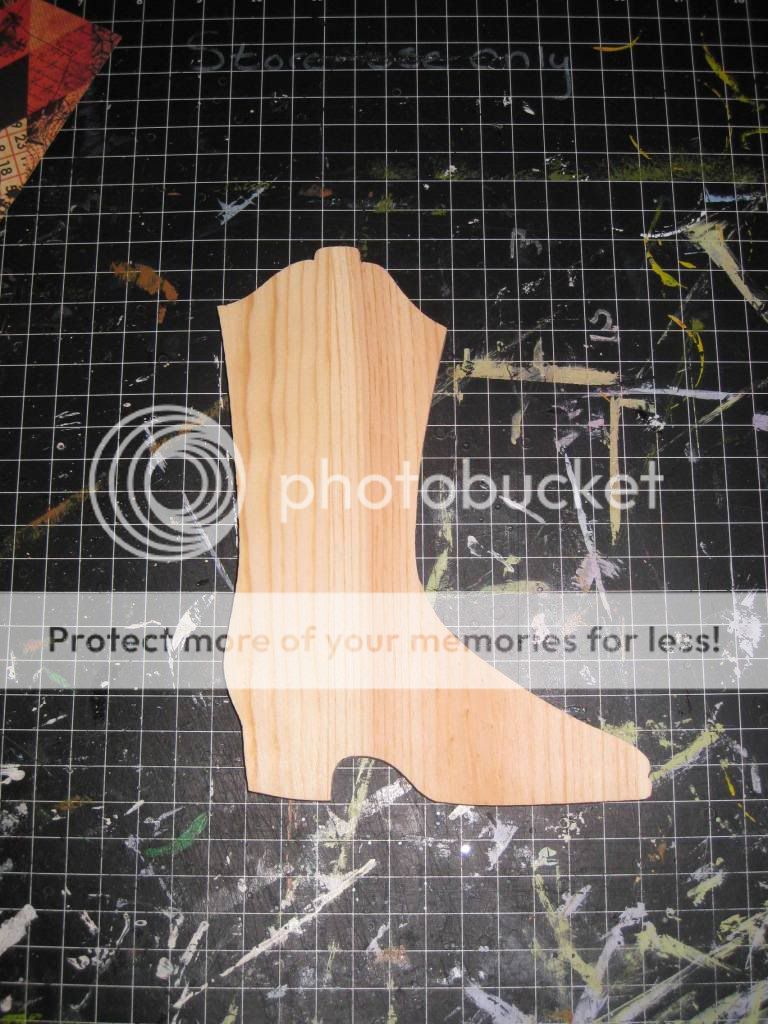
Hello to all my peeps out there in bloggerville!  I have a project for you today working with a raw wood cutout.  I haven't done many projects with this medium but I am fast falling in love with it.  I turned this...


into this!


Deets please!

Carts and Materials
  • Indie Art - skull and crossbones
  • Paper - Authentique "Glowing"
  • Paint - Martha Stewart "Beetle Black"
  • Glitter - Marth Stewart "Fire Opal"
  • Spray - Glimmer Mist "Graphite"
  • Ink - SU Basic Black, TH Spiced Marmalade
  • My Stash - black roses, black swirl bling, twine, crepe streamer, black ribbon trim

I attended the Cricut Stampede last Spring and we each received this wood cut out of a cowboy boot.  It has been sitting on a shelf in my craft room since I came home.  Halloween usually shows a lot of witch's boots so I knew I had found an opportunity to use my cut out.  I started by painting it black with some new paint from MS that I found at Michael's.  I then covered it with this beautiful Halloween paper from Authentique. 

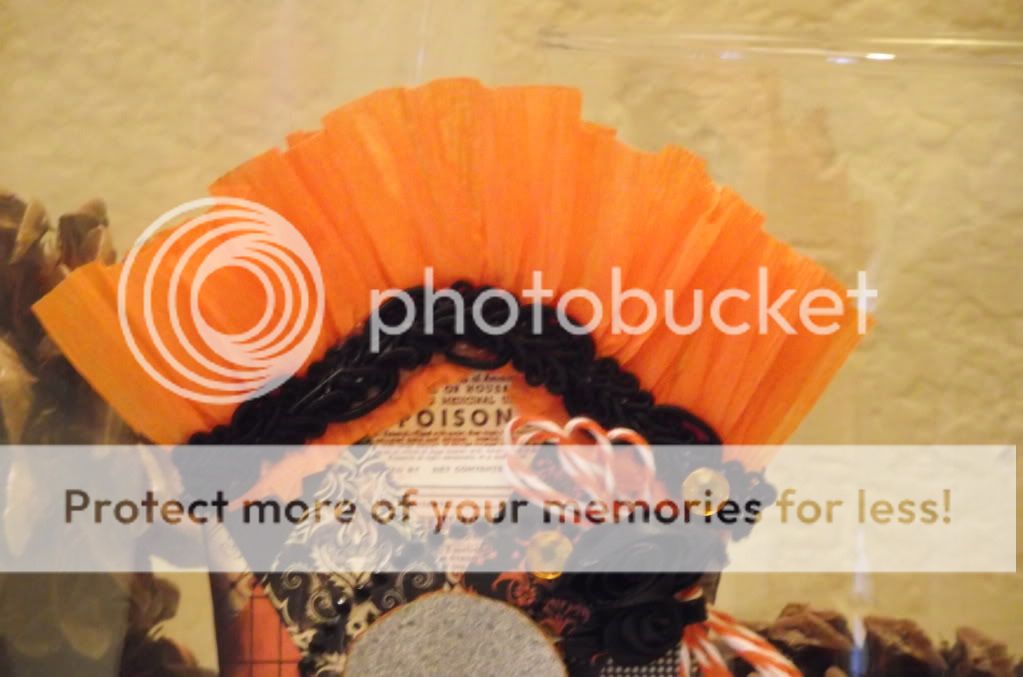
I adeded some crepe paper ruffles to the edge of the boot which makes the boot very girly.  I covered up my glue line with a piece of black trim.  Things were going in the right direction.

I used 2 different papers and I wanted to stress that detail.  So I added a line of glitter to make the transition more noticable.  now, it's time for the little details.

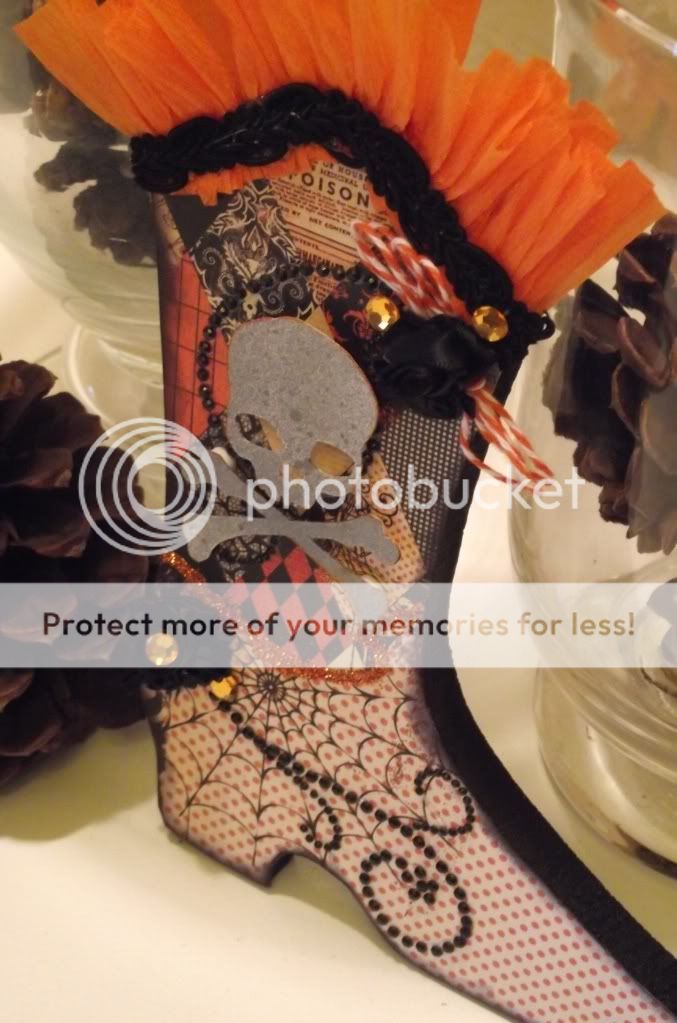
I am learning to layer in details instead of feeling like everything I put in a project has to be immediatley seen at first glance.  I am still working on this but I feel I did a good job here.  I added some black swirl bling and layered a skull and crossbone cut on top.  I covered the cut with Glimmer Mist in Graphite.  I love the splattered look.  I edged it with Spiced Marmalade ink.  I plopped several loops of twine and some black roses at the beginning of the bling to complete the look.

I added another black swirl of crystals complete with a cluster of roses.  I also added a few orange diamonoids to finish the look.


I edged the entire boot with Basic Black ink to give it more of an aged look.  Do you love my kickin' witche's boot?  I sure do!  With boots like these, anyone could get into a little trouble!  Until next time...

Smooches!


Friday, September 16, 2011

September 2011 Card Swap Card - So Sweet

Hi guys!  It's been a long time since I have posted a project but I am back tonight.  I have been crazy busy since the beginning of the school year and my mom had a medical scare this week that really shook me.  But I am a woman of my word so I had to complete my cards for the Card Swap I am in and that's the project I have for you tonight.

This month's card theme was generic which means I could make whatever I wanted.  So I made a card I am calling So Sweet.


Here's the particulars!

Carts and Materials
  • French Manor - scalloped frame
  • Kate's ABCs - ice cream sundae
  • Paper - Heidi Grace
  • Glitter - Martha Stewart Coarse Glitter
  • Embossing Folder - 3 Dots (Sizzix)
  • Ink - Tim Holtz in Tattered Rose
  • Stash - seam binding ribbon, Glossy Accents

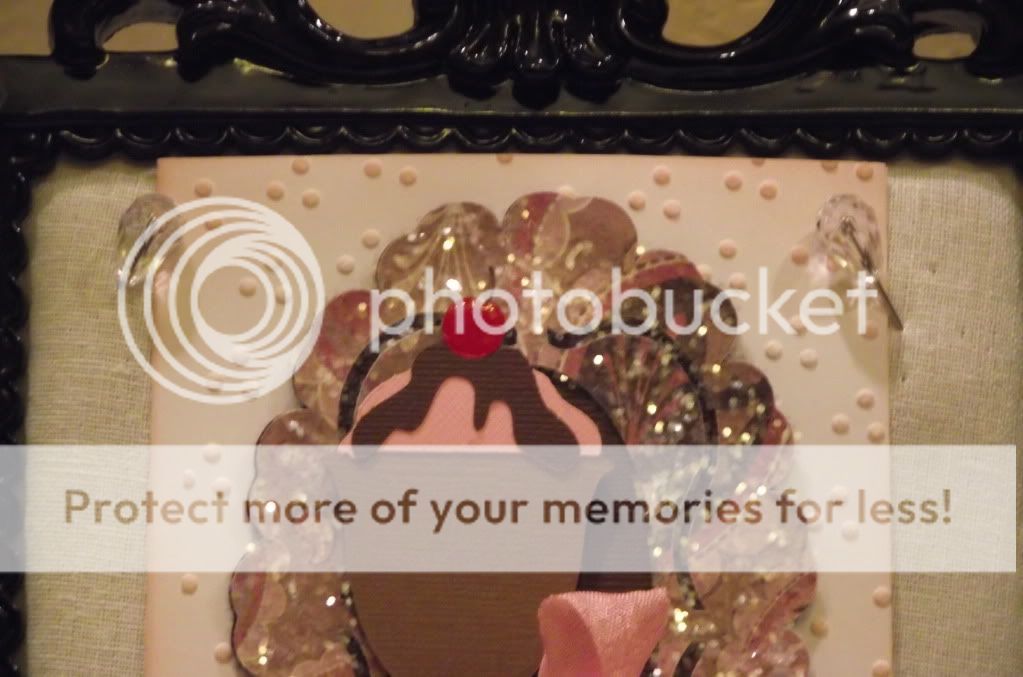
I embossed my card base with an embossing folder that I really like.  I think it's a play on the sprinkles you would see on a sundae.  I kissed the edges of the base with the some Tim Holtz Distress ink.  I then cut the scalloped frame and base and covered the frame in MS Coarse Glitter.  I cut all the pieces of the sundae including the cherry which I covered in Glossy Accents to give it a more realistic look.


I attached frame pieces to the card base using a tape runner.  I attached the sundae to the base with pop dots.  Then I made a bow from pink seam binding and attached it to the card as well.


That completed the card.  1 down - 13 to go!  I had to make 14 of these cards for the Card Swap and I am proud that I finished them all in time.  I did learn something though - to make 14 identical cards requires a lot of materials!  I need to plan out my designs a little better to make sure I have enough supplies.  I hope you like my card as much as I do.  Leave me some blog love and tell me what ou think.  Until next month...

Smooches!

Saturday, June 18, 2011

Amanda's Sympathy Card

Hi guys.  How have you been?  Well, I hope.  This week, I had to create one of those cards that are not our favorites but necessary - a Sympathy Card.   One of my friend's mother passed all of a sudden so I wanted to make her a card to let her know we are thinking of them.  So here is what I made.

Carts and Materials
  • Freshly Picked - gazebo
  • Florals Embellished - bird (shilouette feature with some of the cuts hidden)
  • Tim Holtz Inks - various colors for the subtle shading
I got my inspiration from from a card on the message Boards and a project on the Cricut Circle Blog by Shantiae Fowler.  I wanted to make the card all white but then decided to add some color but in a subtle way.  So I pulled out my TH inks and ink dauber and got to work.


I added some pearls all around the card to add to the softness.


I hope you love it but I really hope it shows our friends that we love thme and are supporting them through this tough time.  Thanks everyone!

Smooches,


Wednesday, April 20, 2011

Tim Holtz South Africa Trip Video

I posted on my blog last summer my new love for the Tim Hotlz products.  As a result, I follow his blog and I am continually inspired by his beyond amazing projects.

His passion and love for crafting have taken him many places in his career.  This year, it took him to South Africa.  Check out this video, the beauty of the scenery and the majesty of the animals.  God is truly awesome!!!

Monday, September 6, 2010

Finally! My Tim Holtz Video of my class!!!

Hey guys! It's been a long time since I have posted and I have to tell ya - I miss you all! For those of you who don't know, I am a high school Special Ed teacher. So when school started back, all my spare time was sucked away. Hopefully things will start to settle down soon (fingers crossed!) and I can get back to crafting and on my blog more often.
Anyway, here is the much anticipated video from my class with Tim Holtz! I just love this project, him and all the products. I learned alot and hoefully you will see me put my new knowledge to use soon. Take a look at the video and I'll be seeing you!

Smooches,

Robin

The Scrappin' Delta Diva