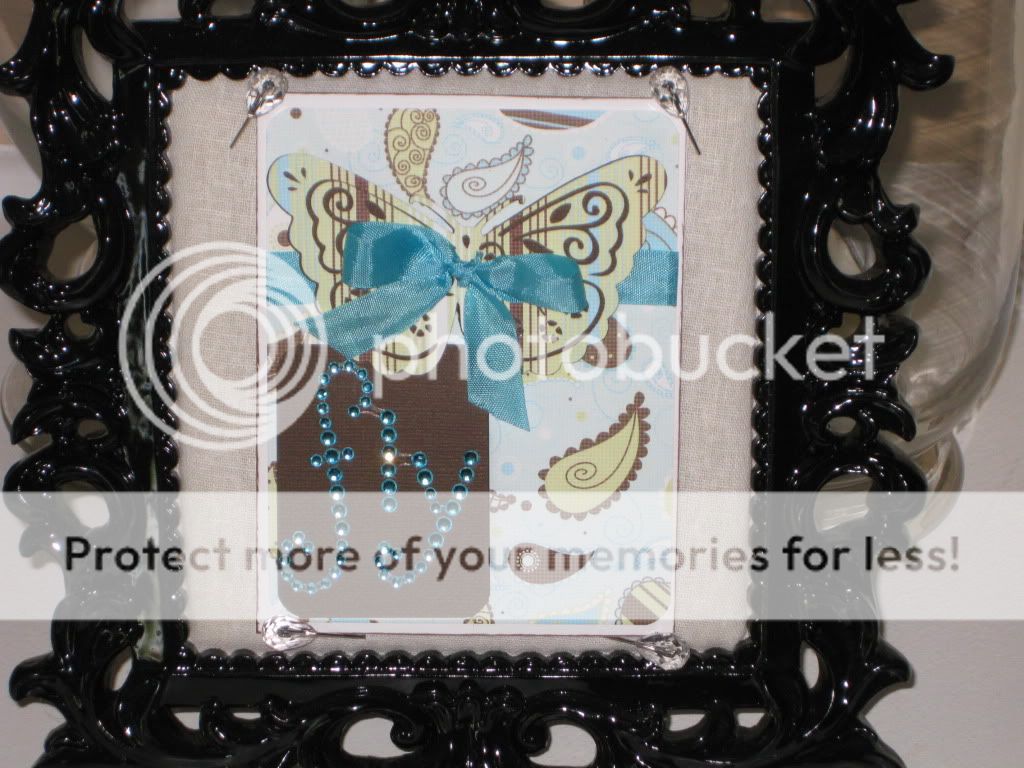
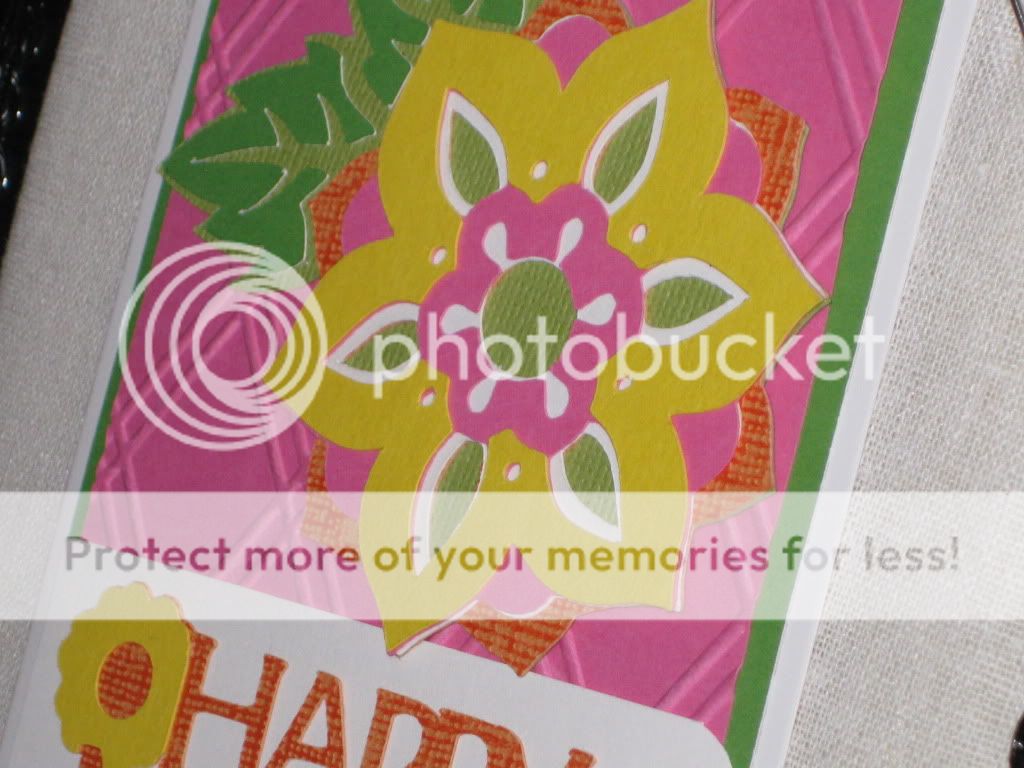
Sometimes, you just need to spread your wings and "Fly"! This card will help you tell that to someone who needs that piece of advice.
This card is a true testament to "Inspiration can start anywhere!" The first element I got for this card was the blinged out sentiment. I picked it up in the dollar section of Michael's. I didn't know what I was going to do with it, but I knew I could do something.
I searched through my papers at home and found these two coordinating papers in a stack that someone had given me. They matched perfectly with the sentiment so I was off to a good start.
I had also just gotten the Florals Embellised cart and you know how we are when we get a new cart - gotta use it all the time. So I looked through it and found this butterfly. But it wasn't until I was in the midst of making the card that the idea came to me to run the seam binding through the butterfly. Genius!
Here's a picture tutorial of how I did it.
1. Before you put your base down, lay a piece of ribbon or seam binding down and lay your base on top of it.
2. On your cut image, bend the wings up a little to give them some lift. Make sure you leave the body flat and bend at the joint of the wing.
3. Using an xacto knife, make two slits along the folds you made between the wing and the body. Make sure to not seperate the wing from the body.
4. Run your ribbon through the slits in your butterfly. Make sure you center your butterfly on the card.
5. Using a liquid adhesive, glue the body down to the card. Hold it in place until it dries to make sure it does not move. This is going to help with another step later.
6. Tie your bow to secure your butterfly. Then place pop dots under the wings at the edge to lift them off the card. This adds dimension to the card as well as makes that fact that the ribbon runs from the card through the butterfly stand out.
I hope you love my card as much as I do! Leave me some love and I'll see you next time! Smooches,