Friday, September 30, 2011

What's Cooking? Halloween Card + CC Challenge Entry


I swore off entering challenges a while ago. I had worked really hard on a couple of projects and I didn't win. I don't take rejection well so I have found out lately. But in an effort to grow and mature, I decided to give the challenges on the CC Blog another stab. Here is my entry for the September Monthly Challenge which was to include a window element.


Carts and Materials
  • Happy Hauntings -
  • October 31st
  • Ink - TH Black Soot, SU Craft White
  • Stash - plain cardstock, twine


I started by making a 6x6 card base and distressing it with black ink.  I think it adds to the spookiness.  I then cut the window frame at 5.80".  I justed the Hide feature on my Gypsy to make the gray window frame base which allowed me to hide some of the cut out details.  I tapped the edges of the black window frame with white craft ink to age it a little.  I really like this affect.  I added a piece of white vellum to the window to give the shadow affect.


I cut a spider web ont of gray paper which did not cut as well as I would have liked.  But I used this to my advantage because it makes the web look like it has been there while.  I cut several spiders and decided on this guy which I "suspended" on black and white twine.
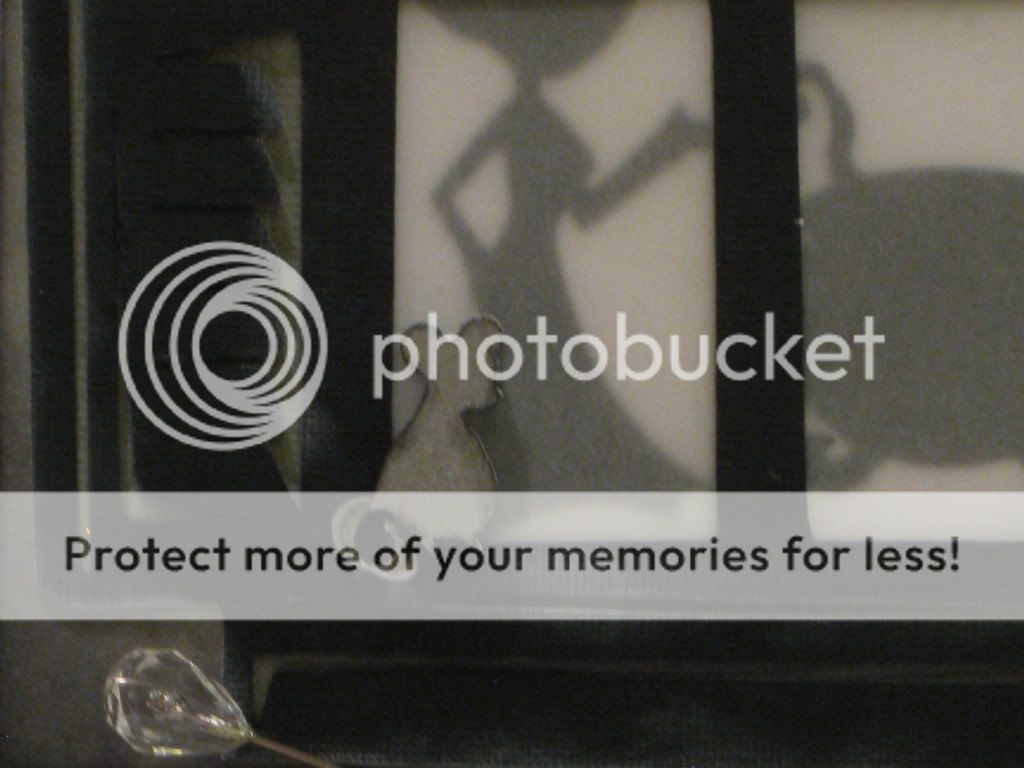

I cut two mice and used pop dots on the second one to give it a little dimension.  Isn't he cute?!  The witch in the background is actually the Bride of Frankenstine cut but I added a hat on and a pointy nose to her to turn her into a witch.  I think she looks great stirring the concoction she is making in her caludron.
This time, I carried my theme to the inside of the card with my sentiment.  I used the font on the Happy Hauntings cart and welded the letters together on my G.  I added another caludon and a hand coming out of it.  So cute!


I hope you like my entry for the contest.  I know I do.  And for those of you who are wondering where I got the ornaments, I found them at Ross.  There was only one pack or else I would have gotten more.  I may be on the hunt this weekend!  Leave me some blog love and I will talk to you soon!


Smooches!


Saturday, September 24, 2011

Witch's Boot Altered Wood Cutout

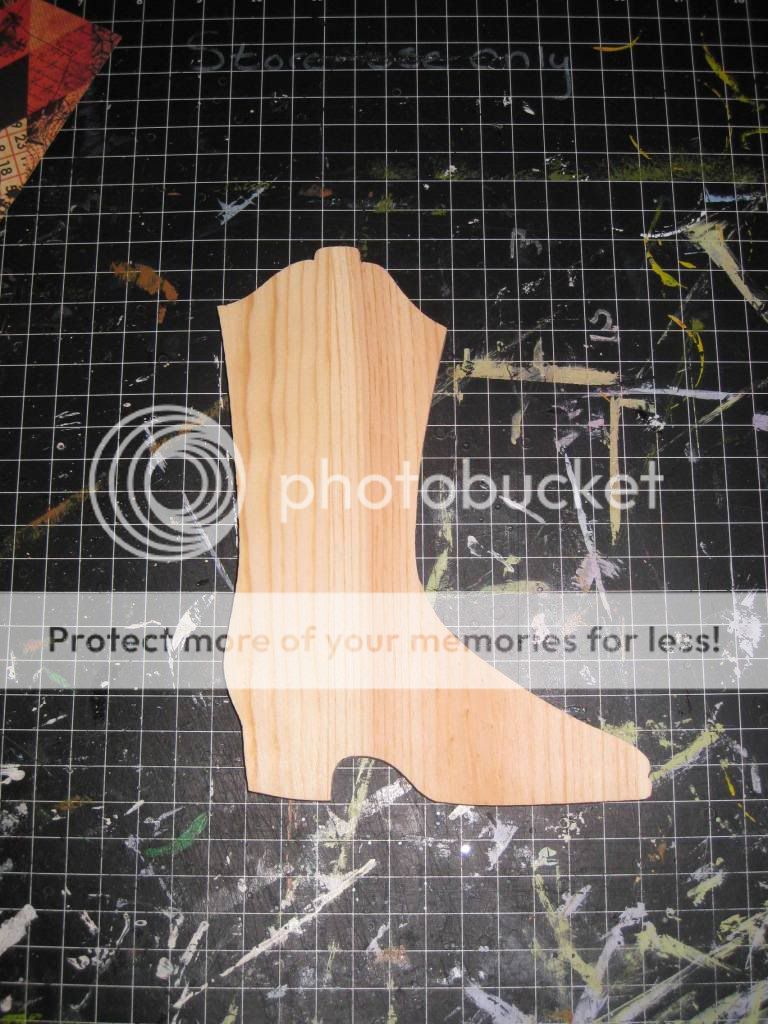
Hello to all my peeps out there in bloggerville!  I have a project for you today working with a raw wood cutout.  I haven't done many projects with this medium but I am fast falling in love with it.  I turned this...


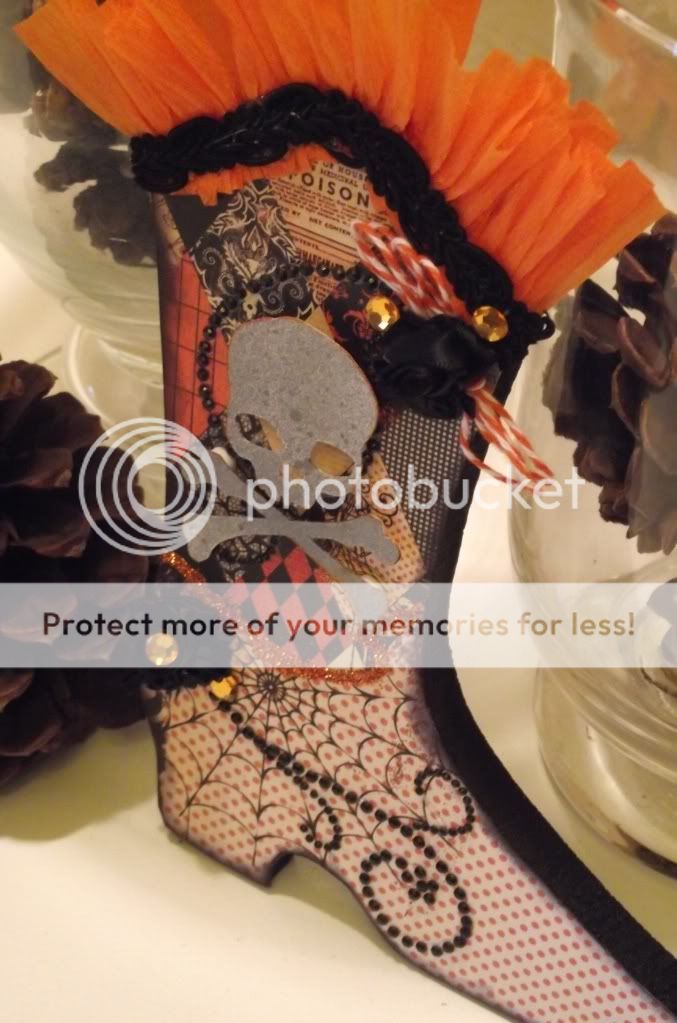
into this!


Deets please!

Carts and Materials
  • Indie Art - skull and crossbones
  • Paper - Authentique "Glowing"
  • Paint - Martha Stewart "Beetle Black"
  • Glitter - Marth Stewart "Fire Opal"
  • Spray - Glimmer Mist "Graphite"
  • Ink - SU Basic Black, TH Spiced Marmalade
  • My Stash - black roses, black swirl bling, twine, crepe streamer, black ribbon trim

I attended the Cricut Stampede last Spring and we each received this wood cut out of a cowboy boot.  It has been sitting on a shelf in my craft room since I came home.  Halloween usually shows a lot of witch's boots so I knew I had found an opportunity to use my cut out.  I started by painting it black with some new paint from MS that I found at Michael's.  I then covered it with this beautiful Halloween paper from Authentique. 

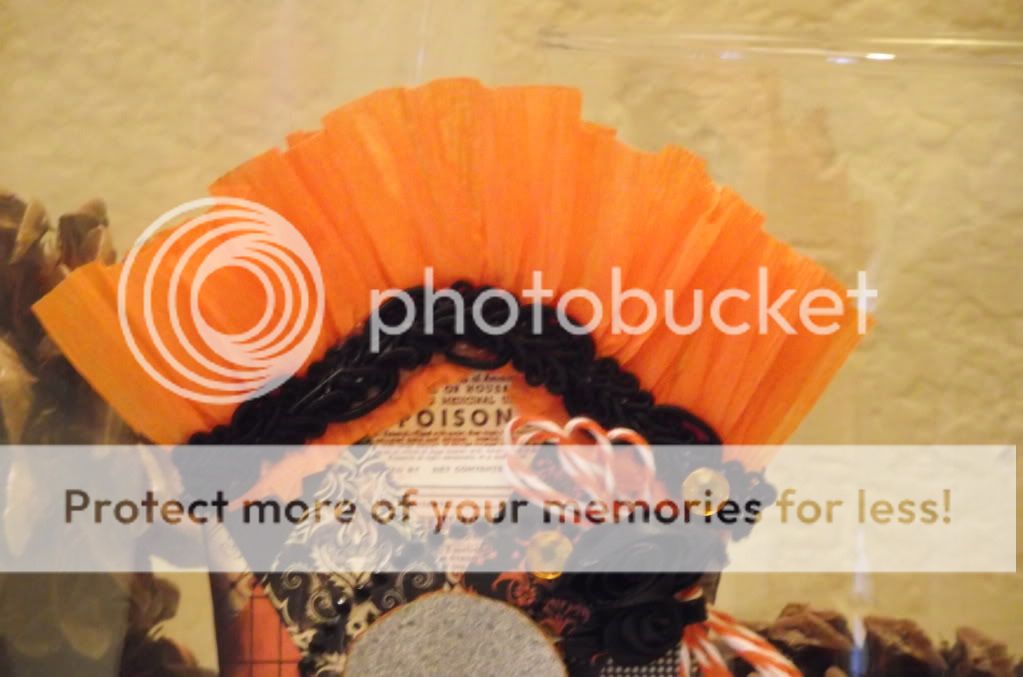
I adeded some crepe paper ruffles to the edge of the boot which makes the boot very girly.  I covered up my glue line with a piece of black trim.  Things were going in the right direction.

I used 2 different papers and I wanted to stress that detail.  So I added a line of glitter to make the transition more noticable.  now, it's time for the little details.

I am learning to layer in details instead of feeling like everything I put in a project has to be immediatley seen at first glance.  I am still working on this but I feel I did a good job here.  I added some black swirl bling and layered a skull and crossbone cut on top.  I covered the cut with Glimmer Mist in Graphite.  I love the splattered look.  I edged it with Spiced Marmalade ink.  I plopped several loops of twine and some black roses at the beginning of the bling to complete the look.

I added another black swirl of crystals complete with a cluster of roses.  I also added a few orange diamonoids to finish the look.


I edged the entire boot with Basic Black ink to give it more of an aged look.  Do you love my kickin' witche's boot?  I sure do!  With boots like these, anyone could get into a little trouble!  Until next time...

Smooches!


Friday, September 16, 2011

September 2011 Card Swap Card - So Sweet

Hi guys!  It's been a long time since I have posted a project but I am back tonight.  I have been crazy busy since the beginning of the school year and my mom had a medical scare this week that really shook me.  But I am a woman of my word so I had to complete my cards for the Card Swap I am in and that's the project I have for you tonight.

This month's card theme was generic which means I could make whatever I wanted.  So I made a card I am calling So Sweet.


Here's the particulars!

Carts and Materials
  • French Manor - scalloped frame
  • Kate's ABCs - ice cream sundae
  • Paper - Heidi Grace
  • Glitter - Martha Stewart Coarse Glitter
  • Embossing Folder - 3 Dots (Sizzix)
  • Ink - Tim Holtz in Tattered Rose
  • Stash - seam binding ribbon, Glossy Accents

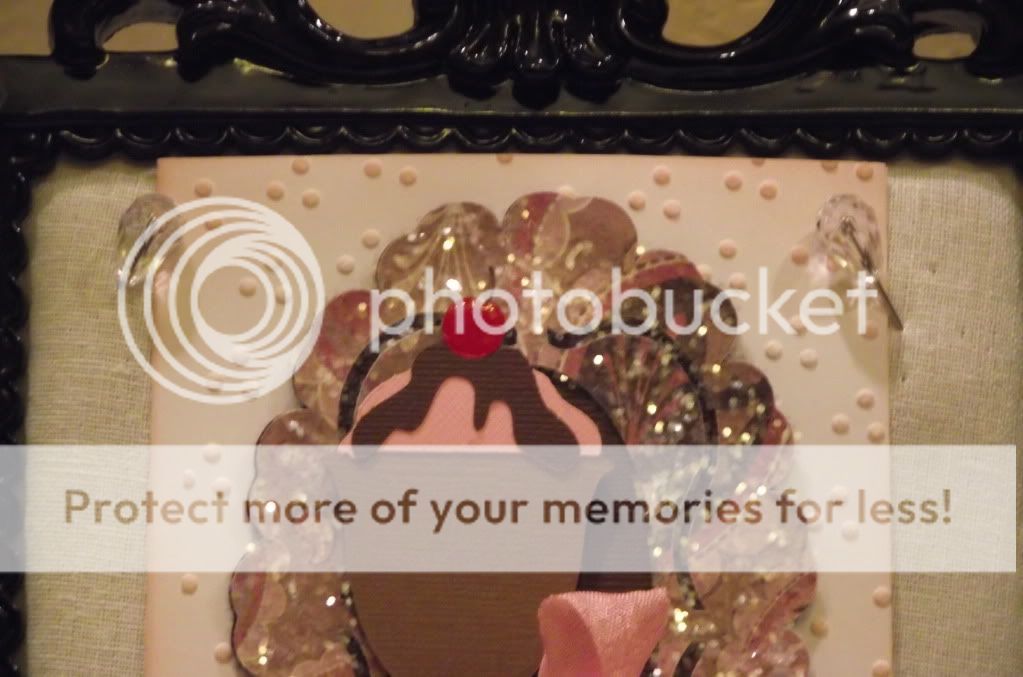
I embossed my card base with an embossing folder that I really like.  I think it's a play on the sprinkles you would see on a sundae.  I kissed the edges of the base with the some Tim Holtz Distress ink.  I then cut the scalloped frame and base and covered the frame in MS Coarse Glitter.  I cut all the pieces of the sundae including the cherry which I covered in Glossy Accents to give it a more realistic look.


I attached frame pieces to the card base using a tape runner.  I attached the sundae to the base with pop dots.  Then I made a bow from pink seam binding and attached it to the card as well.


That completed the card.  1 down - 13 to go!  I had to make 14 of these cards for the Card Swap and I am proud that I finished them all in time.  I did learn something though - to make 14 identical cards requires a lot of materials!  I need to plan out my designs a little better to make sure I have enough supplies.  I hope you like my card as much as I do.  Leave me some blog love and tell me what ou think.  Until next month...

Smooches!

Friday, September 9, 2011

Scrapace is the place!


Have you heard of Scrapace?!  It is one of those deal of the day websites that is totally dedicated to crafting where you get amazing products at ridiculously discounted prices.  There are all kinds of great products from companies like Basic Gray, American Crafts, Spellbinders and more.  All you have to do is sign up to receive the daily emails about the deals and you can be on your way to getting great products at even greater discounts.  Go to www.scrapace.com and sign up today!

Smooches,

Robin!

Thursday, September 1, 2011

I got my own Facebook page!

Hi guys! Been a long time but wanted to you let you all know that I got a Facebook page dedicated to my love of paper crafting. Want to link up on FB? Search for Delta Scrapper aka Robin and send me a request. I have sent some of you a request already so look at your notifications. Also, I may unfriend you from my personal page so we can connect on my crafting page. Look me up!
Smooches,
Robin

Sunday, August 21, 2011

August 2011 Card Swap Card - Friendship

I have been absent from my blog for a couple of weeks now and for good reason.  I got a promotion last Spring to Special Ed Department Chair at my high school and the position has kept me busy!  I almost brought a cot up there and just spent the night since I was leaving the school most nights betweeen 8 and 10 pm. 

I signed up for a year long card swap that started in August and somehow, someway (probably with 1 eye open), I finished my August card on time.  Here it is.  Each month has a theme and this month's theme was friendship.


Carts and Materials
  • Damask Decor - background (using the Card feature), flower
  • Storybook - panel
  • Paper - Authntique
  • Stamp - StampinUp!
  • Pearl Accents - Pearl Pen (love this thing) in pearl
  • Spray - Glimmer Mist in Gumdrop
  • My Stash - buttons, twine and flowers
I had to make 14 cards for this swap.  I had gotten a new cart and I wanted to use it so that's how I came up with the background.


I had just purchased some of the new Authentique papers and knew I wanted to use those on my cards.  I also like cards that have a lot of texture and dimension so I came up with the idean to add twine, buttons, and flowers.  I used my Pearl Pen to add a little accent in the middle of the button.  I also sprayed the flowers with Glimmer Mist for a little more depth.  It has gold glitter in it.


I stamped the sentiment on the panel with chocolate chip ink from StampinUp!.  I added some pearl accents to the points with my Pearl Pen, adhered it with pop-dots and the card was done.


Good news is - I'm done.  The better news is that there will be a new card each month so make sure you check back often to see next month's creations.  As always, leave me some love and I will see you all next time.  Wish me luck on my new school year which starts tomorrow and send up some prayers!

Smooches,

Thursday, August 4, 2011

Cartridge Spotlight Week - Plantin Schoolbook: Gift Tubes

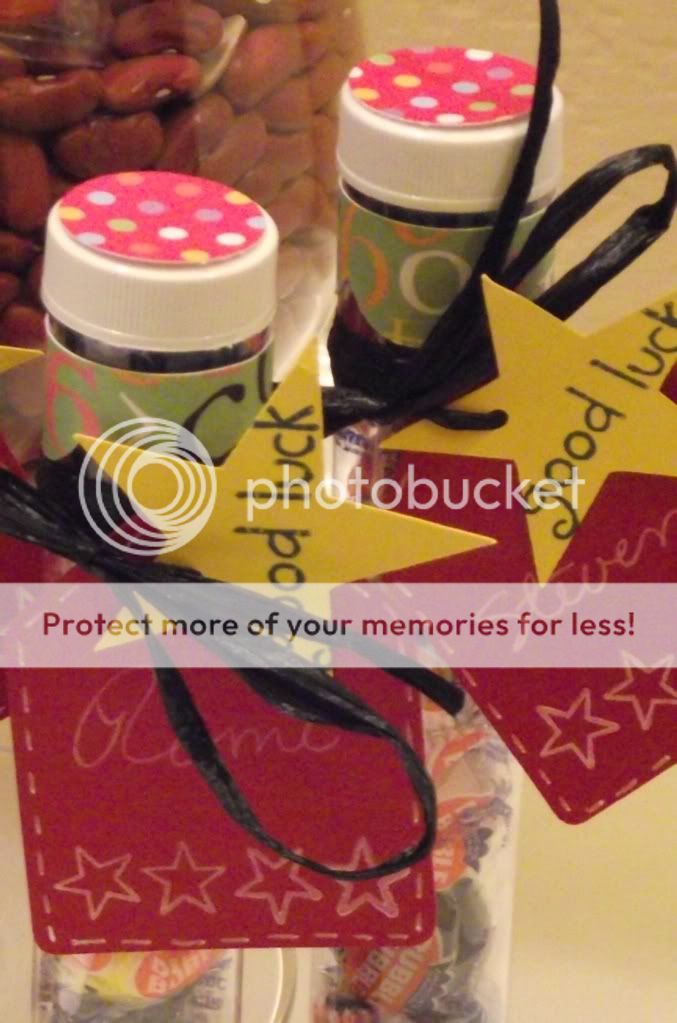
Hey everybody! It's been a crazy busy week but I am back with the second project in this weeks Cartridge Spotlight. As you know, this weeks cartridge is Plantin Schoolbook. I was able to make this project with only cuts from this cart. So let's get to the project which is....Gift Tubes!


As many of you know, I am a teacher. I was promoted at the end of last school year to Special Education Department Chair at my high school. So I decided to make these tubes for my team to welcome them back this year.

I used the Grade School paper pack from DCWV again and some plain cardstock from my stash as well. I cut a scalloped border and glued that around the top. I also cut a tag and a star to put the names and sentiments on.

I stamped some stars and the sentiment using Stampin Up! inks and some stamps I found in the dollar bin. I also used my white gel pen to put some ticking around the edge of the tag. I tied them on to the tubes with raffia and glued a 1" circle to the tops of the tubes.

I forgot to say I filled the tubes with Dubble Bubble bubble gum. I hope my team likes these and that it gets them off to a great start to the year.

Leave me some love and remember to check back for at least 1 more project this week. Toodles!

Smooches,