Showing posts with label Girl Card. Show all posts

Thursday, April 21, 2011

She's A Lady Card for Circle Blog Weekly Contest + Video Tutorial

This week's contest was to make something I know all about - flowers. You had to make a handmade flower and I have been working on several different kinds of these lately. While I was at the Stampede, one of my tablemates Miro, showed us how to make a flower like she learned in her first Teresa Collins class (Thanks Miro). I really liked the way it came out so I tried to recreate it on this card.

Well, I couldn't remember all the exact steps so I improvised. I played around a little bit with some cutouts and this is what I came up with. I love it! I see so many applications for this kind of flower - frames, altered art, even a broach. Here's the details:

  • French Manor - cut 5 flowers size 2" (base of the flower tag)
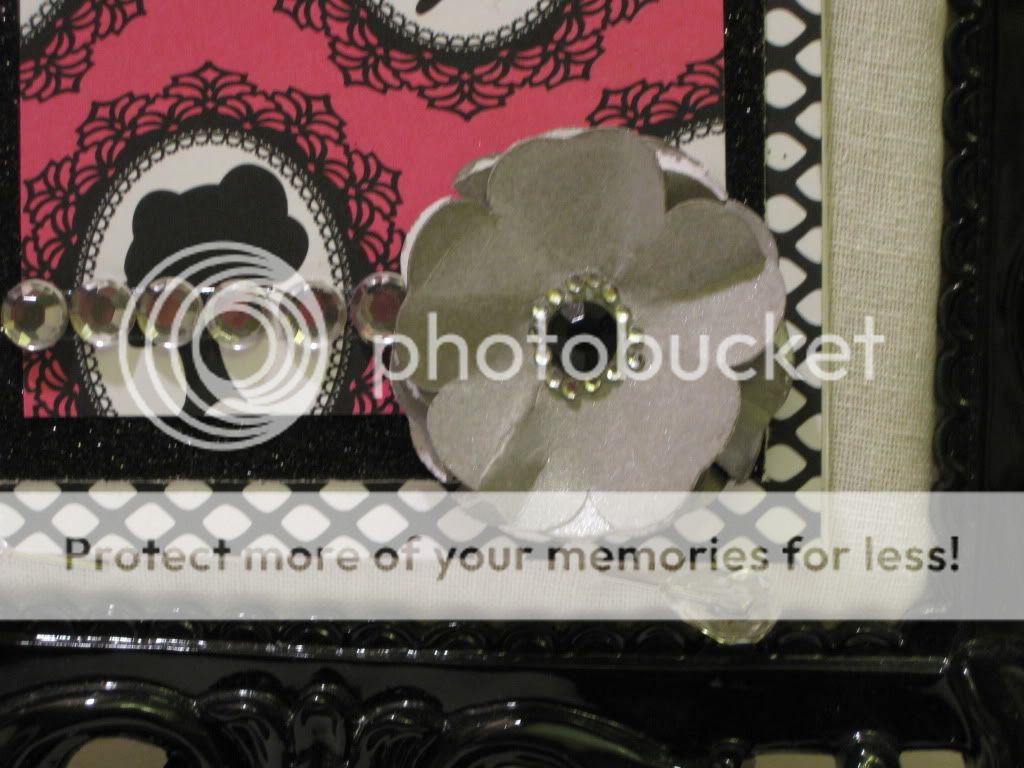
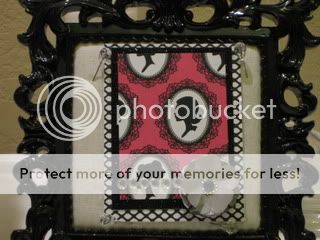
The patterned paper collection that I used was Teresa Collins "Posh" line. Isn't it just grogeous! It makes me think of the vintage Barbie with all the different female shilouettes. There's also a little bit of risque to this collection too, with the black fishnet paper. So feminine!

The paper I used for the flower was actually white. I sparyed it with silver Maya Mist spray. Boy did it change the color of the paper completely! I thought it was just going to add a little shimmer like Glimmer Mist but it gave a complete coverage and shimmer.

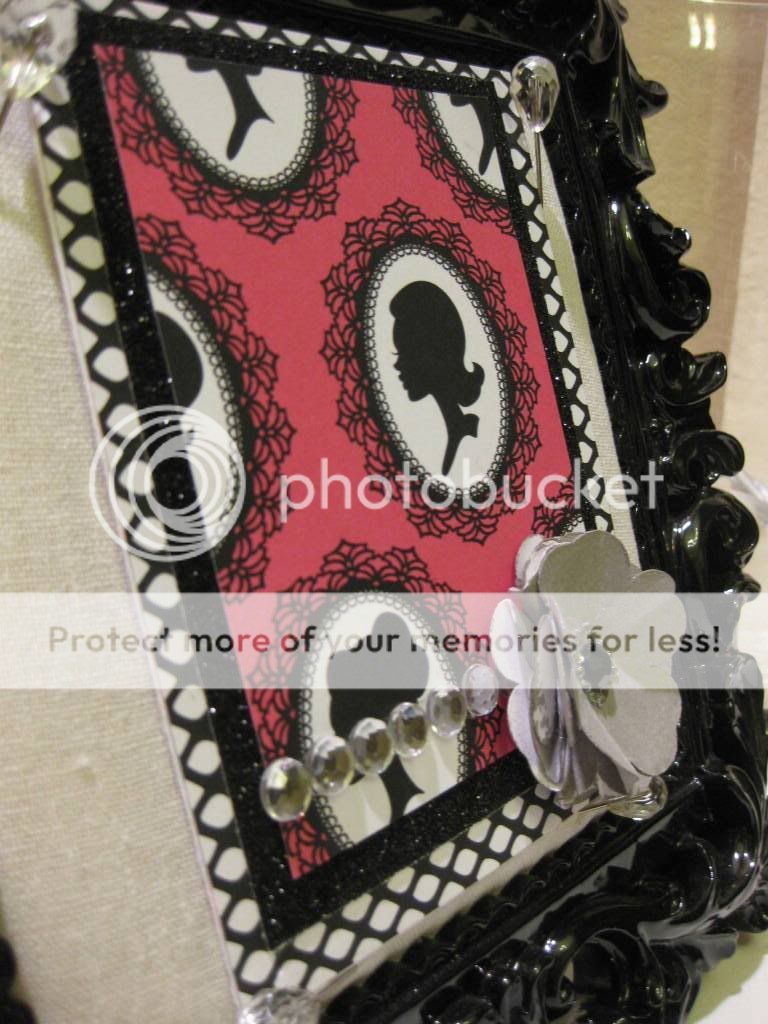
I put a big black bling in the middle of the flower and surrounded it with tiny clear ones. I then glued the flower on to the card with some Scotch Quick Dry Glue.


I just love the card!  I love it so much, I made a video tutorial on how to make the flower.  Watch and see just how easy it is!


Smooches,

Wednesday, October 13, 2010

Cricut Circle Blog Weekly Challenge October 8th

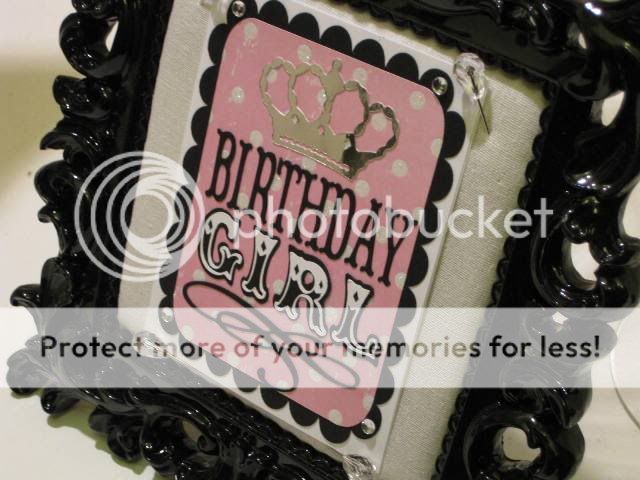
It's funny when you think about where you get inspiration! I was at a local party supply store and saw a balloon with the cutest design on it. I immdiately said "I can make that into a card!" (It also gave me a reason to go buy the Carousel Lite cart!) So I pulled my phone out, took a picture with my camera and ran home to get to work. Luckily for me, my amazing friend and mother to my adorable God-daughter was having a birthday this week. Guess what card she is getting?!?! Making this was a double whammy - a cute card for her and a perfect entry for this weeks CC Blog contest.

Here are the details of the card!

Carts:
  • Carousel Lite - Girl
  • George - rounded rectangle
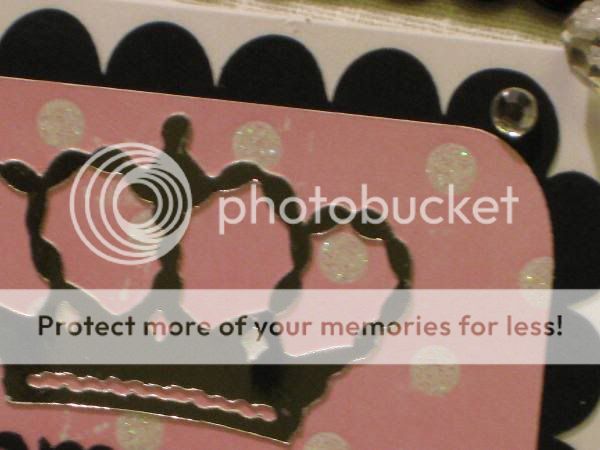
  • Home Decor - crown and flourish
  • Storybook - Birthday
  • Sugar and Spice Lite - scalloped rectangle

Pic of the Balloon - coming soon!


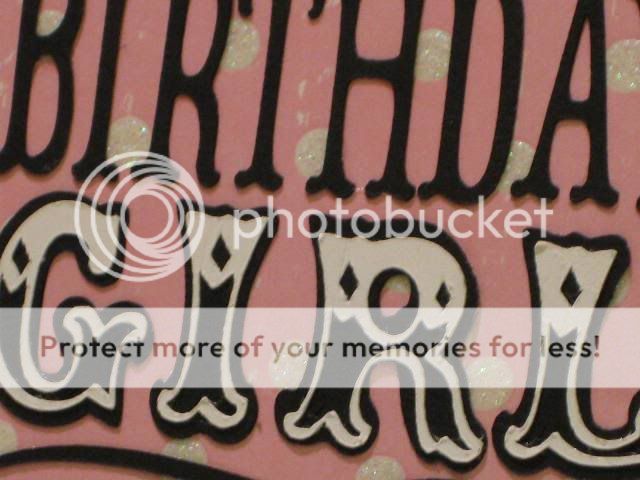
All the cuts on this card are pretty straight forward. I used the Tall creative feature on the Storybook cart to make the word "Birthday". I wanted the squeezed in look and that both words made a block. I played around with it on my G until I got the dimensions just right.


I hope you like the card and I really hope I win the Pink Journey cart. I have been wanting that one for a while. Wish me luck!

Smooches,

Robin
The Scrappin' Delta Diva

Thursday, August 12, 2010

Beautiful Crystal Chandelier Card

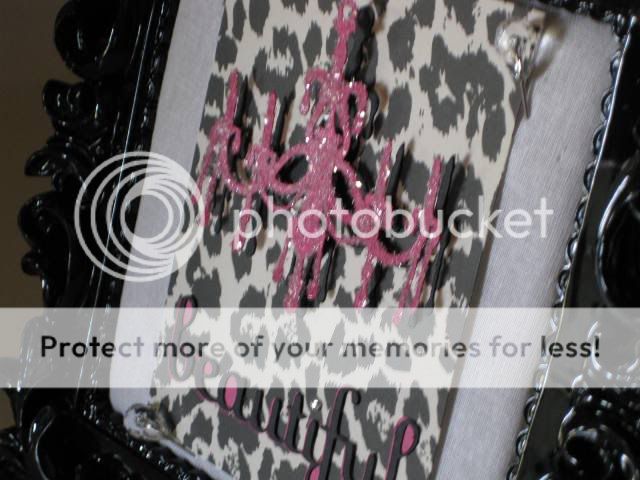
I am not an outwardly sassy, flirty girl. But I can be when I want to be! I do love a little pink and leopard print every now and then. I saw this paper and it made feel a little sassy and that was the inspiration for this card!

I love beautiful things and I have seen some very pretty colored crystal chandeliers lately. I have always wanted to make a card with a chandelier so this was the perfect opportunity. Here are the details.

Cart:
  • Home Decor - chandelier and sentiment

I cut the chandelier and the blackout at 3.4" x 3.12". I cut the sentiment at 3.59" x 1.24"


Once the pink chandelier was cut, I covered it with JudiKins Diamond Glaze. It is a water-based, dimensional adhesive. When the entire chandelier was covered, I dusted it Diamond Dust. This is finely ground glass that makes a beautiful affect.

Once the chandelier was dry, I began to assemble the card. I glued the background down. Then I glued the blackout of the chandelier in place. I glued the blackout of the sentiment in place and placed the sentiment on top. I used a piece of bling for the dot on the letter "i". I put pop dots on the "crystal" chandelier and put it on the card.

I hope you like it! Thanks so much for looking and leave me some comments and blog love!

Smooches,