Thursday, April 21, 2011

She's A Lady Card for Circle Blog Weekly Contest + Video Tutorial

This week's contest was to make something I know all about - flowers. You had to make a handmade flower and I have been working on several different kinds of these lately. While I was at the Stampede, one of my tablemates Miro, showed us how to make a flower like she learned in her first Teresa Collins class (Thanks Miro). I really liked the way it came out so I tried to recreate it on this card.

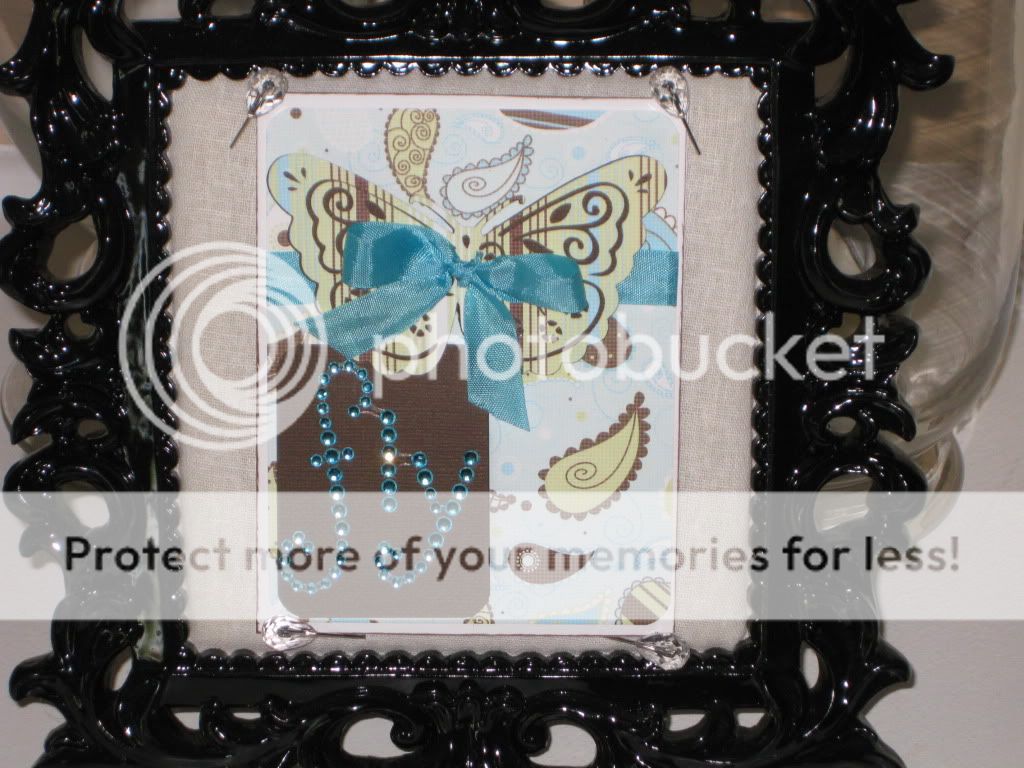
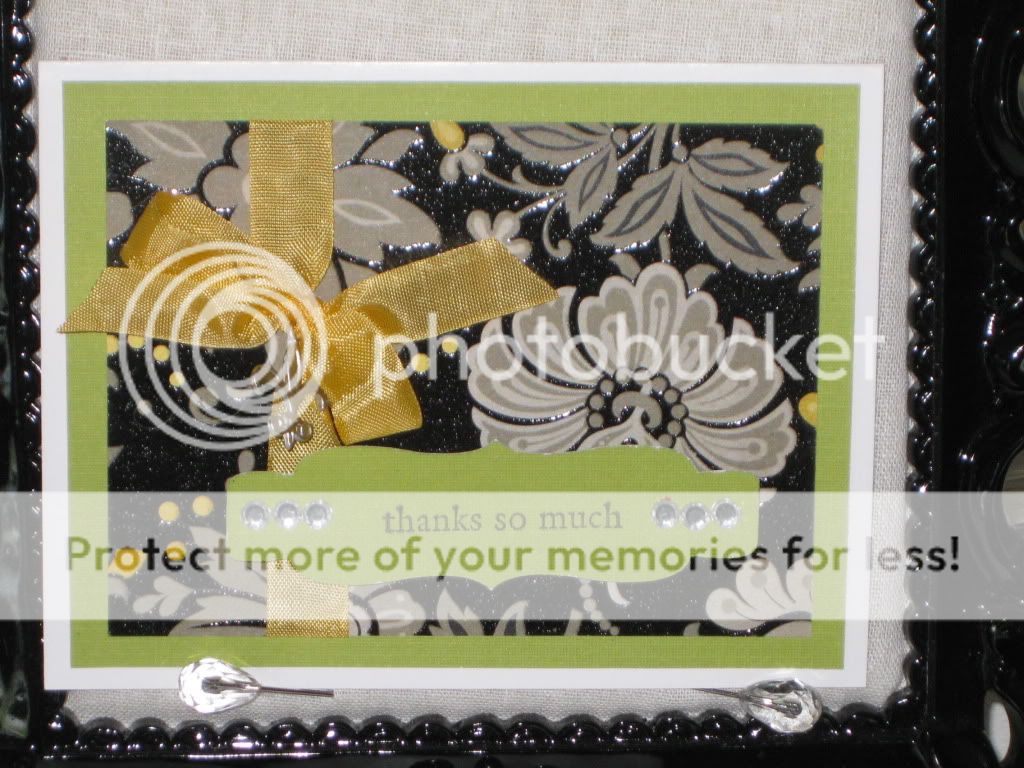
Well, I couldn't remember all the exact steps so I improvised. I played around a little bit with some cutouts and this is what I came up with. I love it! I see so many applications for this kind of flower - frames, altered art, even a broach. Here's the details:

  • French Manor - cut 5 flowers size 2" (base of the flower tag)

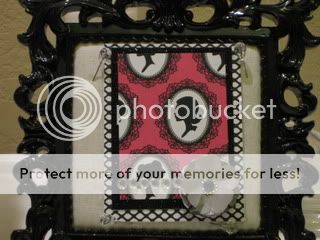
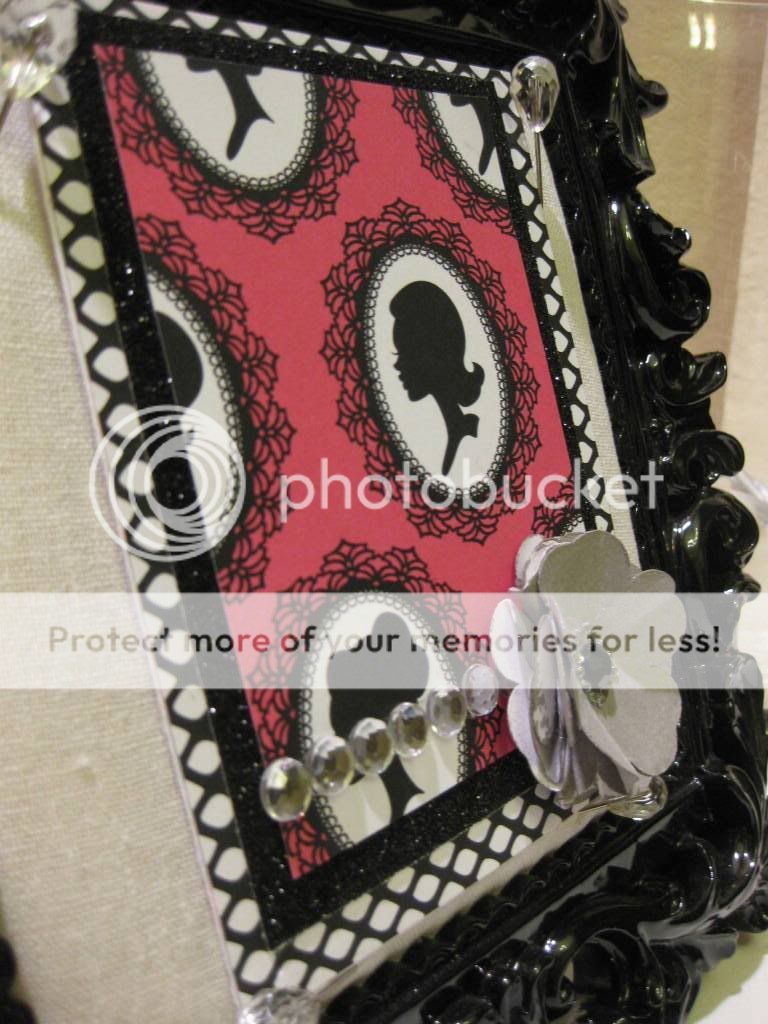
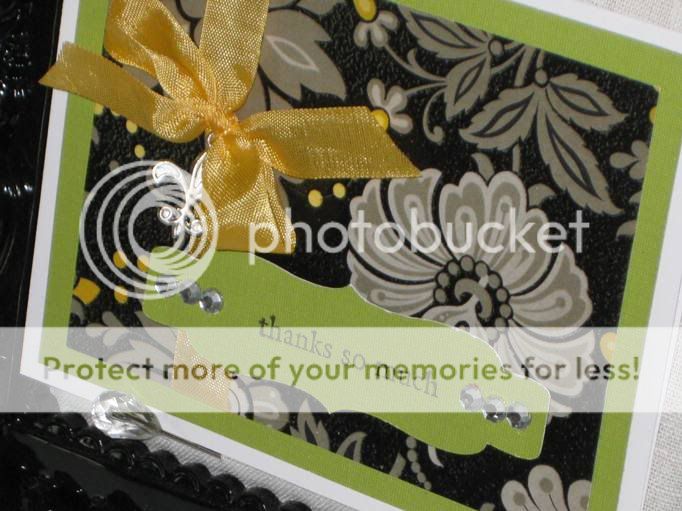
The patterned paper collection that I used was Teresa Collins "Posh" line. Isn't it just grogeous! It makes me think of the vintage Barbie with all the different female shilouettes. There's also a little bit of risque to this collection too, with the black fishnet paper. So feminine!

The paper I used for the flower was actually white. I sparyed it with silver Maya Mist spray. Boy did it change the color of the paper completely! I thought it was just going to add a little shimmer like Glimmer Mist but it gave a complete coverage and shimmer.


I put a big black bling in the middle of the flower and surrounded it with tiny clear ones. I then glued the flower on to the card with some Scotch Quick Dry Glue.


I just love the card!  I love it so much, I made a video tutorial on how to make the flower.  Watch and see just how easy it is!


Smooches,

Wednesday, April 20, 2011

Tim Holtz South Africa Trip Video

I posted on my blog last summer my new love for the Tim Hotlz products.  As a result, I follow his blog and I am continually inspired by his beyond amazing projects.

His passion and love for crafting have taken him many places in his career.  This year, it took him to South Africa.  Check out this video, the beauty of the scenery and the majesty of the animals.  God is truly awesome!!!

Sunday, April 17, 2011

We have a Winner Folks!!!

Thank you to everyone who has subscribed to and follow my blog. You all mean the world to me and your kind comments keep me going even when my creative juices sometimes fail me. So without futher adue, let's get to the giveaway!

Random.org selected....


which is...KayTeeBug!!!! Here's what she had to say


Congratulations KayTeeBug for being chosen as the winner of a $25.00 Joann's Gift Card!!! I will send you a PM on the Cricut MB since you did not include an email address. If you do not respond by April 23rd, I'll have to choose another winner.

Thanks again everyone!

Smooches,

Robin

Friday, April 15, 2011

"Fly" Butterfly Card

Sometimes, you just need to spread your wings and "Fly"! This card will help you tell that to someone who needs that piece of advice.

This card is a true testament to "Inspiration can start anywhere!" The first element I got for this card was the blinged out sentiment. I picked it up in the dollar section of Michael's. I didn't know what I was going to do with it, but I knew I could do something.

I searched through my papers at home and found these two coordinating papers in a stack that someone had given me. They matched perfectly with the sentiment so I was off to a good start.
I had also just gotten the Florals Embellised cart and you know how we are when we get a new cart - gotta use it all the time. So I looked through it and found this butterfly. But it wasn't until I was in the midst of making the card that the idea came to me to run the seam binding through the butterfly. Genius!

Here's a picture tutorial of how I did it.


1. Before you put your base down, lay a piece of ribbon or seam binding down and lay your base on top of it.


2. On your cut image, bend the wings up a little to give them some lift. Make sure you leave the body flat and bend at the joint of the wing.
3. Using an xacto knife, make two slits along the folds you made between the wing and the body. Make sure to not seperate the wing from the body.
4. Run your ribbon through the slits in your butterfly. Make sure you center your butterfly on the card.
5. Using a liquid adhesive, glue the body down to the card. Hold it in place until it dries to make sure it does not move. This is going to help with another step later.
6. Tie your bow to secure your butterfly. Then place pop dots under the wings at the edge to lift them off the card. This adds dimension to the card as well as makes that fact that the ribbon runs from the card through the butterfly stand out.
I hope you love my card as much as I do! Leave me some love and I'll see you next time! Smooches,

Sunday, April 10, 2011

Spring "Thanks So Much" Card in 30 minutes


It had me at "Hello"! The Lemon Flower paper stack from DCWV that is. It is sooooo beautiful! My favorite color is green and I love pairing yellow with it (easy choice for the color of my business logo!). So when I saw this stack in Joann's, I immediately picked up the 12x12 and the 4.5x6.5 stacks. And look at my first project with it in 30 minutes!! Did I say I was in love?!?!


The green background is from the small stack. I trimmed it up a little so that it has a small white border around it. The black floral piece has embossing powder all over the black part which makes it shiny and very pretty. I cut that about a 1/2 inch smaller on all sides to give a larger green border.


Before I glued the black paper down, I cut a piece of beautiful Goldenrod seam binding and ran it behind the paper. I then took the streamers, tied a knot and ran a flure de lis charm on one of the them. Once the charm was in place, I tied my bow.


The only Cricut cut on the card is the tag for the sentiment. It is from Once Upon a Princess and it is the tag on the butterfly cut. I used my G to elongate it to just the right size for my card. I stamped my sentiment on it, added some bling and pop dots for good measure and adhered it to the card.

When it was completed, I knew I had made a good investment in this paper stack. Looking at this card makes me happy and I hope it does the same for you. Tell me what you think and I will see you later!


Smooches,


I have 100 Followers!!!!

OMG!!! You like me! You like me!!! I just checked in and realized that I have hit 100 followers. I am so excited! Excited to the point of genrosity! To celebrate this milestone in my blog, I am going to have a Giveaway. Here's what you need to do: 1. Be a subscriber to my blog. 2. Leave a comment telling me what your favorite project is that I have posted and why. 3. Leave your email address in your post so I can contact you if you win. 4. Leave your comment in this post by Friday, April 15th. That's all you have to do. Want to know what you can win?!?! How about a Gift Certificate to Joann's!!!!!! That way, you can get whatever you want or need! I know - I'm cool like that! 
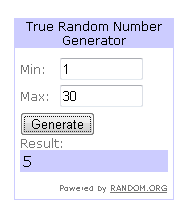
I will use random.org to select the winner so everyone has a chance to win. Good luck everyone and thanks for showing me the love!!! Smooches,

Friday, April 8, 2011

Do You Yudu? I do!!!!

I won a Yudu at the Cricut Stampede. I was so excited because I have wanted one for so long and now I finally had one - for free!!!

So I decided to bust it out this week and take you all along for the ride while I learn how to use this new machine. Boy was it a ride! Yuduing and video taping don't always go hand in hand. This machine definitely works better when you can use both hands.

There are lots of tips, steps and mis-steps in the video that I share with you. So sit back and enjoy my version of "How to Yudu".

The site that I mention in the video that has Yudu compatable supplies is http://www.silkscreeningsupplies.com/yudu-printing-supply-inks
Smooches,


Thursday, April 7, 2011

I'm busting out my Yudu!

I am going to be busting our my Yudu this evening. I can't wait! I have an event this weekend for my business and I really want to make a new shirt with my business logo on it to wear. I will probably be making some mini-videos on the process so check back today and tomorrow.

BTW, the Yudu is on sale today only at Michael's for $99!!!!! That's the big one folks, not the Yudu Card Shop. That's a steal! If I hadn't won one at the Stampede, I would be running to M's to get one. I love this machine! See you all later!

My Business: www.thechicpaperie.com
Smooches!

Robin