Hey everyone! You might have noticed a few changes around the place. I spiffied up for Christmas. I just love this time of year - and I hate it too! I always over-commit myself, take on huge projects and drive myself batty trying to get it all done. I need a wife!
Anyways, tell me what you think of the new look. I used templates from 2 different sites and I like they way it all came together. Talk to you soon!
Smooches,
Robin

Saturday, November 27, 2010
Friday, November 26, 2010
Thanksgiving Journal 2010
 Hi everyone! I sincerely hope that everyone had a wonderful Thanksgiving filled with family, food and fun.
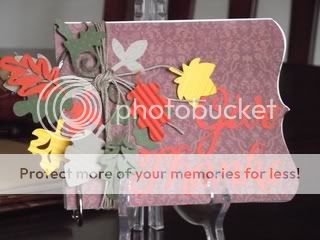
I saw a post on the Cricut MB of a journal that for Thanksgiving. In the journal, all of your family and guests would write what they are thankful for. I thought this was a great idea and that I would make one for us. Here is what I came up with.
This was my first time making a complete mini album - cover and all. I am so pleased with how this came out.
Here are the details!
Carts
- Thanksgiving - cover and pages, title, some of the leaves, hat and turkey
- George - holes in the cover and pages
- Gypsy Wanderings - leaves
- Create a Critter - leaf
- B is for Boy - leaves
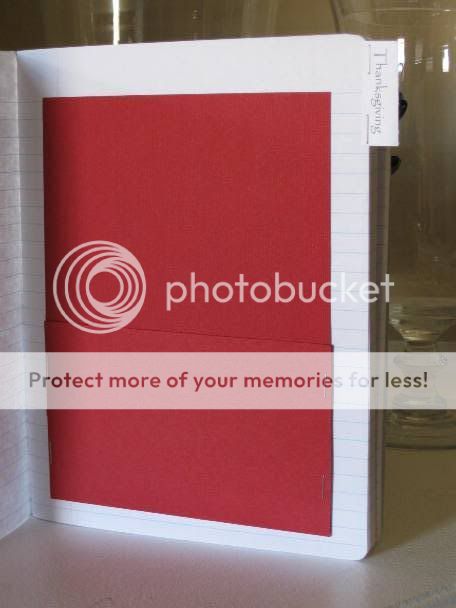
I used the card on the Thanksgiving cart for my cover and pages. Once I realized that I could use the same layout for the cover and pages, I was off and running. I put small circles on the card for the holes and removed the score marks. I cut the cover out of chipboard (an old ceral box) and cut the pages out of 12x12 cardstock.


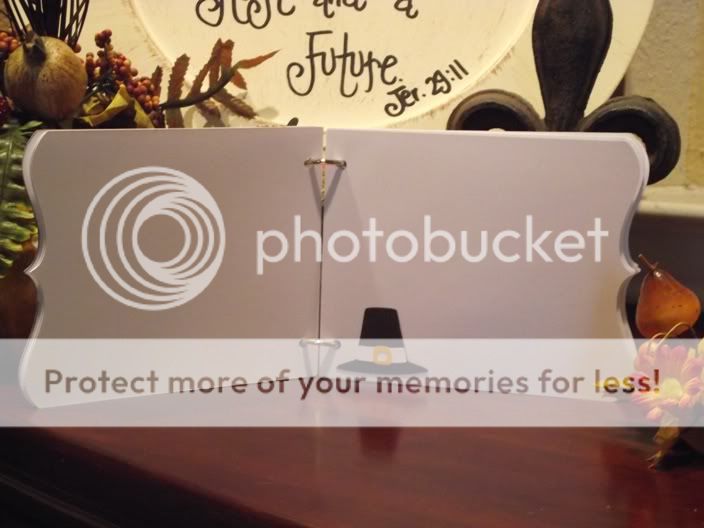

The other pages that are empty will be the pages that I put pictures from the day on. I will bring this out next year to show everyone and have a new one for everone to write in. I think I just started a new tradition for us! Thanks for looking!

Tuesday, November 16, 2010
Holiday Countdown Ornament - CC Magazine Challenge Entry
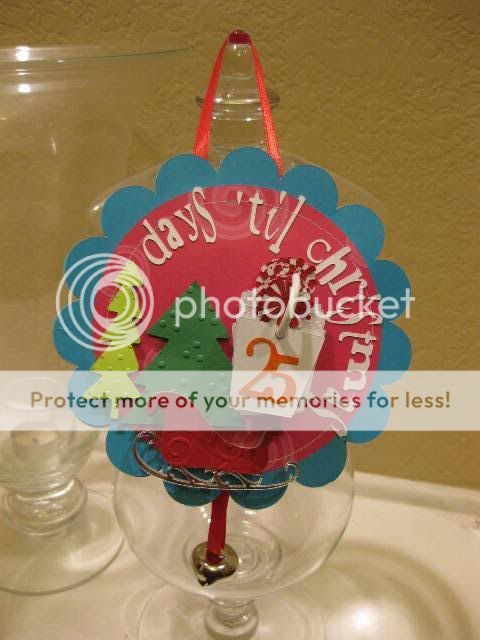 Hi everybody. Here is my entry for the Cricut Circle Magazine Ornament Challenge. I absolutely love the way it all came together!
When I saw this challenge, I knew two things: I wanted to use the colors we all see on the Children's Christmas trees and I wanted to challenge myself to use the cuts in a different way then what the booklet shows. I think I accomplished both points.
I am going to give this ornament to my God children (who are 4 and 2) so it is was extra important to me to make it a nice ornament.
Here are the details
Carts
- Christmas Cheer - trees, sleigh, gift, circle
- Printing Press - words and numbers
- Sentimental - pocket, scalloped circle
First, I cut the 2 circles and 2 scalloped circles from coordinating bright colors. I made the scalloped circle largerthatn the regular circle so I could layer them.

I glued the circles to each other and sewed around the edge for a little more detail.

This is a picture of all the embossing folders I used on this project. As you can see, some of them are Cuttlebug and some are from Sizzix.

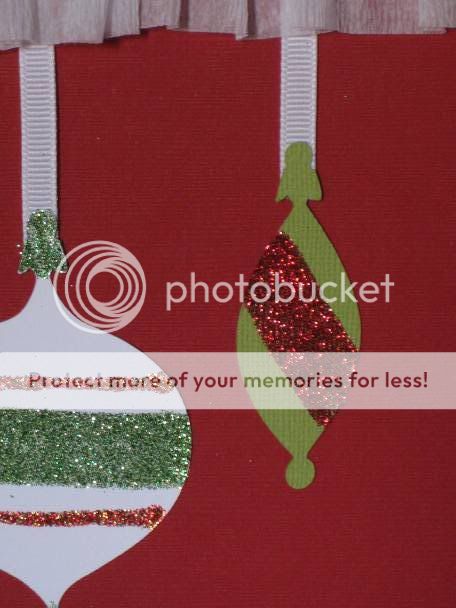
Here is the front of the ornament with all the cuts in place. I cut each item twice and layered it. I cut the base of the sleigh out of metallic silver so the rails would be true. I cut the body of the sleigh in red. I embossed all the top layers with different designs.

I made a pocket to put on the back of the ornament. This is where all the days will go once they have been pulled off. I decided to emboss the front with one folder and the back with another (see picture below). Remember to turn your pocket over so when you fold it and put it together, your embossing will be facing out.

I had to think of a way to hang the days on the ornament. I decided to use a metal cup hook. In the picture below, you can see that I had to cut off the screw part so that it wouldn't stick through the back of the ornament.

To support both the hook and the ornament itself, I decided to sandwich a thin wooden disk between the layers. I'll be honest. My first attempt at securing the hook to the disk was unsuccessful. I used E6000 glue to put it on the disk but I didn't have a hole in it (that's why you see glue on the disk already). I removed the hook and the glue, punched a hole in the disk with my Anywhere Hole Punch, put the hook in the hole with some glue and tried again. This time it worked!


Another closeup.

Here's a side view and a view of the back. I plan to put Merry Christmas on the pocket so when the countdown is over on Christmas day, you can turn the ornament over and leave that side showing until you take your tree down.


Thanks for looking and I hope you enjoy my creation!
Smooches,
Robin
Sunday, November 14, 2010
Holiday Planner Altered Composition Book
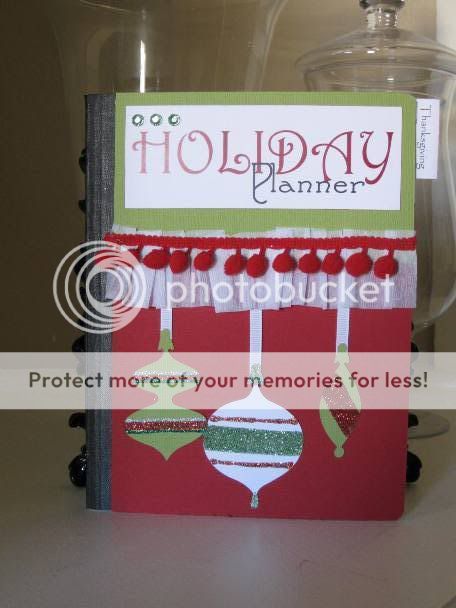
Hey guys! Here is another post from me this week (that's 3 this week!). This time it is an altered composition book that I made into a Holiday Planner. I have one of these that I have used for serveral years now but I was asked to teach a class on how to make one so This is what I came up with.
Here are the details:
Carts
Smooches,
Robin
Here are the details:
Carts
- Christmas Cheer - ornaments
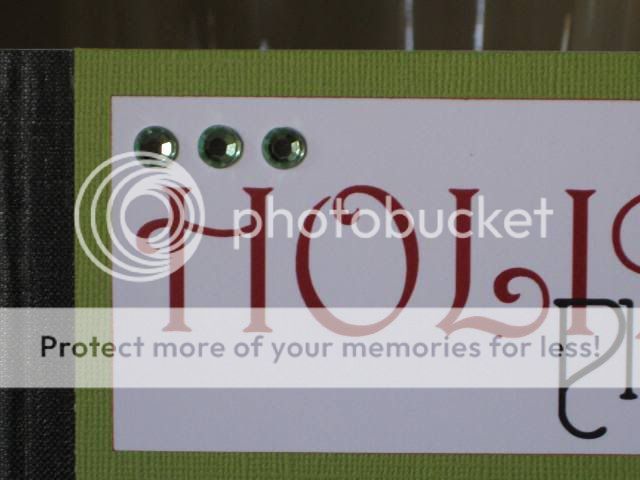
I used some Bazzill cardstock to cover the front and back of the book. I created the title and tabs on my computer (contact me if you want the file). I inked the edges of the title for more definition. I also added a few pieces of bling above the H (you can never have enough bling!)


Smooches,
Robin
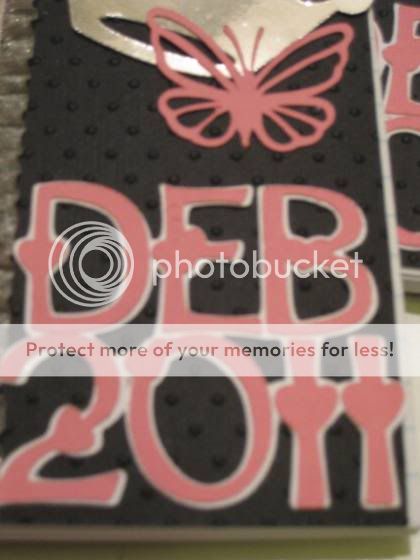
Deb 2010 Altered Notebook
 I'm back! I'm back! I have been crafting a lot but just haven't had the time to get the pictures on my blog. But here is the first of a couple of posts this week
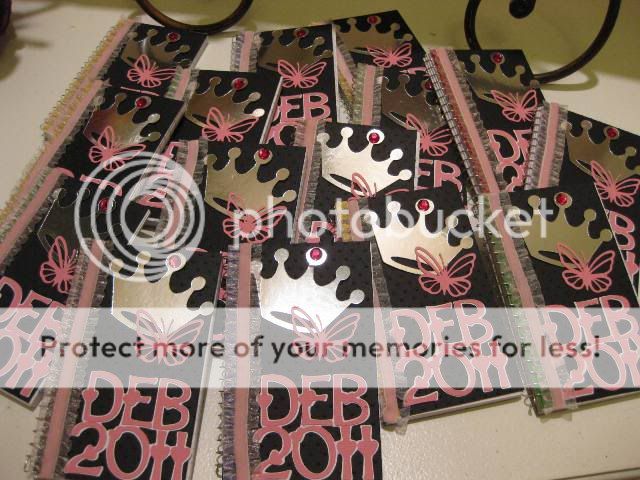
As most of you know, I am a member of Delta Sigma Theta, an sorority that is almost 100 years old. My chapter has a Debutant Cotillion every year where we prepare and present young ladies to society. I made these journals for the Sleepover, which is the first event the girls have as a bonding time. It's made from a 3x5 little mini-notebook that you can get from any office supply store. The journal was meant for the young ladies to have to write down their feelings and thoughts about the night and to get the other girls information.
My original design had 2 layered butterfiles with crystals on the body and the wings of the 2nd butterfly raised up for demension. It was beautiful - when you only had to make one! When I started making the 25 I had to make for the girls, I quickly revamped the project to what you see.
Carts
- Words - Rock Princess
- Crown - Sentimentals
- Butterfly - MS Elegant Cake Art
I embossed the black background with the Swiss Dots folder. I also added the piece of ribbon to the edge to cover the different colors of the cover base (they were red, yellow, blue, green and black).
Hope you love them. If so, let me know!


Smooches,
Subscribe to:
Posts (Atom)