Monday, September 20, 2010

New Wheels Card

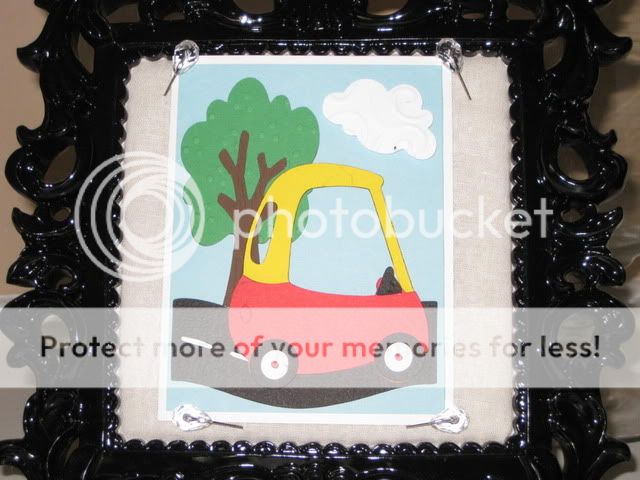
Don't you love a new car?! I do! The smell, the shine, the feel. It all makes me smile. Just like this card called "New Wheels" for a person who got a new car.

I love the Little Tykes car cut on the B is for Boy Lite cart. I thought it would be cute on this card. It harkens back to your childhood - kinda like the feeling you get when you get a new car! Here are the details.

Cartridges:

  • B is for Boy Lite - car
  • Everyday Paperdolls - tree, road and cloud

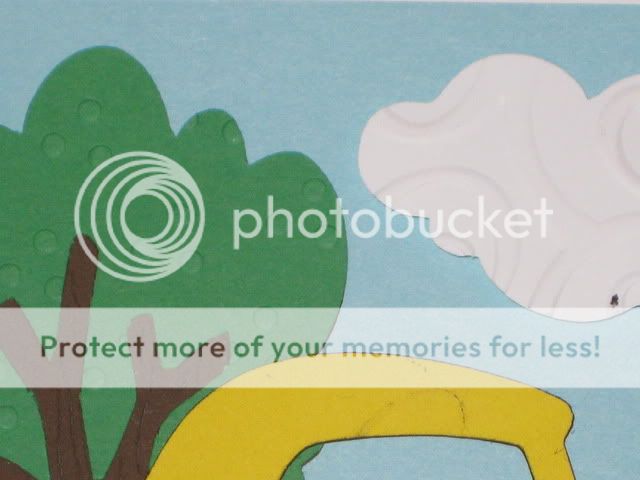
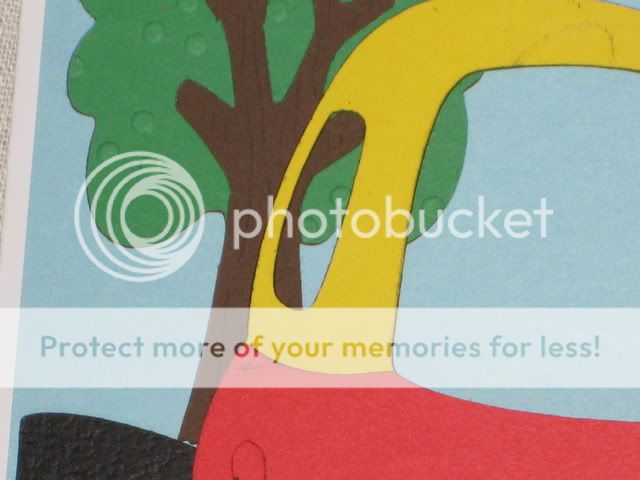
I started out by cutting all the pieces out. I elongated the tree so it would fill in more space on the card. I covered the card in a pretty light blue that resembled a clear sky. I took the cloud and embossed it with the Swirls embossing folder. I took the green part of the tree and embossed it with the Dots folder.


to give the car a little more definition, I cut out 2 of the car bodies in red. I inked all parts of the car with Black Soot Distressing ink and a Fanstastix (it got a little messy, hence the stray marks). I attached one body directly to the yellow base, put pop dots on the second and attached it to the car. Then I put the wheels on and the car was complete.

Since I design and place all my cuts on my G, I made sure the road was just the right length for an A2 card. I attached the pieces to the card in this order: road, tree, car, cloud.

I really adore the cuteness of this card. I think you could even give this as a birthday card to a little boy. Thanks for looking and leave me some comments. They keep my creative juices flowing!

Smooches,

Robin
The Scrappin' Delta Diva

Friday, September 17, 2010

It's an Infestation!!! Card

When I jumped back into crafting earlier this year, I was surprised about where my inspiration for cards, layouts and projects come from. I would be out somewhere and say "That would make an awesome card/layout" or "I can make that project!". Of course I would use my E and G to make these things, affectionatly known as Peaches and Herb.

So goes this card. I walked into Joann's and was stopped in my tracks by all the new MS Halloween Crafts. I love Martha's style and her creations never cease to amaze me. She has some bat cutouts that you can stick on the wall for Halloween. When I looked at the package, I said
"That's my next card". And here it is! This card looks simple but there are actually 5 carts and some welding at work here. Here are the details:

Cartridges:
  • Happy Hauntings - bats
  • French Manor - chair, table and lamp base (which is actually the birdbath)
  • George - lampshade (which is a trapezoid)
  • MS Elegant Cake Art - jagged frame
  • Base Camp - rectangle (for plain frame)

I started this card by making the frame on my Gypsy. I made a rectangle that was 4x5.5" and set the jagged frame inside it. When cut out, this made a nice frame for the card.

Next, I made the lamp. I know there are lamps on some carts but I didn't have one on the carts I own. So I made one. I took the birdbath from French Manor and a trapezoid from George and welded them together to make the lamp. I really liked doing it this way so I could tilt the lampshade like it has been hit by the bats.

I wanted a table and chairs that looked like they were in the hallway of a house. So I went to the Cricut Circle French Manor cart and chose the perfect cuts. I glued the chair on sideways to again, imply that the bats have taken over.

Lastly, I cut out lots and lots of the 2 kinds of bats from Haunted House. I glued them on the card in various places so it looks like an infestation.

I put small pop-dots on the back of the frame to lift it up and give a shadow effect. I love doing that on Halloween cards. I put it on the card and it was done. I love this card and I hope you do too! Leave me some blog love!


Smooches,

Robin
The Scrappin' Delta Diva

Friday, September 10, 2010

Beware!!!!!

If you have been watching the news, you probably have seen or heard about the tornadoes we had in the Dallas area this week. Lots of destruction but no lives taken (thank God!).

After the storm on Wednesday, I made this card. I only wish I had made it earlier so I could have showed it to the storm. Maybe that would have scared it away and left our city in tact. : P

Here are the details:

Cartridges

  • Happy Hauntings - tree, bats, sentiment
  • Mini Monsters - fence
  • George - moon (circle)

I cut a piece of purple cardstock at 4" x 5.5". I inked the edges with my TH Black Soot Distressing ink. I really like the gradual affect this technique gave the paper. I glued the tree to the background.

I inked the moon with TH Vintage Photo Distress Ink and it gave it a real ominous feel. I put an extra thick popdot on the back of the moon so it could cast a great shadow. I glued the up-winged bat on it and put it on the background. I thought the sentiment beware needed something after I put it on. So I covered it with Glossy Accent to make it shine. I glued down the last bat and that part was finished.

I took the smalled foam stickers that I had and cut them in half so that I could put them behind the fence. It worked just like I wanted so that fence cast a shadow, too. All put together, I really like this card. And I hope you do too! Thanks for looking!!!!

Smooches,

Robin
The Scrappin' Delta Diva

Monday, September 6, 2010

Finally! My Tim Holtz Video of my class!!!

Hey guys! It's been a long time since I have posted and I have to tell ya - I miss you all! For those of you who don't know, I am a high school Special Ed teacher. So when school started back, all my spare time was sucked away. Hopefully things will start to settle down soon (fingers crossed!) and I can get back to crafting and on my blog more often.

Anyway, here is the much anticipated video from my class with Tim Holtz! I just love this project, him and all the products. I learned alot and hoefully you will see me put my new knowledge to use soon. Take a look at the video and I'll be seeing you!

Smooches,

Robin

The Scrappin' Delta Diva